
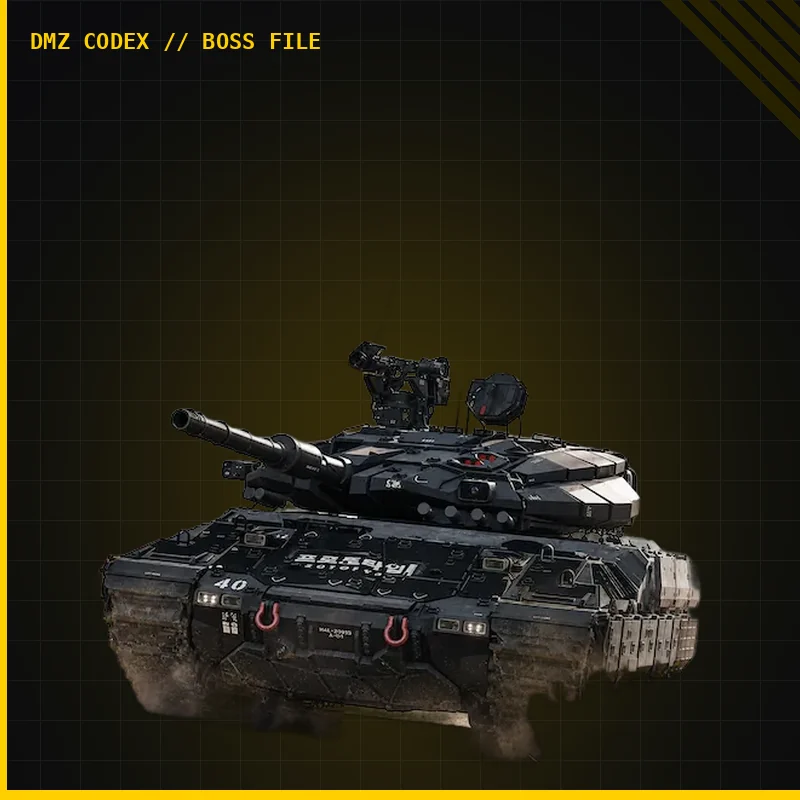
MW4 DMZ Tank Commander guide: preparation, fight and wreck loot
Bring an anti-armor plan, keep a retreat route and search the wreck only after the area is safe.
The Tank is a roaming Commander, not a Lieutenant you can summon with purchased intel. Prepare anti-armor equipment and solid cover before engaging. Developer preview footage describes reactive armor reducing RPG damage, but a reliable launch-version weak-point or fixed shot-count test is not established here. Nano-Structured Alloy is a reported Tank ingredient hint; check the wreck’s available loot interactions and extract with what you actually find.
- Roaming Commander; no intel purchase
- Reactive armor described in developer preview
- No verified fixed rocket count or weak-point formula
- Nano-Structured Alloy source is a reported hint
Do not turn a Tank Commander encounter into an ammunition test while standing in the street. Identify cover, an anti-armor option and a retreat route before attacking. The useful plan is one you can stop safely if your current equipment proves inadequate.
Locate the patrol and confirm the Commander
The official description identifies a North Korean battle tank patrolling Hajin on high alert. NuriGO Mall is a reported encounter area, not a permanent parking spot. Watch the nearby Tac Map marker and encounter warning, then confirm the vehicle in front of you.
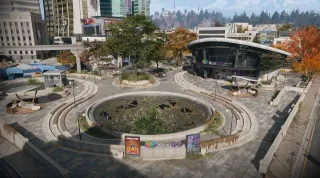
The Boss Board guide explains why Lieutenant intel is not the answer: Commanders do not have an intel purchase that guarantees a particular next-deployment hunt. A paid Lieutenant search and a roaming Tank encounter are separate systems.
Build the loadout around survival and anti-armor fire
Before committing, check these essentials:
- Anti-armor equipment you can actually use. Bring a launcher and a realistic ammunition plan if that is your chosen approach. This is preparation advice, not a claim that every launcher has equal damage.
- Armor and healing. Keep enough supplies for the approach and the retreat, not just the first exchange.
- Solid cover and more than one exit. Avoid a position where the Tank’s movement can expose your only doorway.
- Backpack space and an extraction route. The hunt is not finished when the vehicle stops moving.
Do not assume a vehicle is safe transport through the main gun’s line of fire. Park away from the engagement lane and move between protected positions. If you arrive under-equipped, marking the patrol and continuing another objective is a reasonable choice.
What the armor evidence establishes
Developer preview footage describes reactive armor reducing RPG damage. That is useful context for planning a sustained anti-armor fight, but it is not a current launch-version damage spreadsheet.
A reliable weak-point comparison, exact rocket count and tested immunity to every other damage type are not established in the reviewed evidence. Claims that a particular explosive is useless or that one precise shot pattern always works should not become universal instructions without those tests. Inspect the visible health response during your own encounter and reassess before consuming your remaining supplies.
Fight from positions you can leave
Use buildings and solid terrain to break the main gun’s line of sight. Choose a firing opportunity, return to cover to reload and check the patrol’s movement before exposing yourself again. In a squad, agree on the direction of retreat so players do not run across each other’s firing lanes or toward an unsupported flank.
Those are tactical recommendations rather than a proven damage exploit. Keep track of your health, remaining rockets or other ammunition, nearby infantry and rival squads. If the Tank moves into a position that removes your cover, reposition or disengage instead of finishing a reload in the open.
Inspect the wreck without inventing a compartment count
After a takedown, clear nearby threats and inspect the wreck from its accessible sides. Read each interaction prompt and check whether you have already searched that container. One loot interaction does not prove that every reachable prompt is empty.
Community guides circulate a three-compartment description. The reviewed original evidence does not establish a reliable complete count here, so this guide does not label front, rear and top as a verified fixed loot layout. Search what the game actually offers; do not expose yourself on an unsafe climb solely to satisfy an unverified diagram.
Nano-Structured Alloy and the return trip
Nano-Structured Alloy is associated with the Tank by a reported Ingredient Locations hint. Its current record lists a community-reported use in the 3-Plate Helmet Armor Vest recipe. The hint does not establish a guaranteed drop, amount or full Commander loot table.
Read the items in your own wreck, preserve useful ingredients and extract. First-takedown cash, repeat Commander rewards and carried crafting ingredients are distinct; do not assume every hunt pays the reported first-kill amount. At the FOB, compare your unlocked Printer recipe before spending the Alloy.
Quick questions
Where is the Tank Commander?
It patrols Hajin; NuriGO Mall is a reported encounter area. Use the nearby Tac Map marker and warning rather than assuming a fixed parked spawn.
How many rockets kill the Tank?
No reliable launch-version shot-count test is established here. Developer preview footage describes reactive armor reducing RPG damage, so do not plan around one assumed rocket count.
What does the Tank drop?
Nano-Structured Alloy is linked to the Tank by a reported in-game Ingredient Locations hint. A guaranteed amount, drop rate and complete wreck table are not verified.
How many loot compartments does it have?
A three-compartment claim circulates in community guides, but the reviewed evidence here does not establish a reliable complete count. Inspect all reachable wreck prompts instead of assuming one interaction exhausts the loot.
Mentioned in this guide
Spotted something wrong? Send a correction.
Keep reading
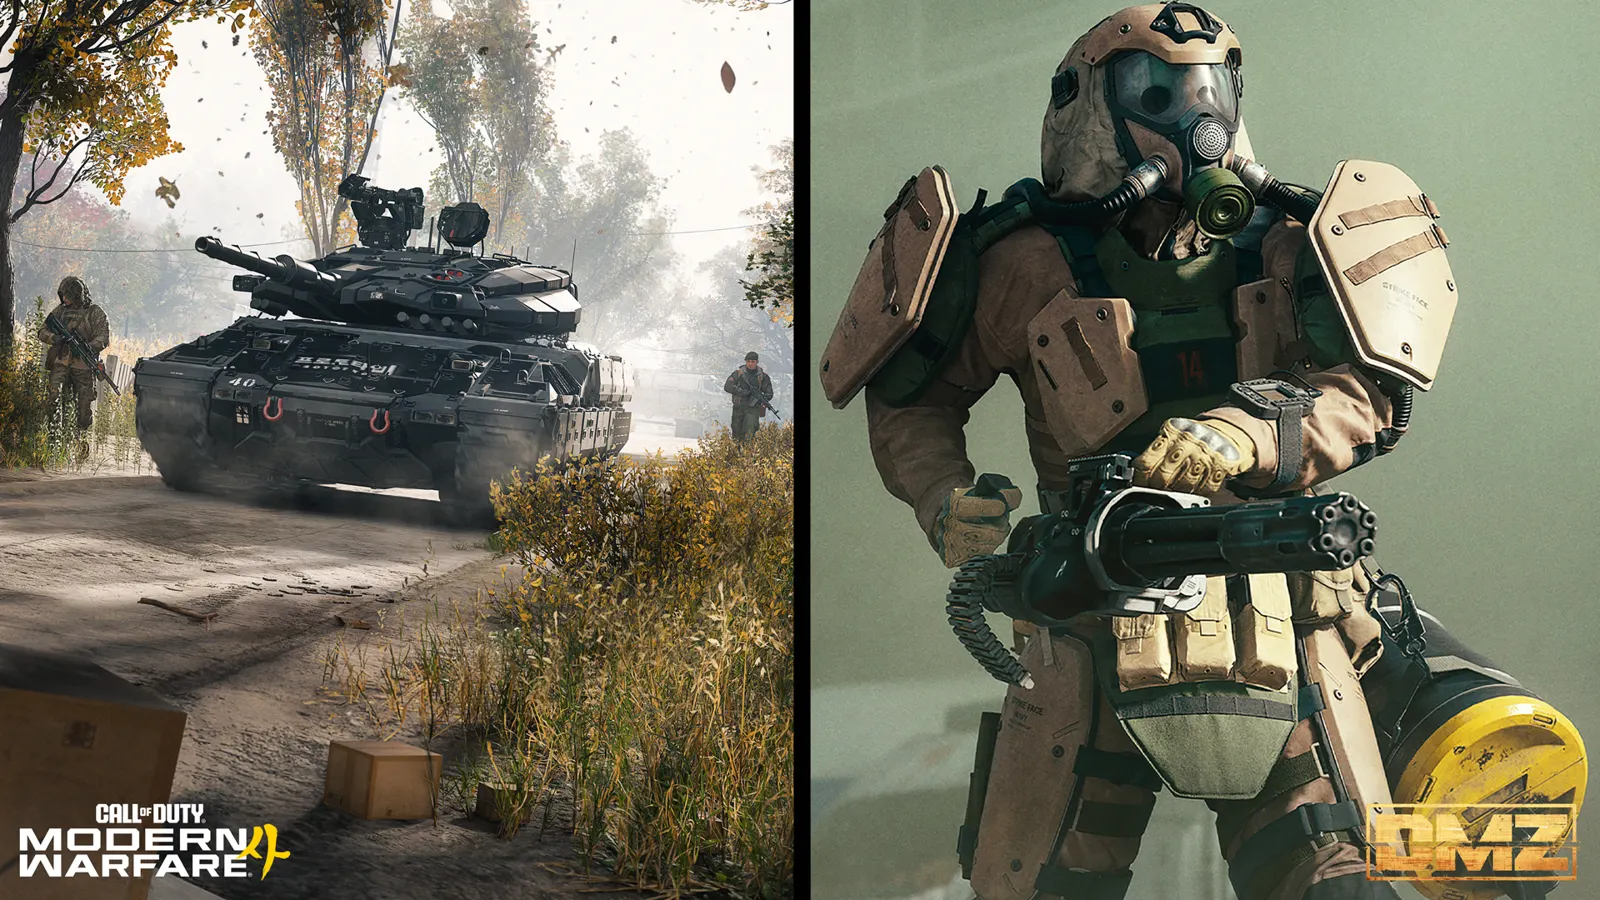 Guide · Bosses & PvPMW4 DMZ bosses: Lieutenants, Commanders and the Boss Board
 Guide · Getting startedMW4 DMZ exfil guide: helicopters, flares and Fulton
 Guide · Gear & craftingMW4 DMZ 3D Printer guide: resources, ingredients and recipes
 Guide · Bosses & PvPMW4 DMZ bounties: how the Wanted system works