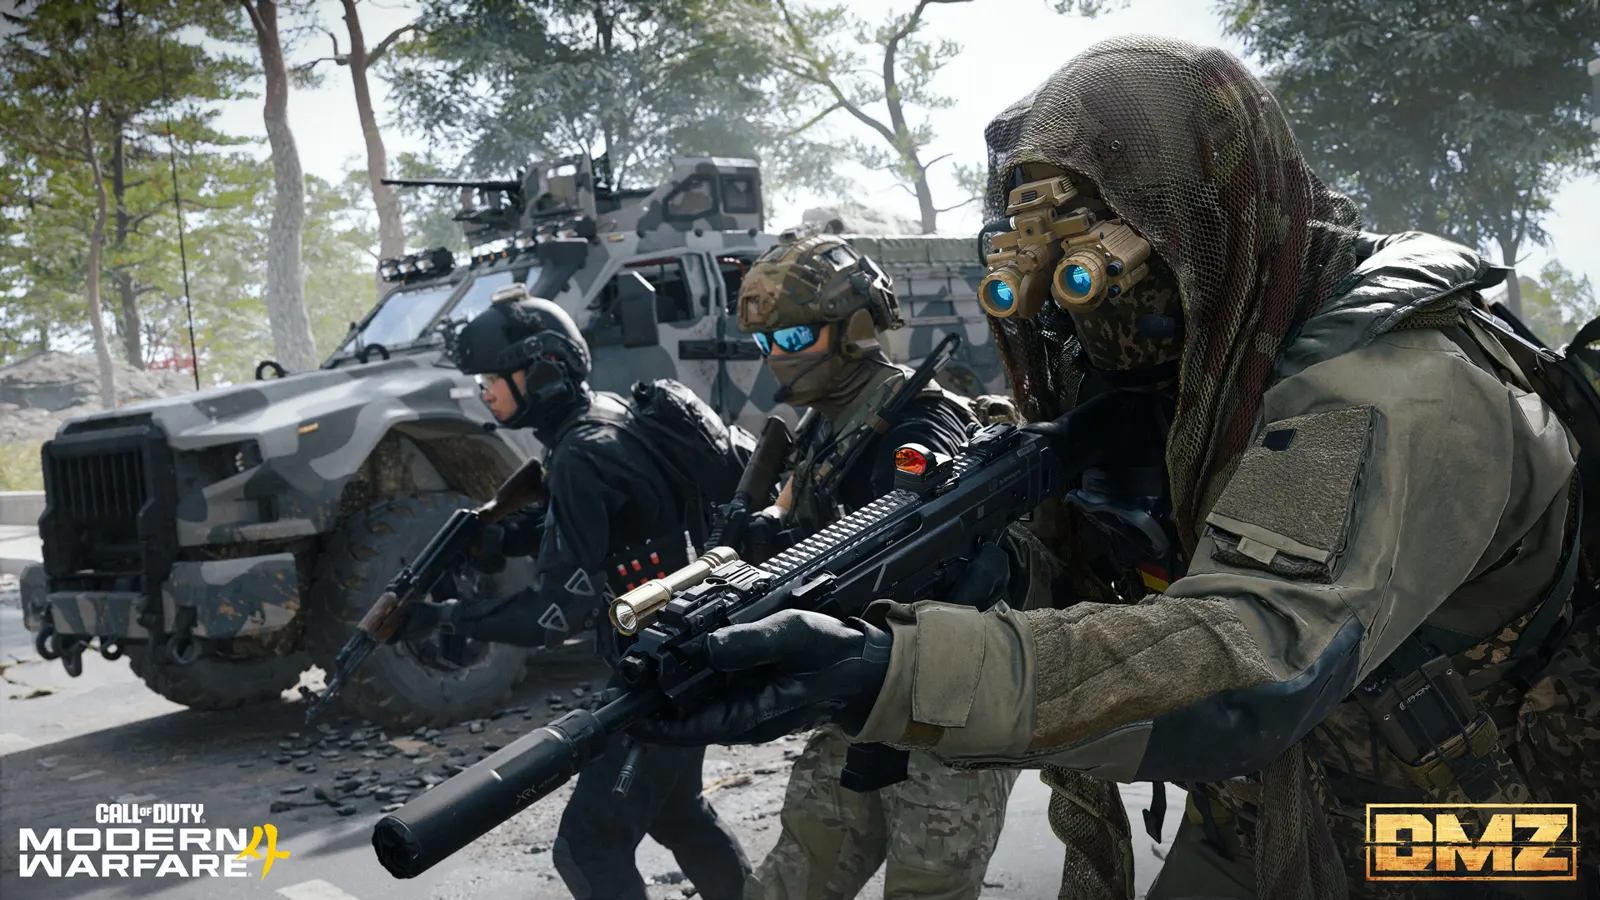
MW4 DMZ beginner guide: how your first deployments work
What happens in a DMZ run, what you keep when it goes wrong, and the first things to do at the FOB.
Pre-launch guide. Written from official info released before early access. We update it as the game goes live.
DMZ is an extraction mode: you deploy into Hajin with your gear, do missions and loot, then exfil to keep what you found. If you die without exfiling, your Operator goes MIA and your unsecured gear is gone, but you keep the XP you earned. Start with DMZ Orders, which teach the mode step by step.
- Up to 20 squads and 60 players per deployment
- 150 health; the Tourniquet gets you back up at 100
- You keep your XP even if you fail to exfil
- Walking in is free; vehicle infils cost DMZ Cash
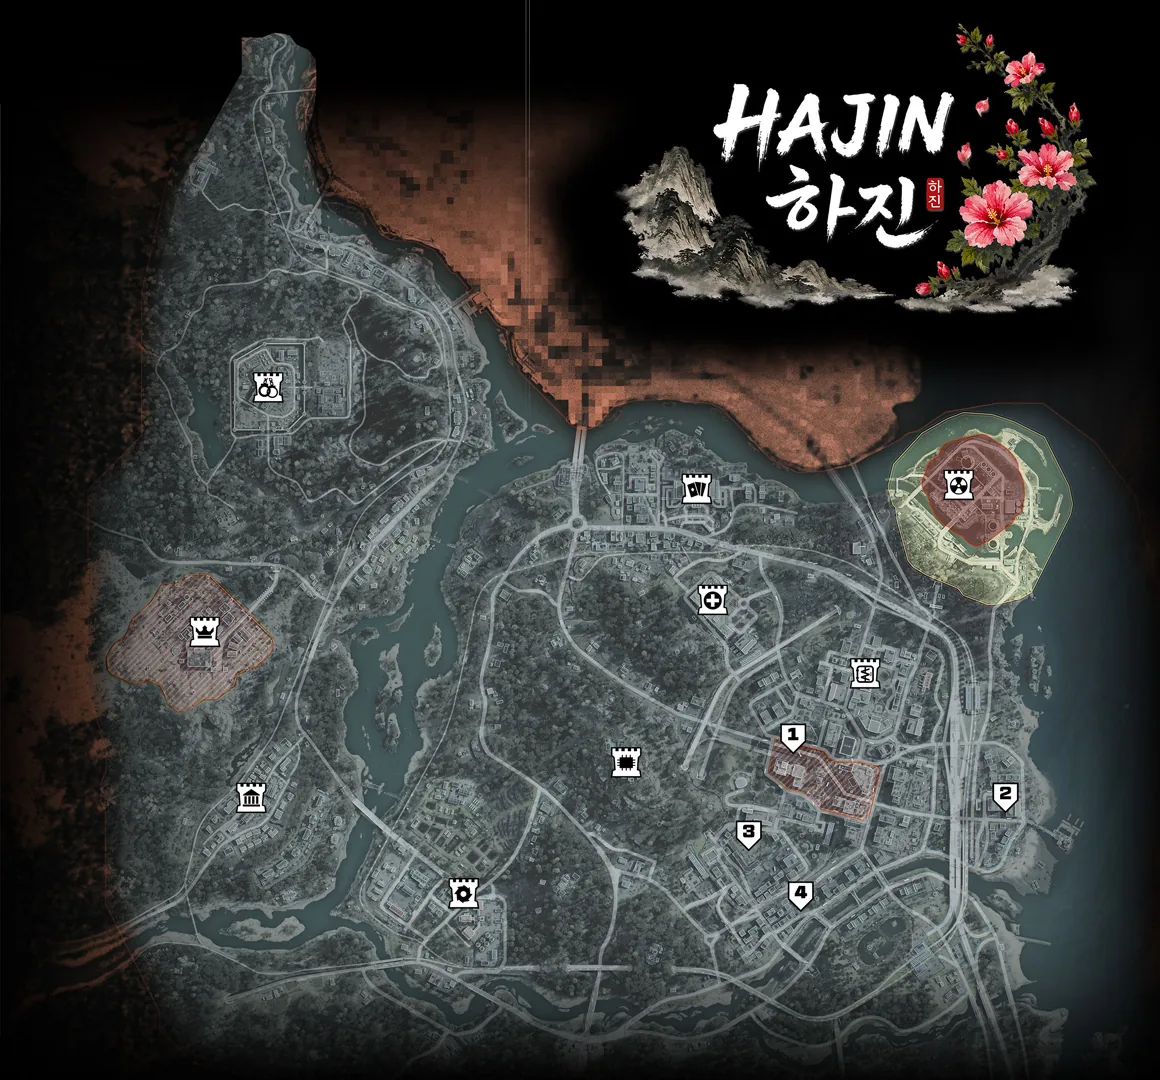
DMZ in Modern Warfare 4 takes place in Hajin, an exclusion zone in North Korea. You play an Operator working off the books for the CIA. The zone is held by North Korean forces, and up to 20 squads of rival Operators are in there with you.
Every run has the same goal: get in, get what you came for, get out alive.
How a run works
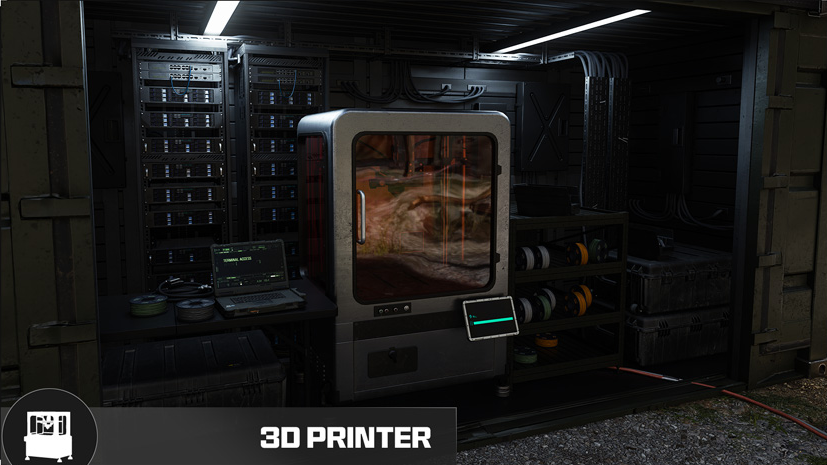
- Prepare at the FOB. Your base camp. Store loot in your Stash, pick an Operator, take DMZ Orders and craft at the 3D Printer.
- Pick a deployment at Deploy. Story Missions put you near your objectives, Dynamic Operations start you inside an Op that pays DMZ Cash and XP, and Free Roam has no mission at all.
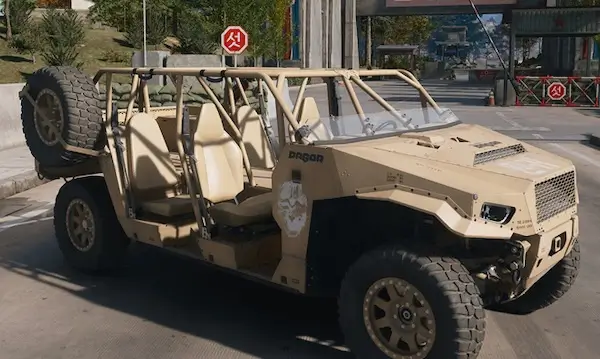
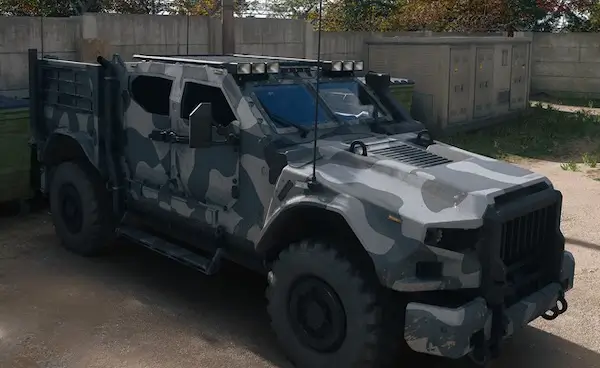
- Choose your infil. Walking in is free. A Polaris Dagor A1, LTV, Heli or Cargo Plane costs DMZ Cash and has to be unlocked first.
- Loot and do your objectives. Everything you pick up is at risk until you leave.
- Exfil before the storm. A radiation storm spreads across Hajin during every match, and a HUD timer shows when it gets worse. Find an active exfil, call it, survive, and board. See our exfil guide.
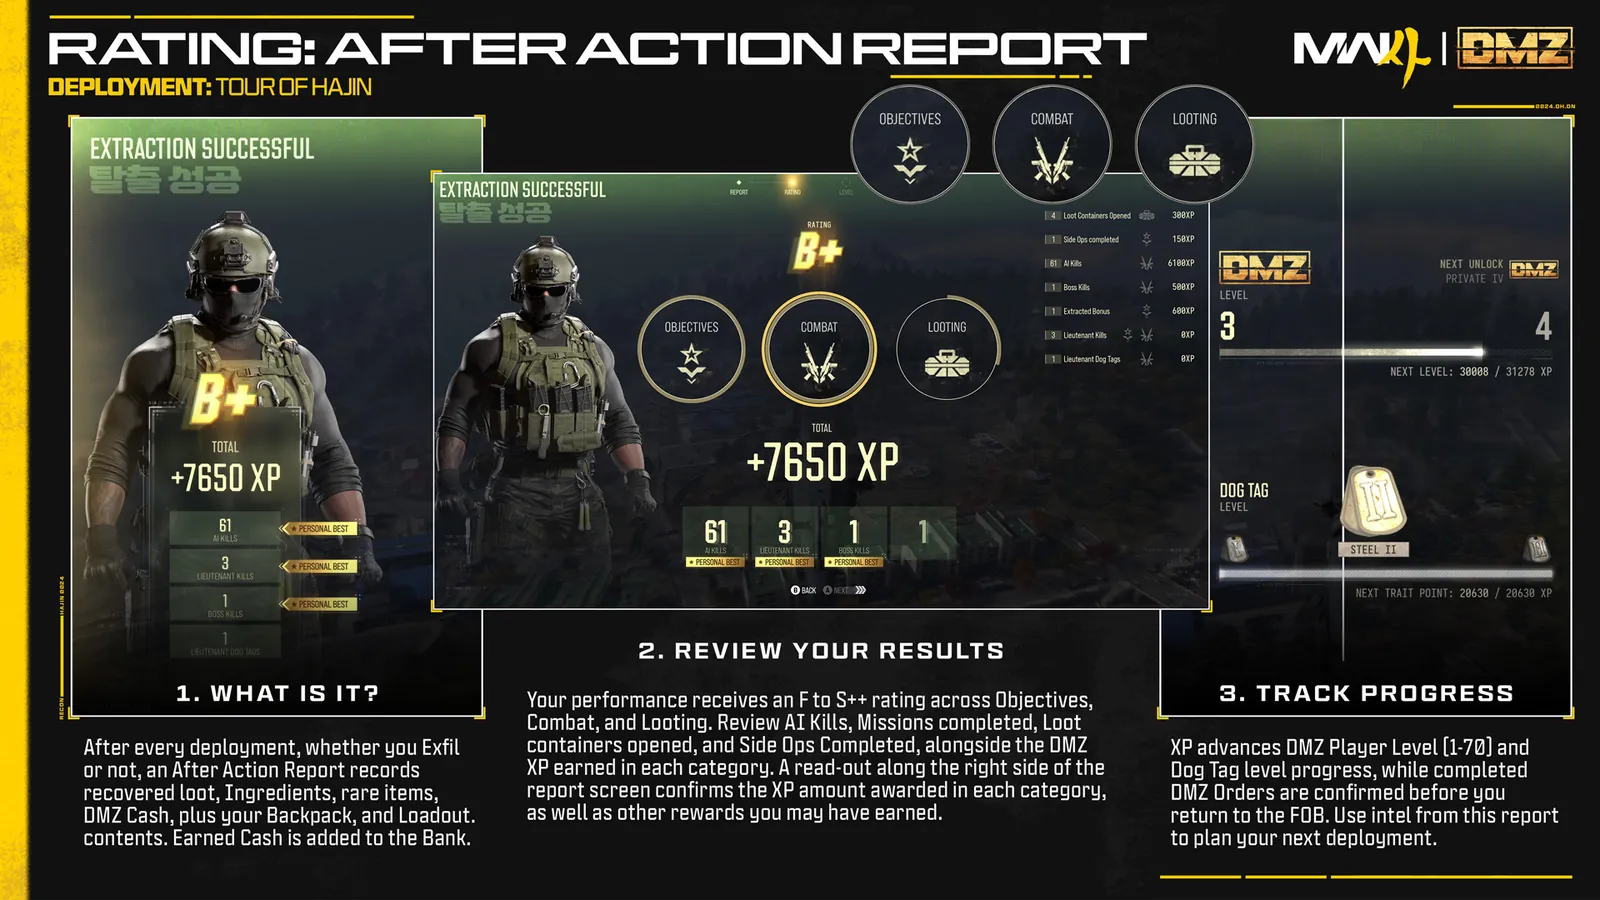
- Read the After Action Report. Every run, exfil or not, is rated from F to S++ across Objectives, Combat and Looting, and shows the XP you earned.
What you keep and what you lose
This is the most important rule in DMZ.
| What happens | You keep | You lose |
|---|---|---|
| You exfil | Everything you carry. DMZ Cash goes to your Bank. All XP. | Nothing |
| You die and don’t exfil | All XP. Items in Secure Slots. | Your unsecured gear and weapons. Your Operator goes MIA. |
There is no XP penalty for dying: everything you earned still counts.
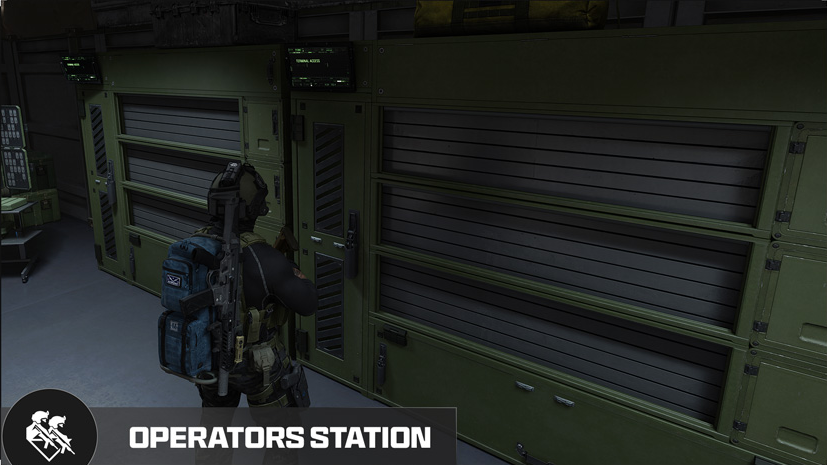
MIA Operators can’t deploy until you rescue them at the Operators station. A rescue costs DMZ Cash, and the price rises with the Operator’s Trait Points. Rescuing brings back their Traits, unspent Trait Points and Dog Tag rank, but most of their loadout stays lost. You can also dismiss them and start fresh. Details: MIA Operator recovery.
To protect a few items, carry a backpack with Secure Slots, like the Small Secure Backpack. Whatever sits in those slots survives a failed run.
Health, wounds and the Tourniquet
You have 150 health. When you go down, you can use the Tourniquet. It gives up 50 max health to get you back on your feet at 100. You are now wounded.
- A Medkit fully repairs the wound and makes the Tourniquet available again.
- A Bandage, Stim or Pain Killers only bring you back to 150 for a while. While that temporary health is active, you can’t Tourniquet again if you go down.
- A Self-Revive Kit is separate and can be looted or printed.
Full details: Tourniquet recovery.
Stealth and threat level
AI soldiers don’t see you instantly. The Stealth Meter fills white, then yellow, then orange as they get close to spotting you. Go prone or get back into cover to lose them.
Once you are spotted, every AI kill can raise a threat level from 1 to 5 stars:
- 1 star brings reinforcements.
- 5 stars sends Deathstalker drones, Hunt Squads and riot-shield soldiers.
- Break contact, for example by heading into the woods, and it calms down again.
There is also a Hostiles Kill Count meter on your HUD. Kill too many AI in one run and a Hunt Squad comes for you: you become Marked for Death.
Enemy soldiers come in four tiers, from Tier 1 grunts up to Tier 4 faceless armored soldiers. Lieutenants and Commanders sit above them (see the boss guide). More on this: Threat escalation.
Where to find the loot you need
Loot follows the type of building, so you can plan a route:
| You need | Go to |
|---|---|
| Military gear | Police Stations (blue buildings, with locked armories) |
| Medical supplies | Clinics (green buildings); bathroom cabinets for Bandages |
| Radiation gear and parachutes | Fire Stations (red buildings) |
| 3D Printer resources | Homes and Gas Stations |
| Cash | Vaults and cash registers |
| Better loot and intel | Compounds (fortified military positions) |
Normal loot breaks down into resources automatically as you pick it up. Crafting ingredients stay as items. The crafting guide explains both.
Other players
- Look up. Vultures circle over dead players, a sign of loot and of the squad that did it.
- Not every squad wants a fight. The Ping Wheel lets you request a Truce or join another squad (Truce and assimilation). No Order or mission ever forces you to kill a player.
- Use proximity chat. Rival voices get louder the closer they are.
Your first hours: a simple plan
- Follow DMZ Orders. They walk you through the mode and pay key items on top of XP.
- No money? Take the Free Loadout in the Ready Up menu. You lose nothing important if it goes wrong, and you keep it if you extract. For a real run, bring a plate carrier, a backpack, a weapon and a Medkit.
- Empty your backpack into the Stash after every good run. It starts with room for 40 items and 12 weapons, and it is shared by all your Operators.
- Reach DMZ Level 2 to open the 3D Printer. Your first recipes (Bandage, 1-Plate Armor Vest, Small Backpack) unlock there.
- Spend your first Trait Points with a plan. Picks are permanent, so use the skill tree planner first.
- Don’t fight every squad. Each player you kill raises your bounty and can put a target on you. See the bounty guide.
Quick questions
Do you keep XP if you die in DMZ?
Yes. XP from a deployment counts toward your DMZ Player Level even if you fail to exfil. You lose your unsecured gear, not your progress.
How do I get my Operator back after they go MIA?
Rescue them at the Operators station in the FOB. A rescue costs DMZ Cash, and the price goes up with the Operator's Trait Points. It brings back their Traits, unspent Trait Points and Dog Tag rank, but most of their loadout stays lost. You can also dismiss them and start fresh.
Can I play DMZ solo?
Yes. Matchmaking tries to put you with squads of a similar size, but it does not promise solo-only lobbies. You can turn on Squad Fill in the Ready Up menu if you want teammates.
What should I bring on my first DMZ run?
With no money, take the Free Loadout from the Ready Up menu: you lose nothing important if you die, and you keep it if you exfil. For a real run, bring a plate carrier, a backpack, a weapon and a Medkit, and empty your backpack into the Stash after every good run.
Mentioned in this guide
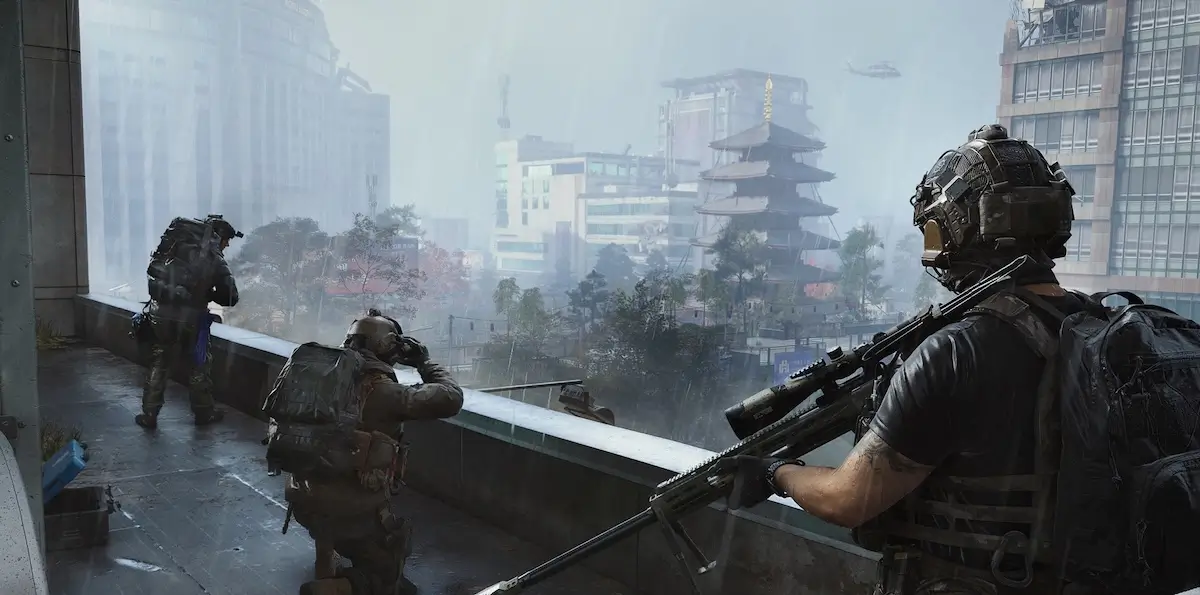 HajinMap F CIAFaction F North Korean hostile factionFaction E Rival OperatorsEnemy
 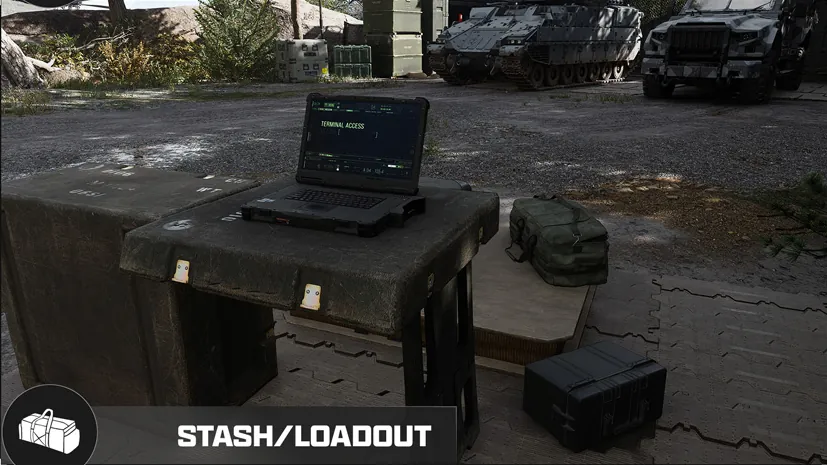 Stash/LoadoutFOB station
 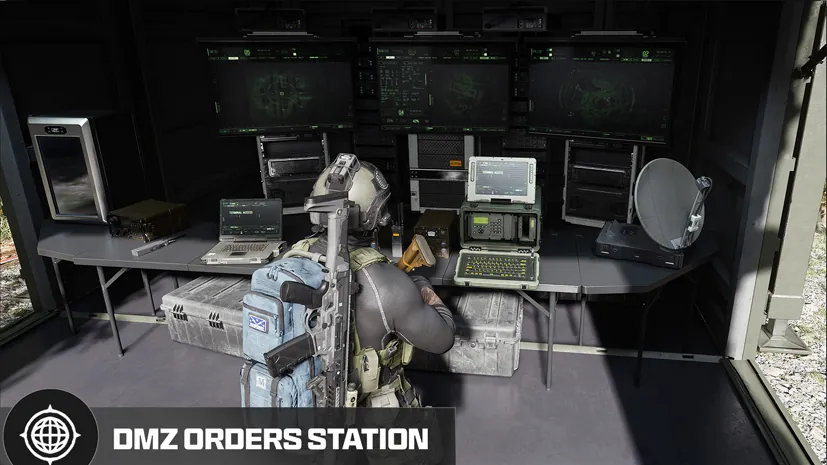 DMZ OrdersFOB station
  3D PrinterFOB station F DeployFOB station
  Polaris Dagor A1Vehicle
  LTVVehicle
  HeliVehicle V Cargo PlaneVehicle M Radiation stormMechanic
  After Action ReportMechanic M Secure SlotsMechanic
  Operators (Active Duty)FOB station
 Official sources
- DMZ Deep Dive, Part 2: How to Play (Forward Operating Base guide)
- DMZ Deep Dive: Hajin
- Modern Warfare 4 DMZ Deep Dive (June 2026)
Spotted something wrong? Send a correction.
Keep reading
 Guide · Getting startedMW4 DMZ: everything we know before launch
  Guide · Hajin & vehiclesHajin map guide: every major area and its threat level
  News · LaunchMW4 DMZ early access starts October 20 at 10 AM PT: who can play and what's included News · LaunchMW4 Season 1 starts November 6: Hajin comes to Warzone, and what's next for DMZ