
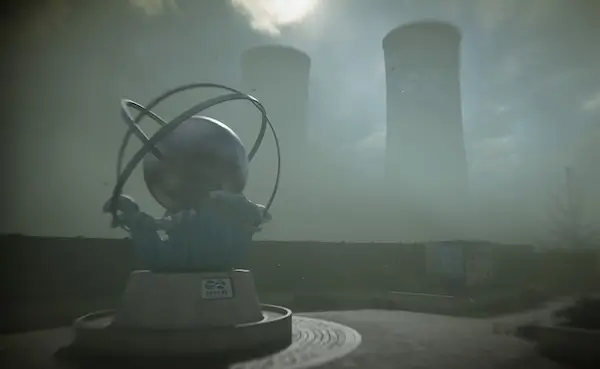
MW4 DMZ Fallen Ember walkthrough: reactor puzzle and escape
Read your console's coordinates, recover three rods and keep an exit plan through the warhead fight.
Operation Fallen Ember takes you into Haneul Nuclear Reactor to recover three fuel rods, decontaminate them and escape. The reported squad route uses the console's current coordinates to select rods, then continues through Reactor 02, the warhead fight and a boat escape. Bring radiation protection and follow the objectives in your deployment.
- Mission briefing: Extreme threat
- Read your own rod coordinates; no universal code
- Recover and decontaminate three rods
- Mission completion and loot extraction are separate checks
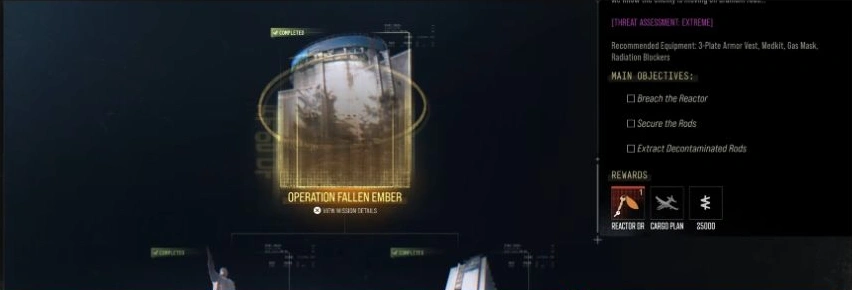
Operation Fallen Ember is a Story Mission at Haneul Nuclear Reactor. Its briefing lists Extreme threat and the objectives Breach the Reactor, Secure the Rods and Extract Decontaminated Rods. The detailed sequence below follows a community-reported completed squad run. Use your current mission tracker when a marker or prompt differs.
Prepare radiation protection before the objectives
Bring the briefing’s recommended 3-Plate Armor Vest, Medkit, Gas Mask and Radiation Blockers. Prepare Radiation Gear / Hazmat Suit as well: the official area guide requires protective apparel and a mask inside the reactor.
Check each squadmate’s protection before pushing farther into the complex. Keep healing accessible and leave backpack room for the items your tracker requires. Use the radiation guide for protective equipment and the healing guide for wound treatment.
Release Reactor 01 lockdown
Follow the approach to the reactor, then use the control-panel button to release Reactor 01 lockdown. Continue to the rod console using the active objective.
Before starting the puzzle, give the squad a simple division of work: one player reads the prompt while the others watch the approach. That is preparation advice, not a requirement for a particular squad size.
Solve the fuel-rod coordinate puzzle
- Read the coordinate on your current console. Use the value in this deployment.
- Find the matching rod in the pool. The reported sequence requires two interactions with that rod.
- Return to the console and confirm. Check the objective before selecting another rod.
- Repeat until all three rods are recovered. Re-read the next coordinate instead of repeating the previous selection.
There is no universal rod code documented here. A coordinate in someone else’s recording is an example from that run. If progress stalls, compare the current console, the selected rod and the mission counter before moving on.
Decontaminate the rods in Reactor 02
Take the rods to Reactor 02, decontaminate each one and defend the chamber. Follow the remaining objective counter before continuing toward the warhead.
Keep the objective carrier and the exit route in mind while fighting. Before advancing, read the next instruction together so the squad does not leave a required interaction unfinished.
If you came here with an Irradiated Container, use the separate container decontamination guide. It is a loot item, not one of the three fuel rods needed for this mission.
Complete the warhead fight and boat escape
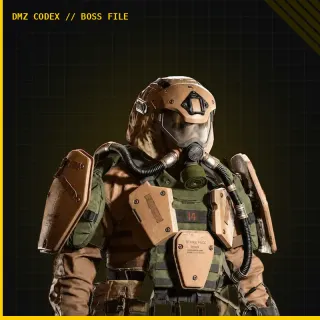
Follow the warhead marker and defeat the reinforcements, including Colossus. In the reported run, Colossus drops the boathouse key. Take it, unlock the boathouse and use the boat toward the helicopter rendezvous, covering against pursuing helicopters.
Check the mission-completion notification and the extraction objective separately. Completing the mission does not by itself prove that carried loot has reached your Stash. Keep following the extraction instructions and use the exfil guide when planning how to leave.
Check the rewards before spending
The mission record lists 25,000 DMZ Cash, a Reactor DRC Locker key and Cargo Plane among its rewards. The completed squad report recorded a different cash payout from the briefing. Check your reward summary and Bank rather than treating the listed amount as a verified payout for every completion.


The exact Cargo Plane requisition terms remain unconfirmed. Do not assume the listed reward means unlimited free plane infils. The vehicles guide separates vehicle unlocks from recorded deployment charges.
For the earlier missions, use Iron Citadel and Grid Assault. The Story Missions guide keeps the wider sequence together.
Mentioned in this guide
Spotted something wrong? Send a correction.
Keep reading
 Guide · MissionsMW4 DMZ Story Missions: walkthroughs, objectives and rewards
 Guide · MissionsMW4 DMZ Grid Assault walkthrough: code segments and Heli unlock
 Guide · MissionsMW4 DMZ Iron Citadel walkthrough: access card, armory and LTV
 Guide · Getting startedMW4 DMZ exfil guide: helicopters, flares and Fulton