

Place · Grid B1
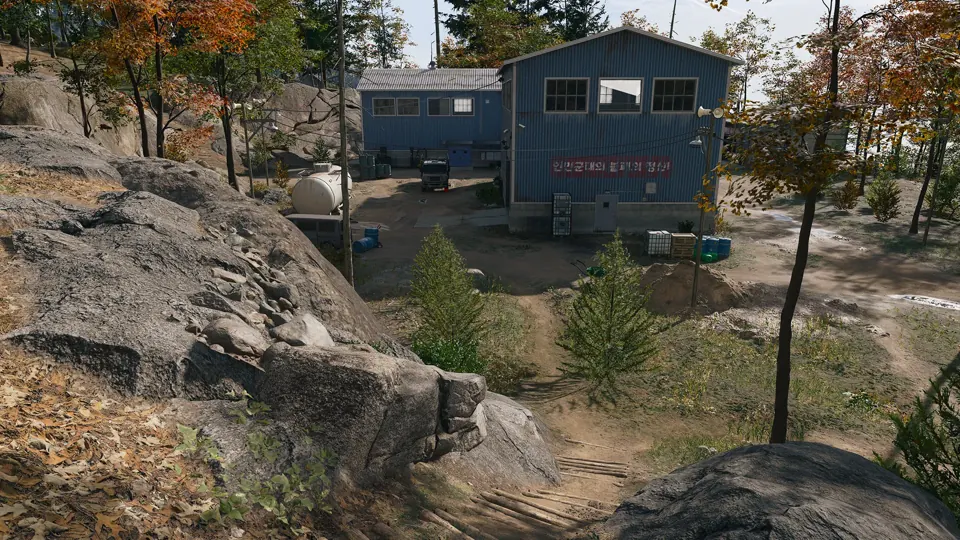
Jayon Warehouses
Warehouses in Hajin, marked on the official Call of Duty map.
Open Jayon Warehouses →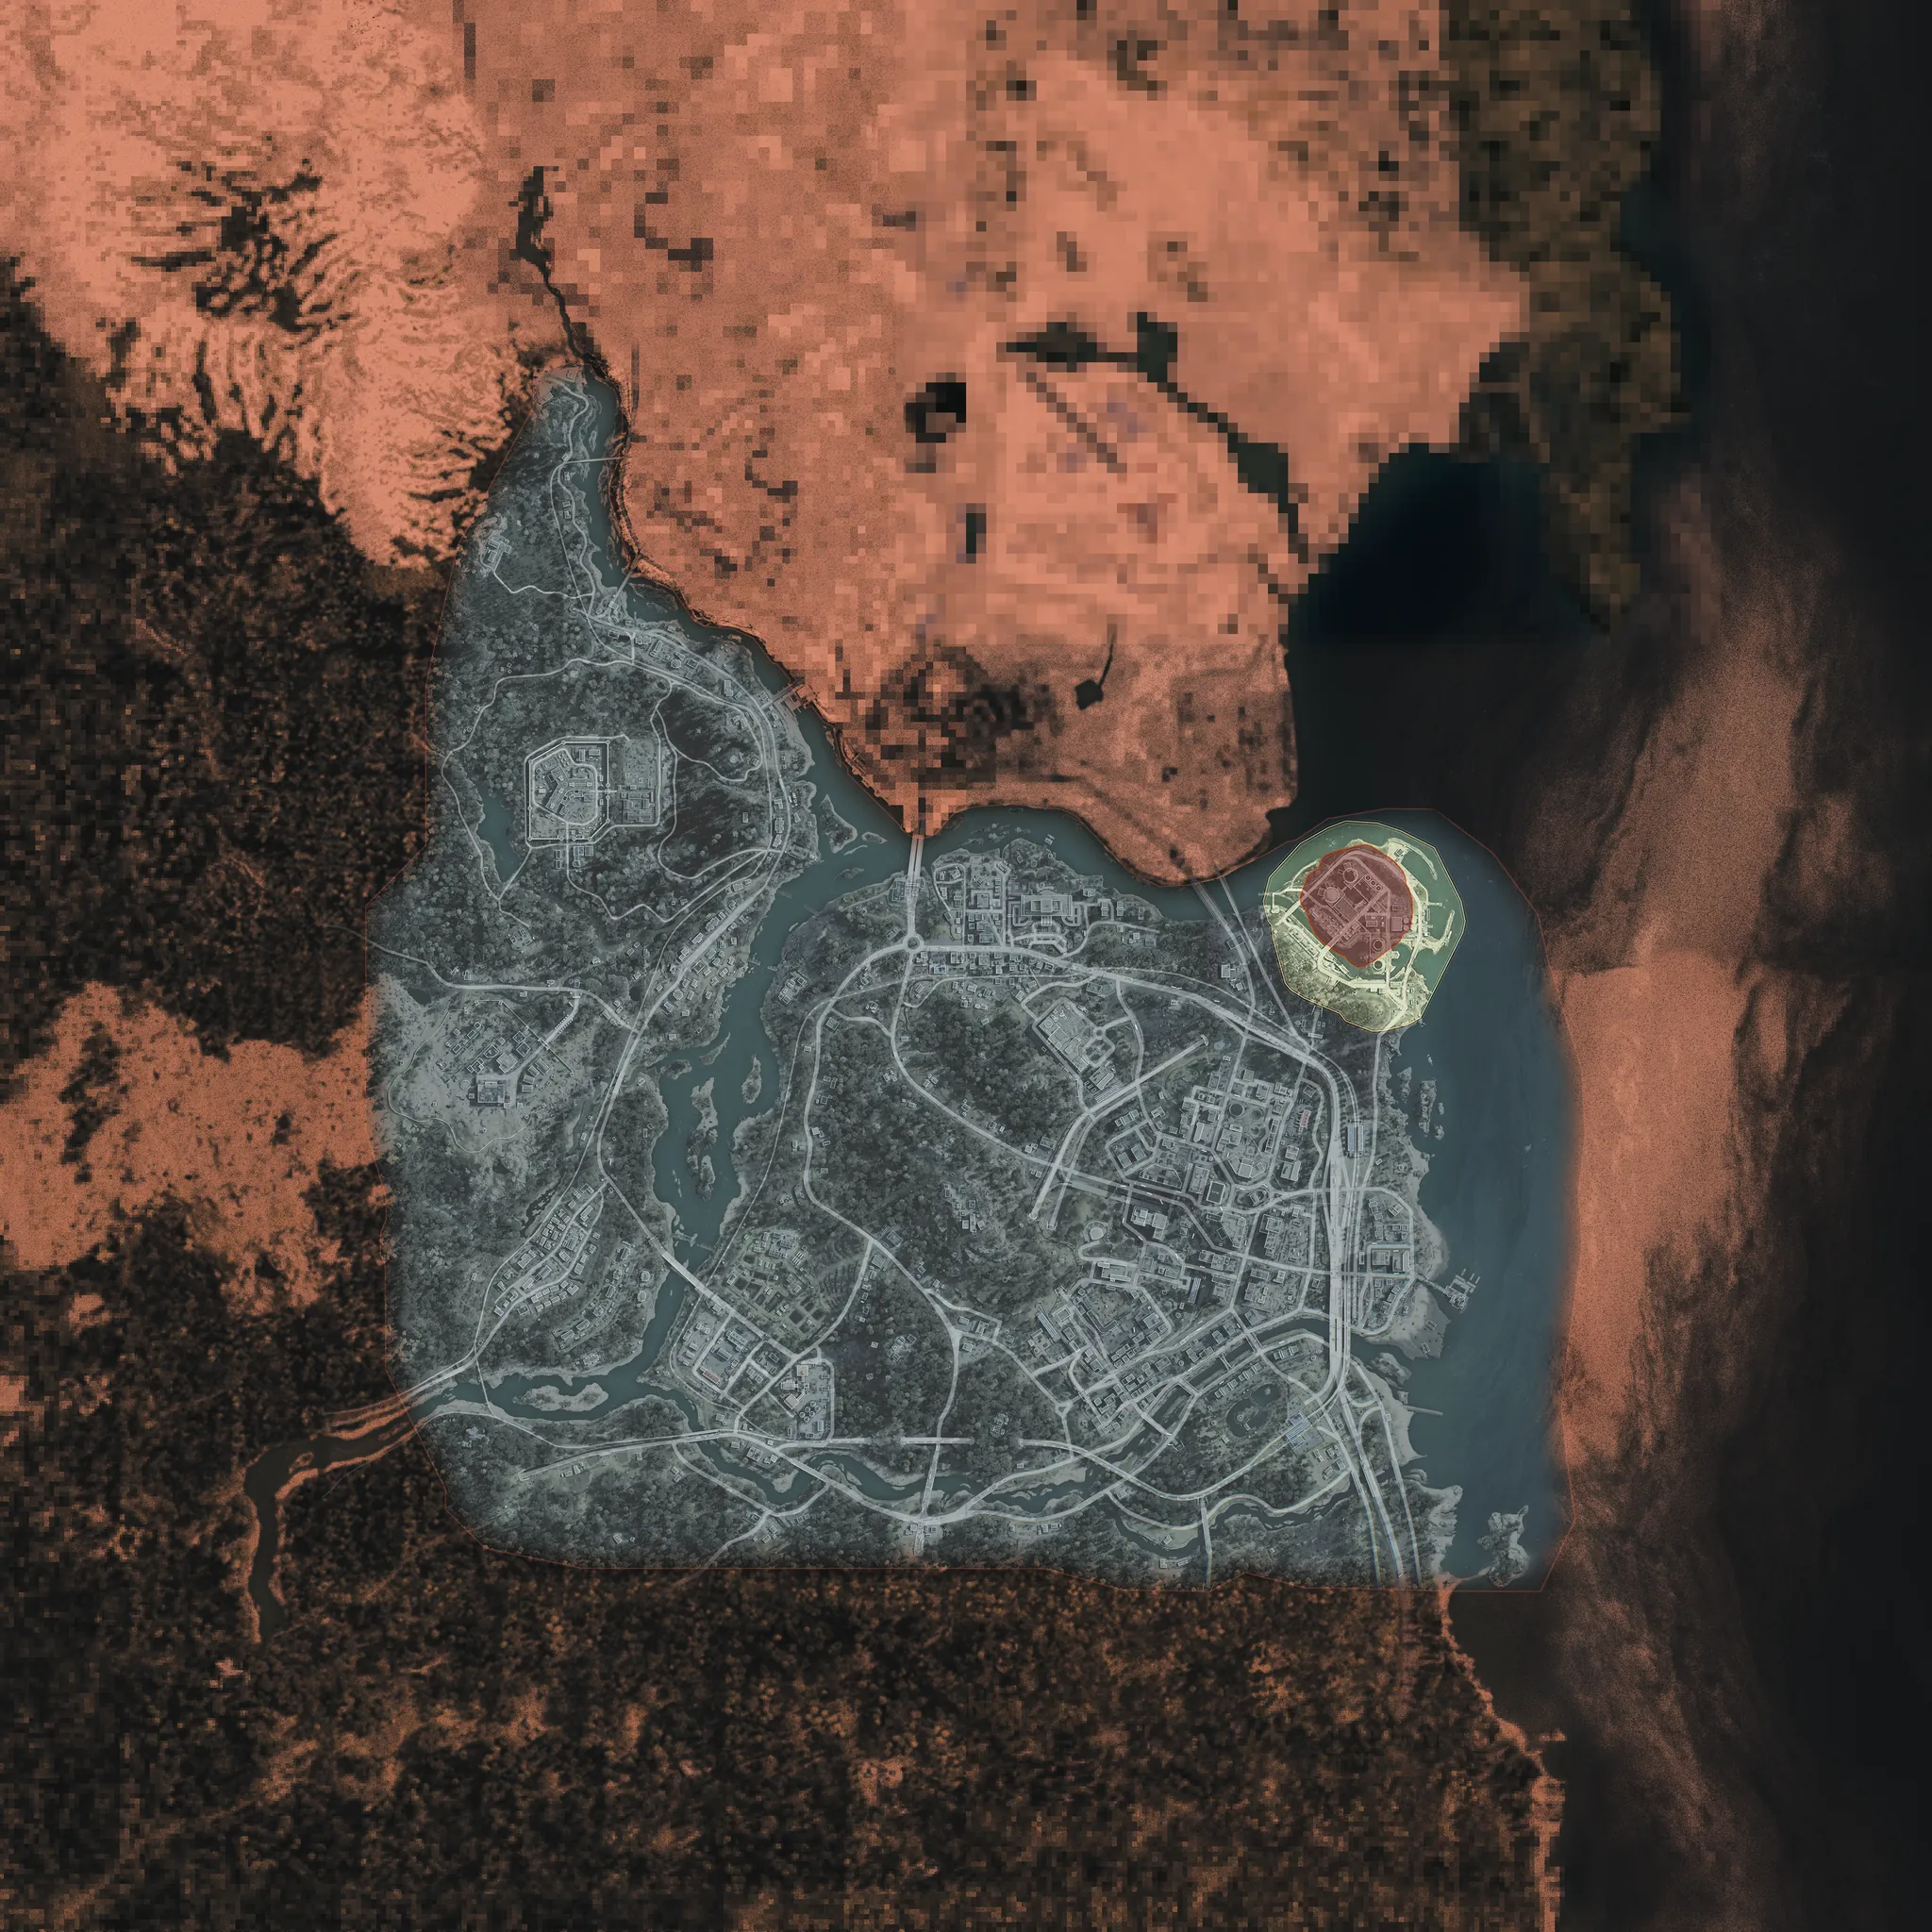
Warehouses in Hajin, marked on the official Call of Duty map.
Open Jayon Warehouses →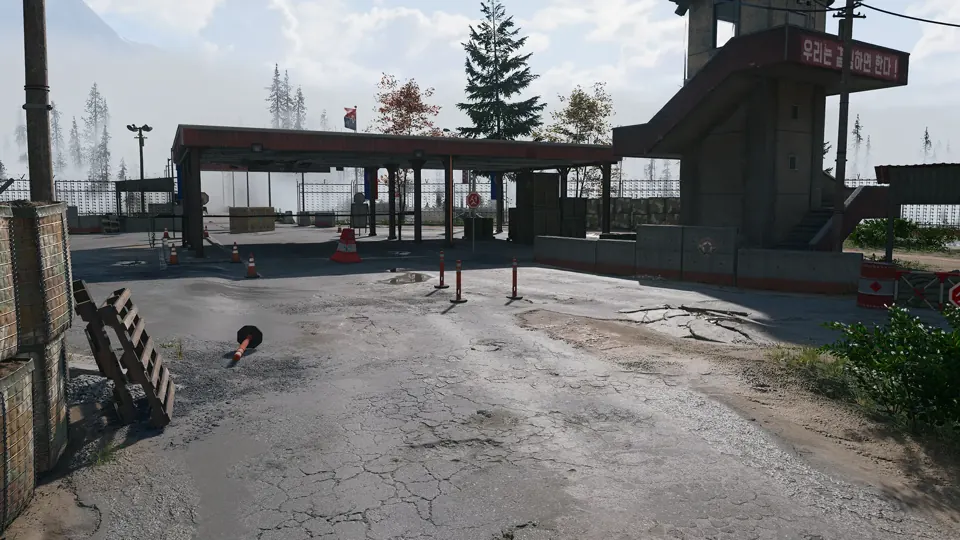
Border crossing in Hajin, marked on the official Call of Duty map.
Open Russian Border Crossing (West) →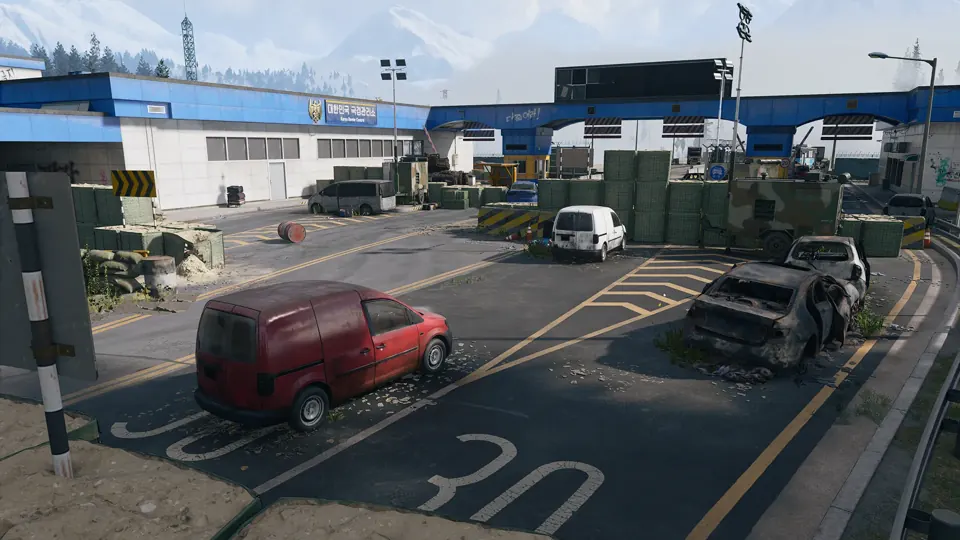
Low-threat checkpoint associated with Cheongun Village.
Open Russian Border Crossing →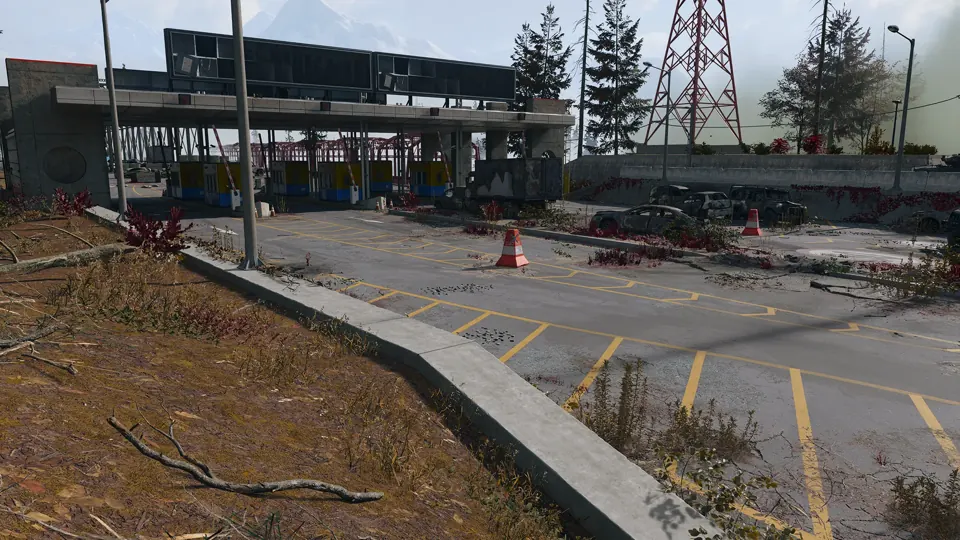
Border crossing in Hajin, marked on the official Call of Duty map.
Open Russian Border Crossing (East) →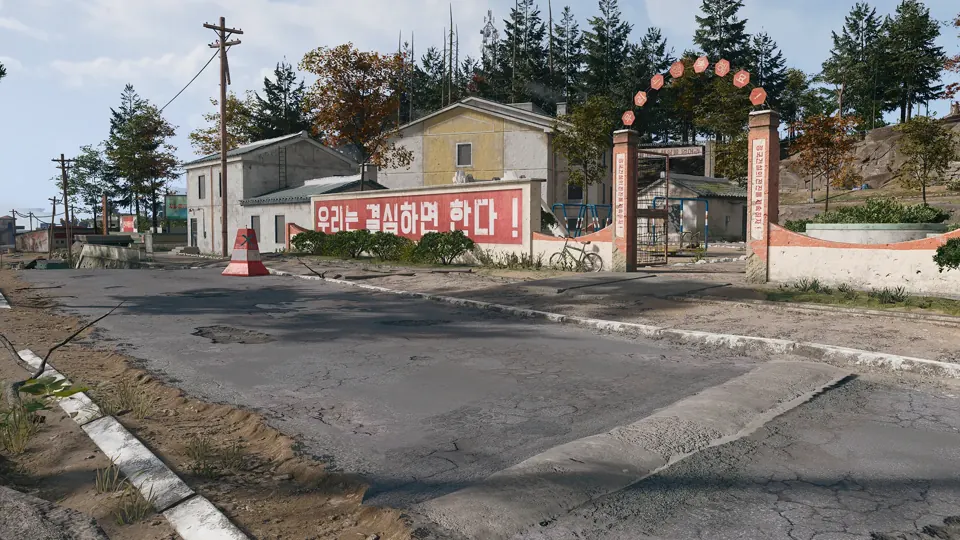
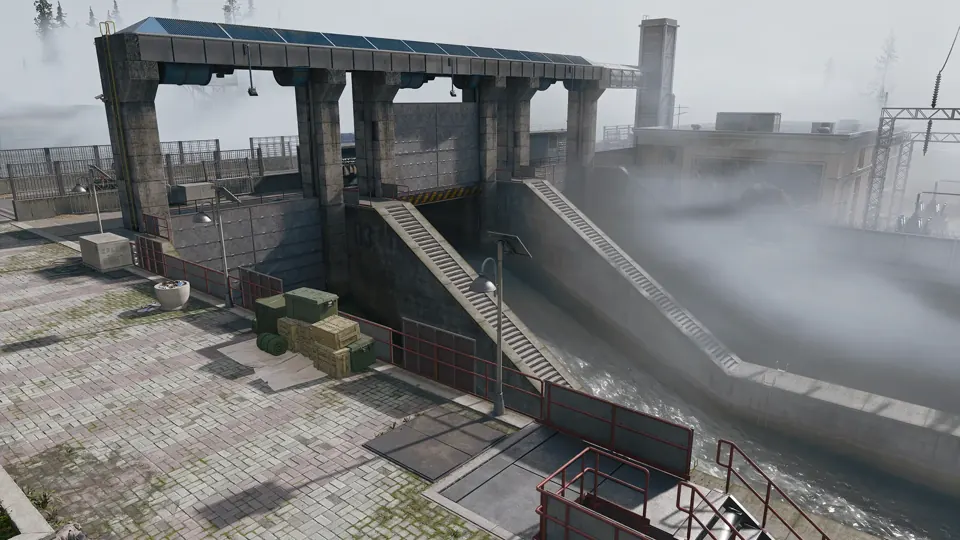
An intact dam guarded by military police, northwest of Tong-il Village.
Open Revolution Dam →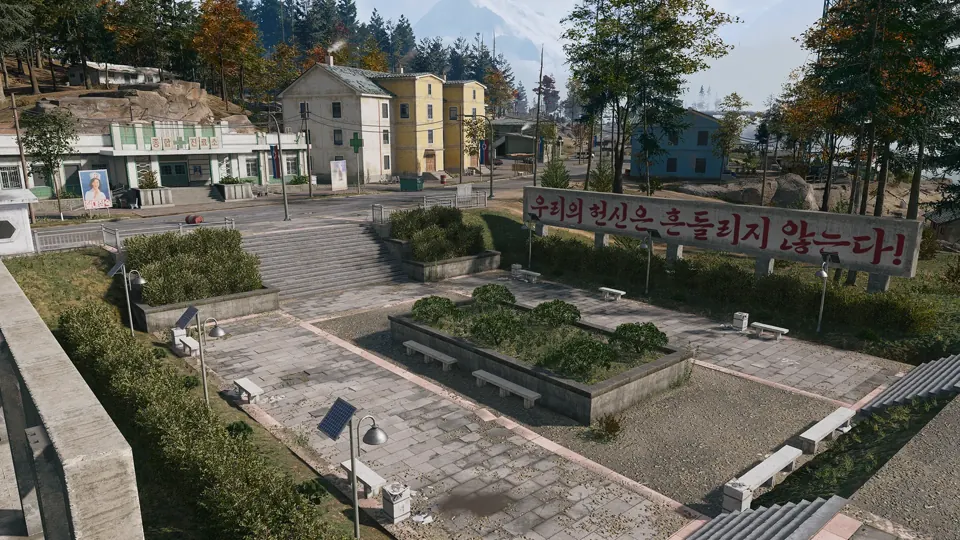
A farming village on the north delta of the Hajin River, under a large statue of a former leader.
Open Tong-il Village →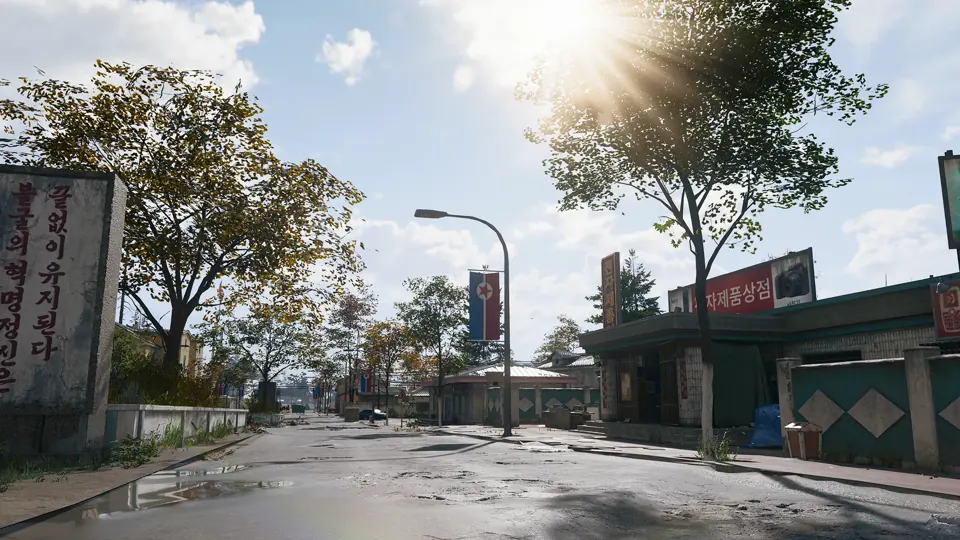
Houses and farmland west of the Hajin River, with a half-destroyed pontoon bridge for crossing by vehicle.
Open Pyonghwa Village →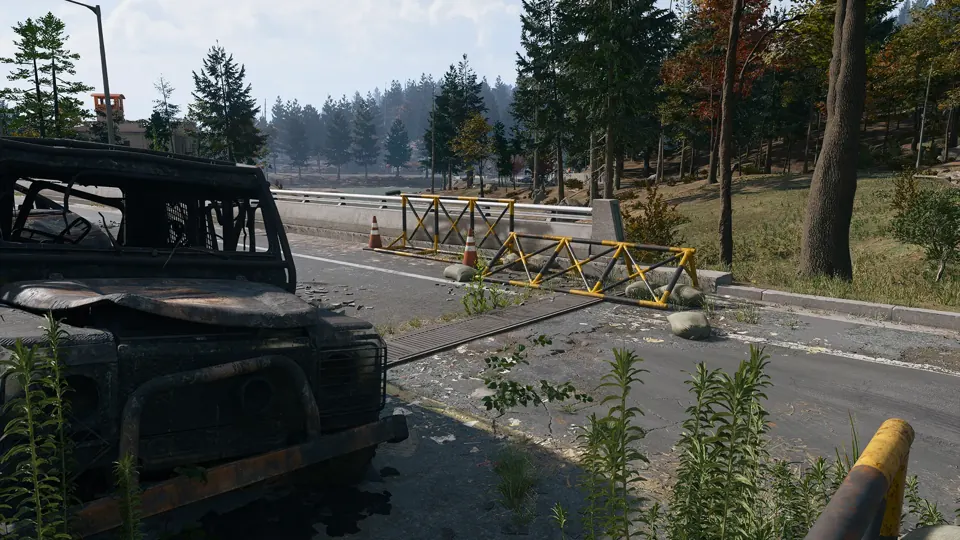
Abandoned civilian cars near a tunnel exit on Hajin’s southern edge, by the South Fork of the Hajin River.
Open Namjin Riverside →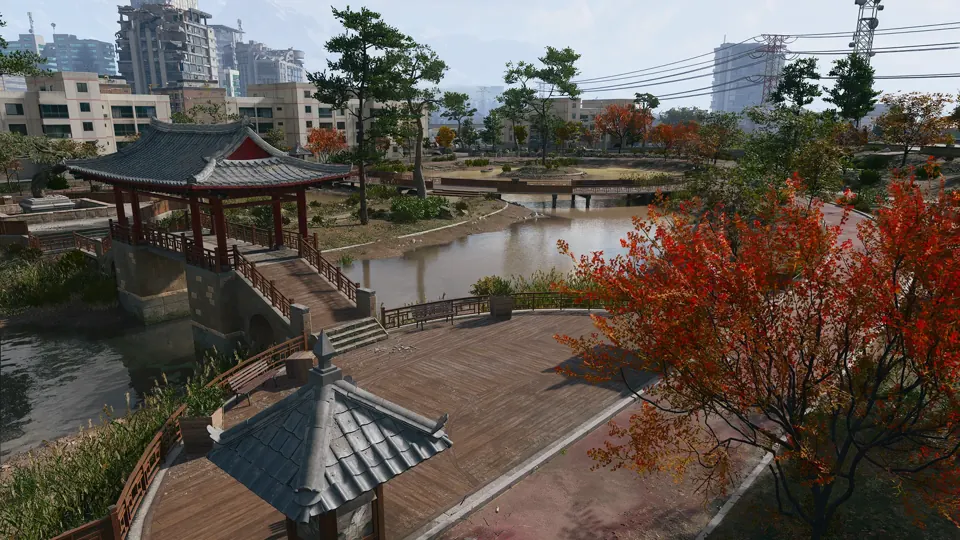
Medium-threat island area with a lone communications tower.
Open South Island →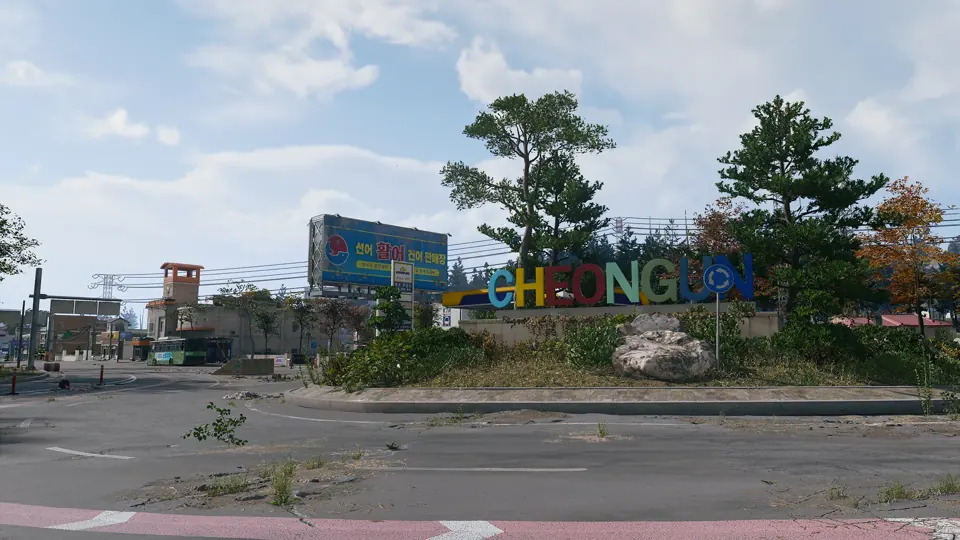
Sparser buildings and dense woodland on the west side of the village, near the South Korean border control.
Open Cheongun Outskirts →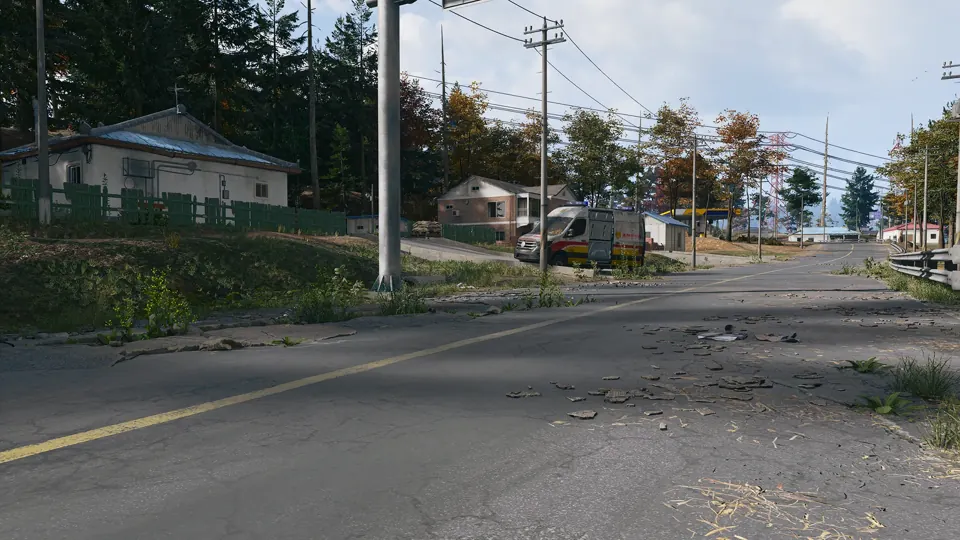
A small hamlet of farm workers on the Hajin River, at the foot of a wooded hill near the railway.
Open Imjin Suburb →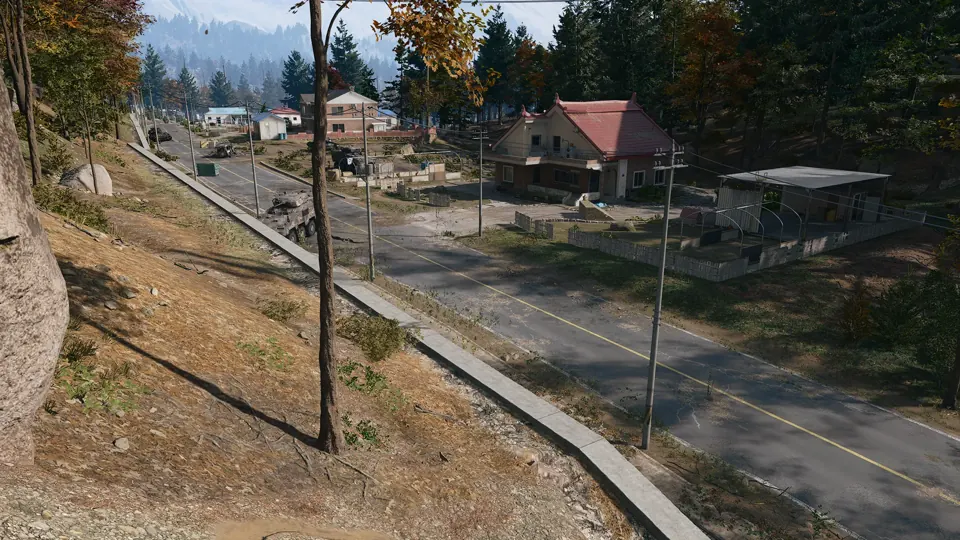
Farmland in a dell between two forests, with the Hospital to the north and the Array to the south.
Open Mujin Pass →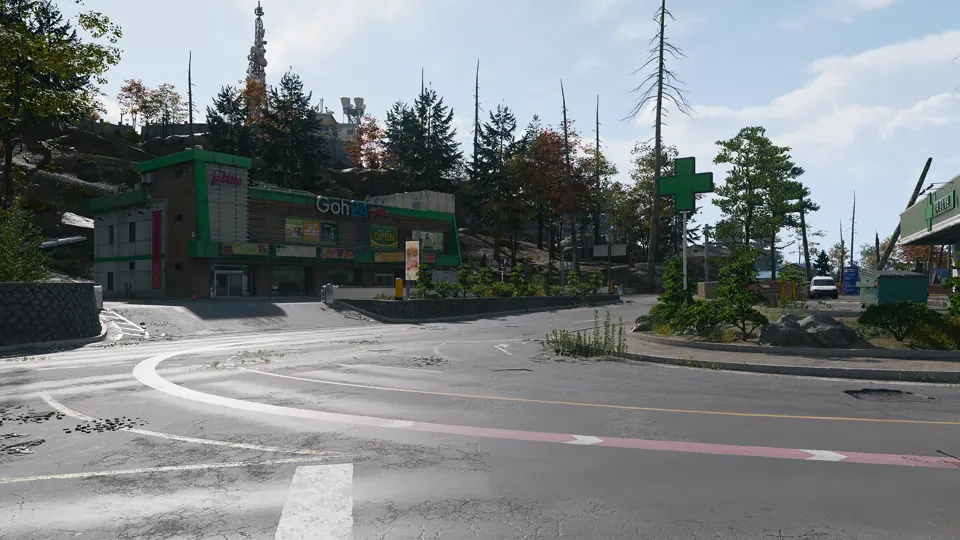
A rural settlement northeast of Imjin Farmland, its shelled road lined with burnt-out APCs.
Open Daesong Ridge →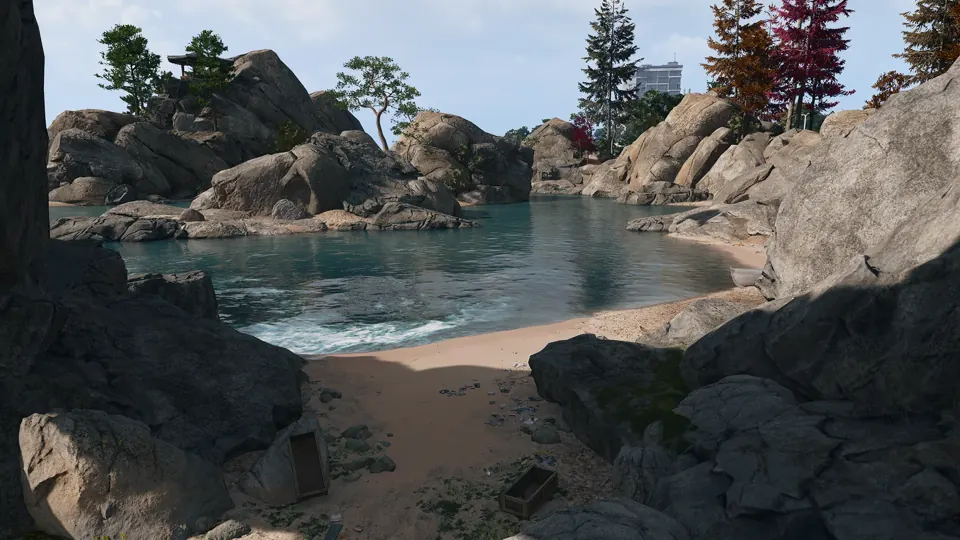
A rocky outcrop by the shore to explore or hide in.
Open Oamsik Turtle Islands →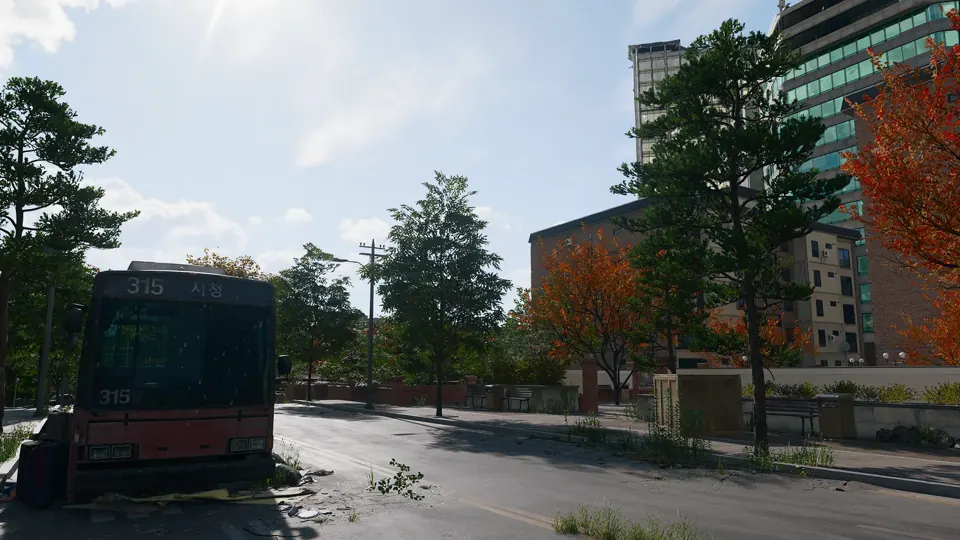
High-threat western section of the NuriGO Mall district.
Open NuriGO West →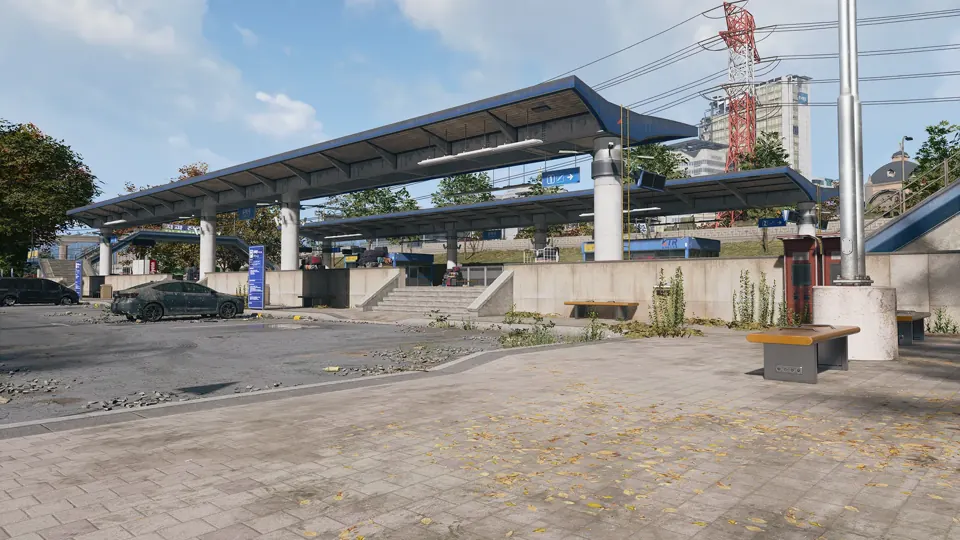
Low-threat named area in the Songdo Wharf district.
Open Shoreline Station →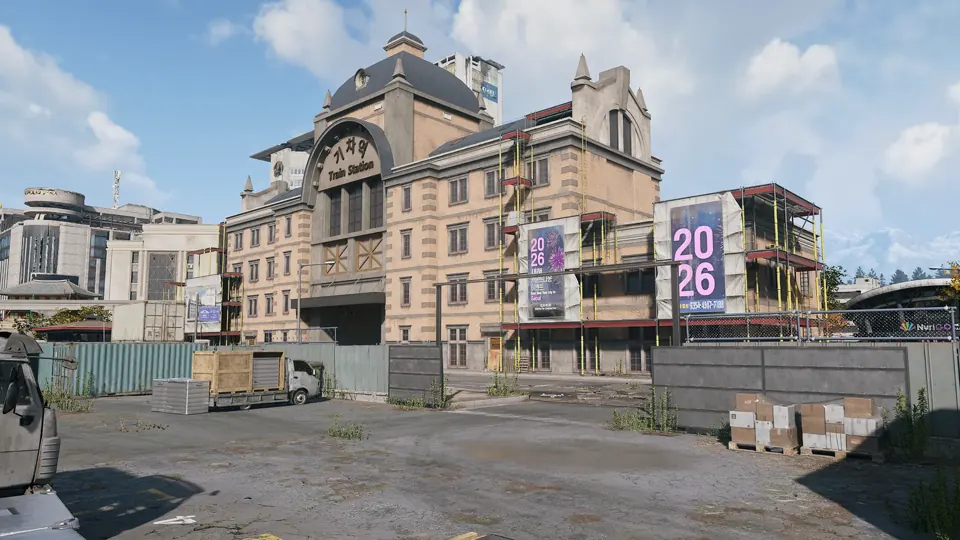
Medium-threat eastern section of the NuriGO Mall district.
Open NuriGO East →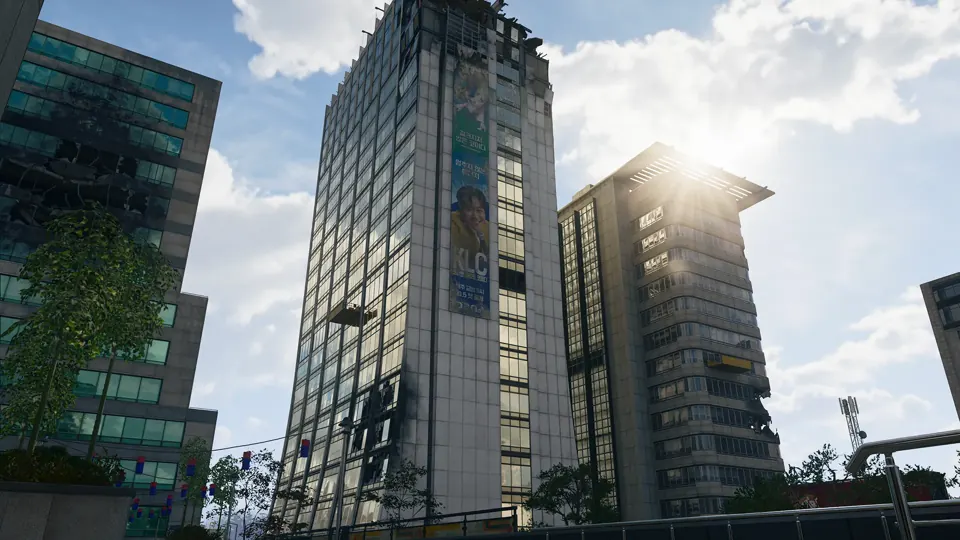
The DBN TV tower, the tallest building in Hajin.
Open DBN Headquarters →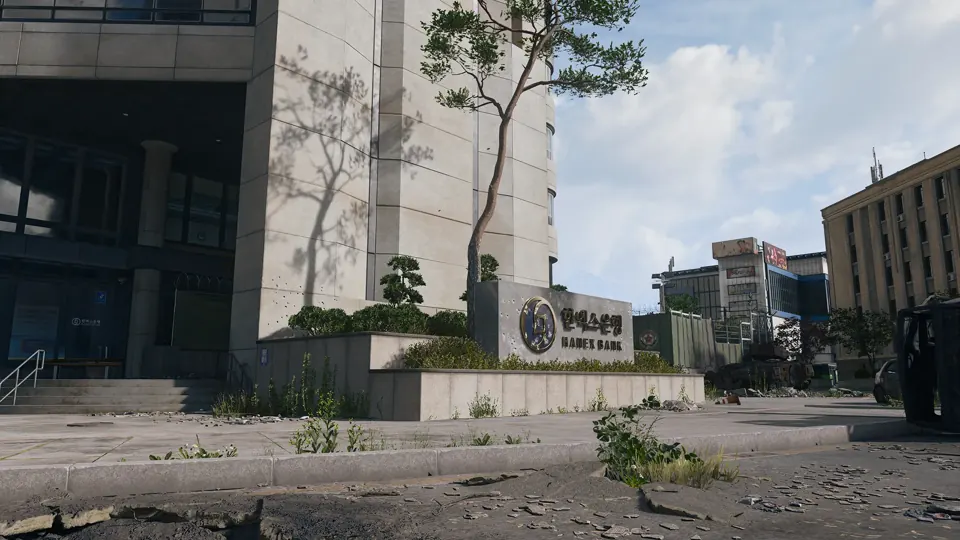
Critical-threat bank tower in The Grid, near Donpyeong Gate.
Open Hanex Bank →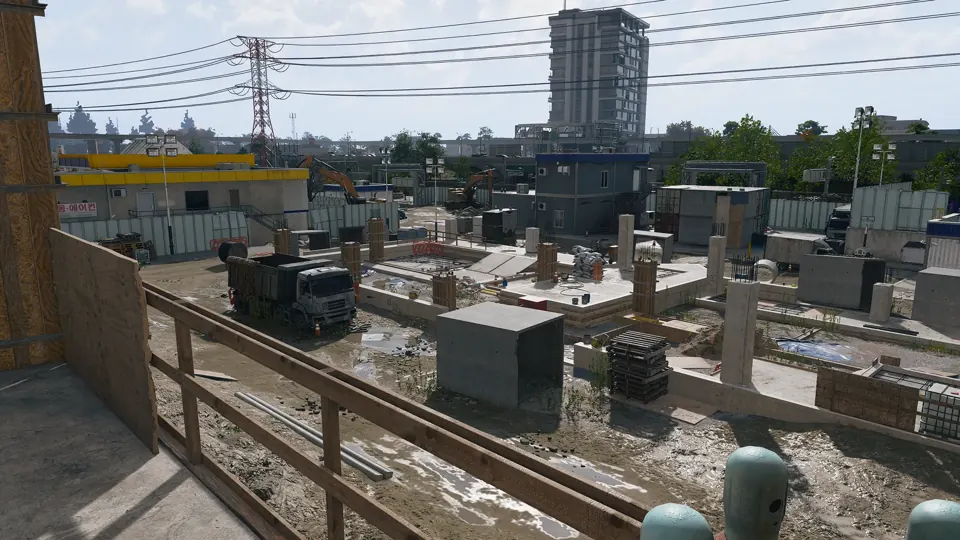
A building site across several city blocks on the eastern side of The Grid.
Open Construction Zone →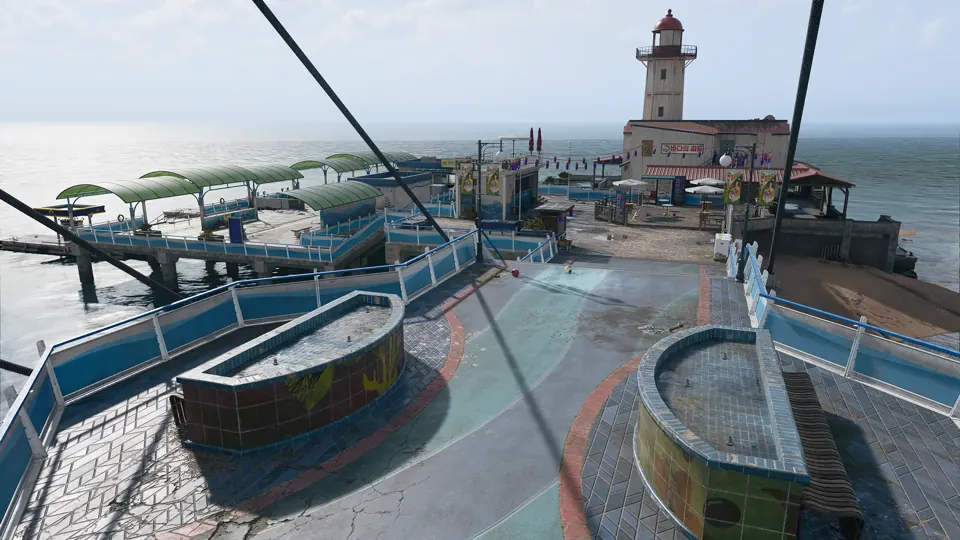
Pier in Hajin, marked on the official Call of Duty map.
Open Songdo Pier →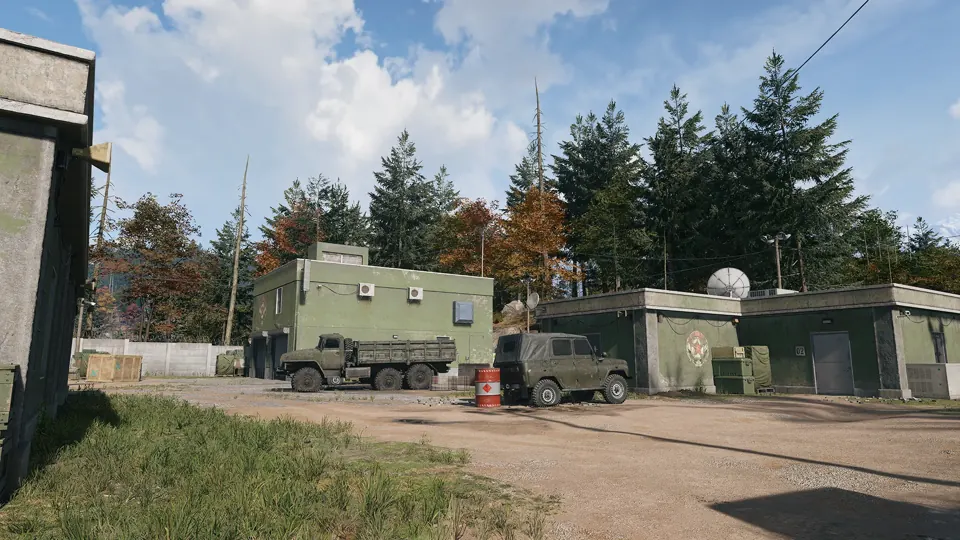
 Compounds · Grid B4
Enemy compound in Hajin, marked on the official Call of Duty map.
Open Compound Foxtrot →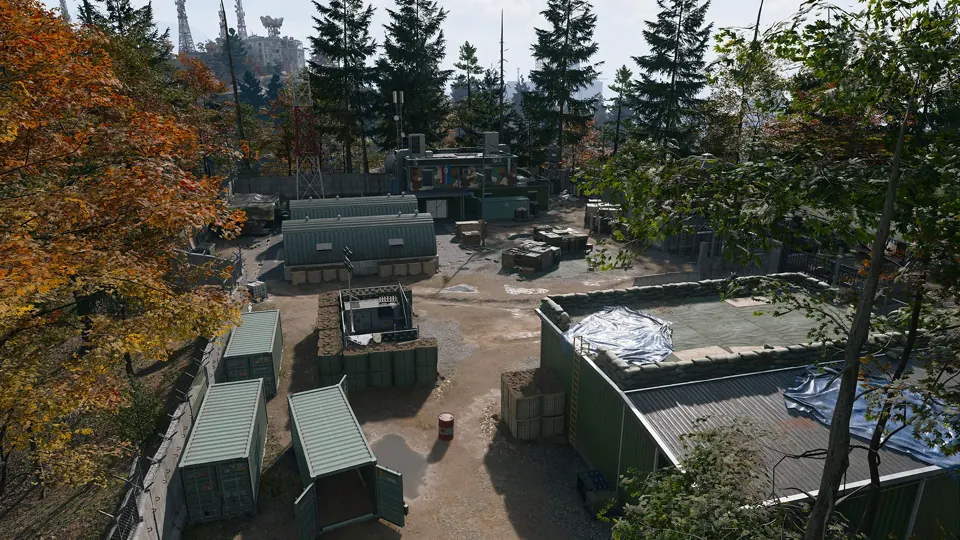 Compounds · Grid E7
Enemy compound in Hajin, marked on the official Call of Duty map.
Open Compound Alpha →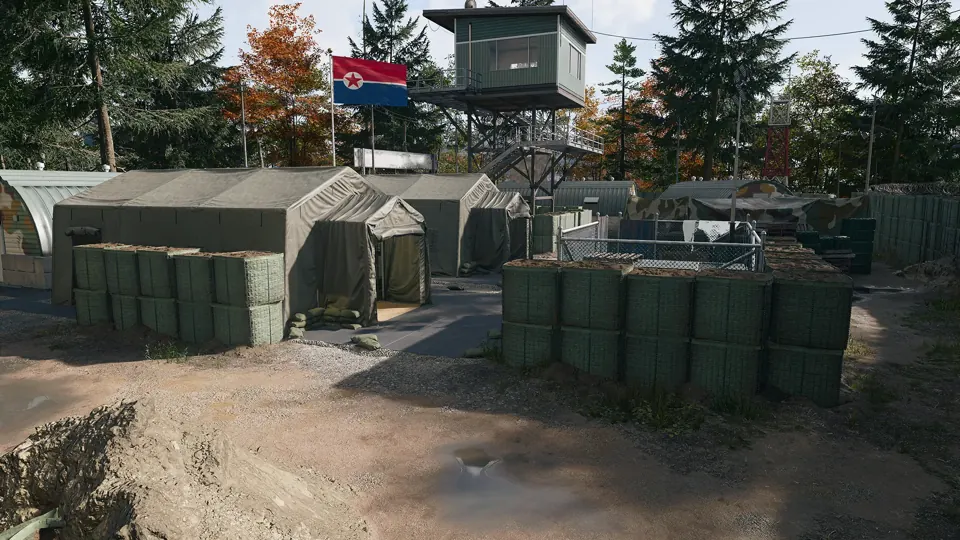 Compounds · Grid F8
Enemy compound in Hajin, marked on the official Call of Duty map.
Open Compound Bravo →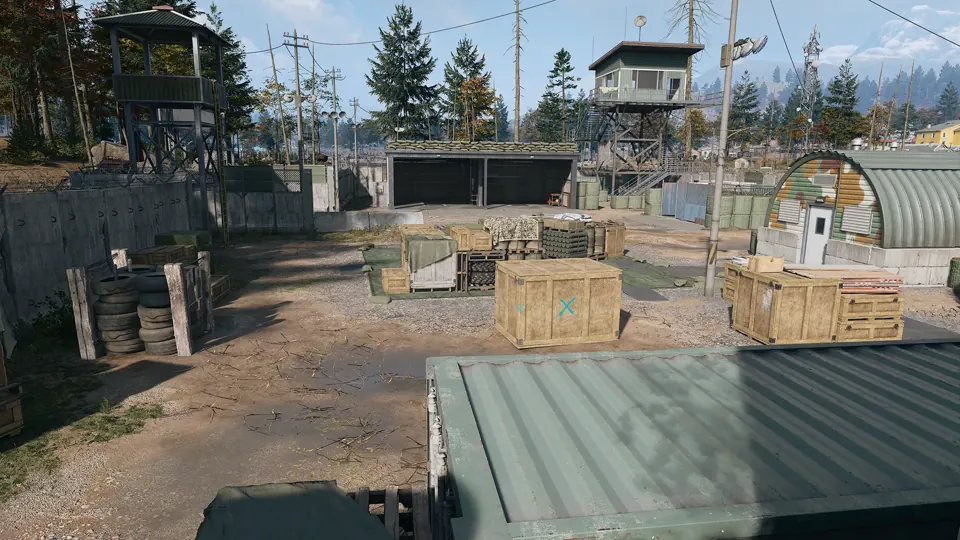 Compounds · Grid D4
Enemy compound in Hajin, marked on the official Call of Duty map.
Open Compound Charlie →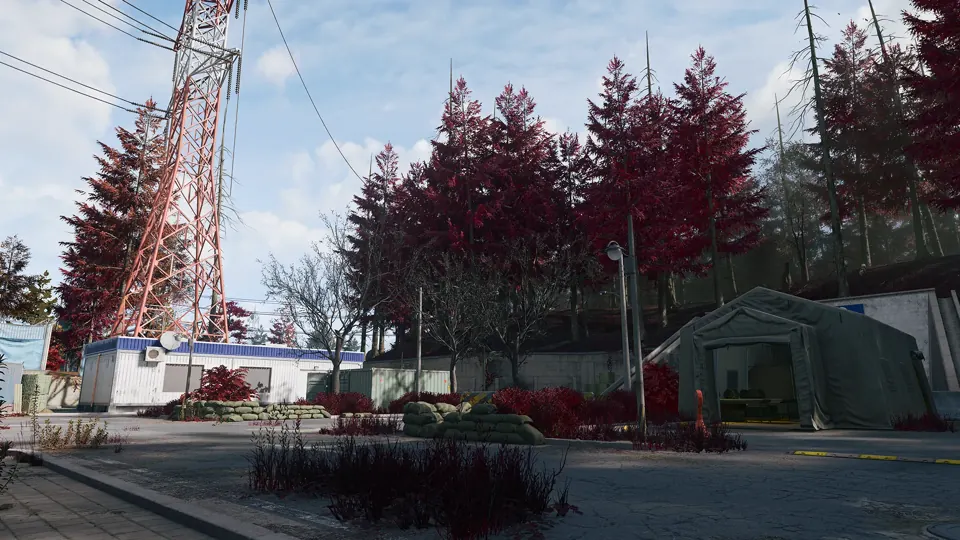 Compounds · Grid H4
Compound southwest of the reactor, mentioned as the origin of a possible tunnel approach.
Open Compound Delta →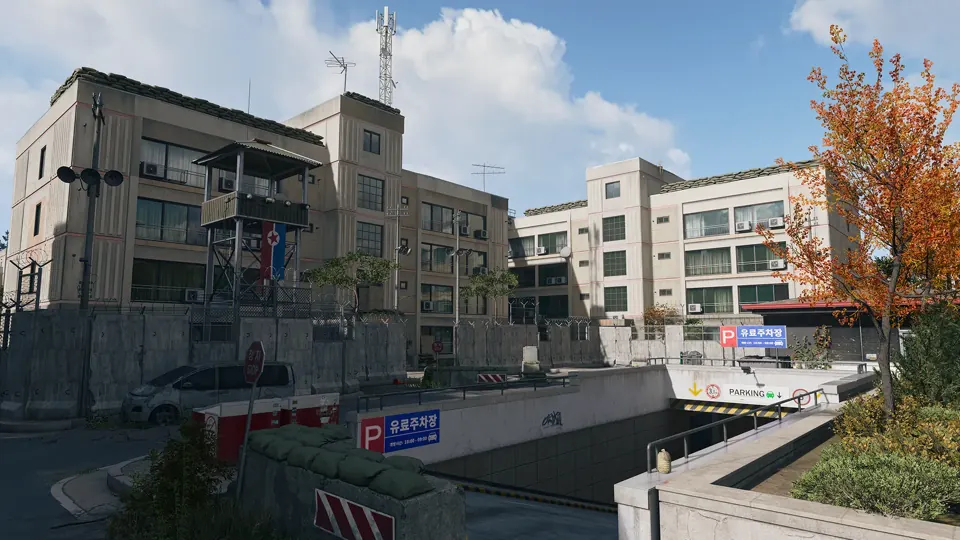 Compounds · Grid G7
An apartment building converted to a military base near the river northeast of the Heights.
Open Compound Echo →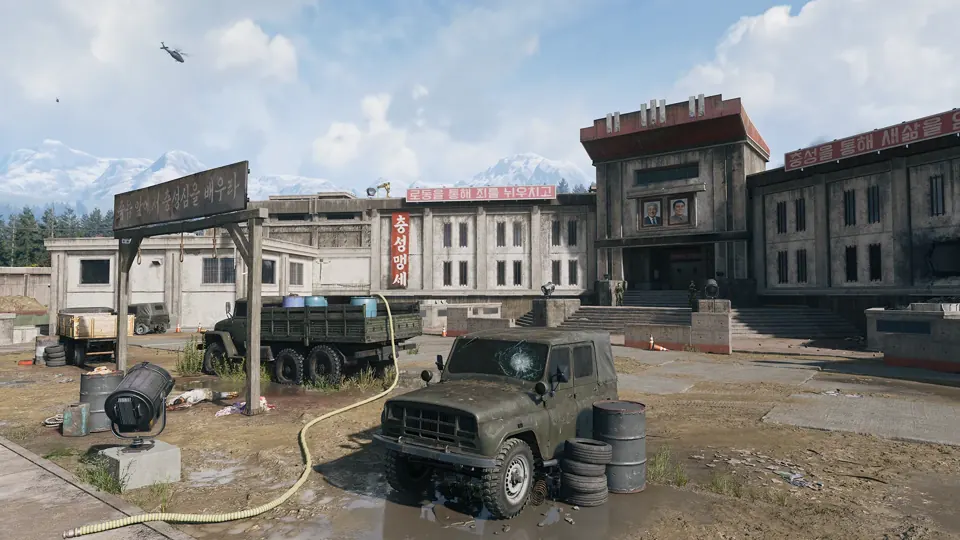
 Strongholds · Grid B3
The Y-shaped fortress inside the prison yard: gantries, cell blocks, a furnace and high value targets in a maze where squads are easily cut off.
Open The Citadel →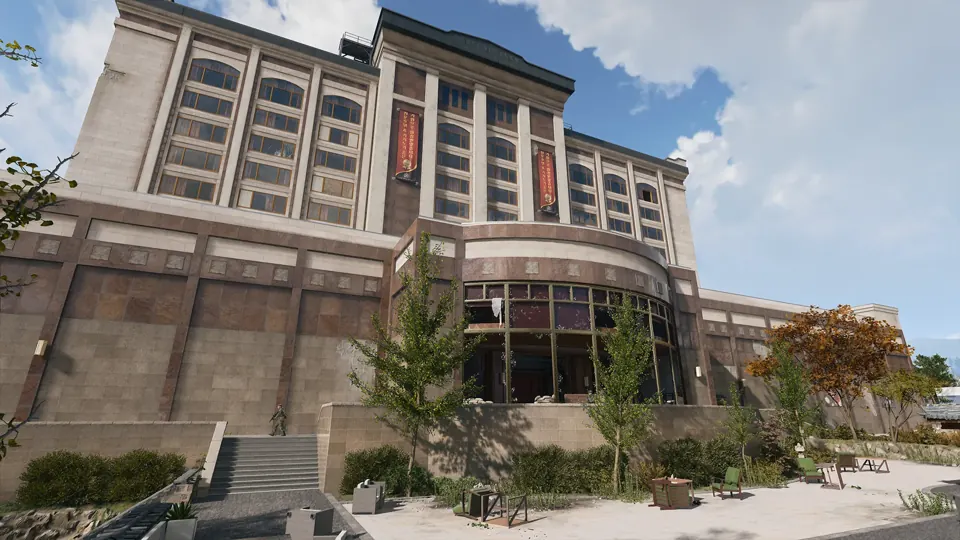 Strongholds · Grid F4
A once-lavish casino over several floors with an underground car park; dark gambling halls where night vision helps.
Open Heavenly Luck Casino →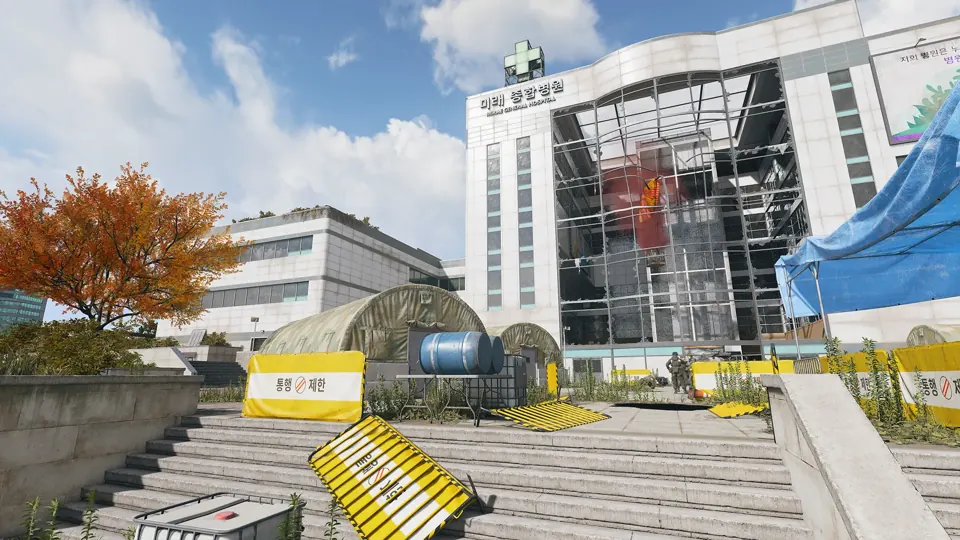 Strongholds · Grid F5
Hajin’s main hospital in the north centre, next to a train station, with triage tents and barracks outside and close-quarters fighting through its wards inside.
Open Mirae General Hospital →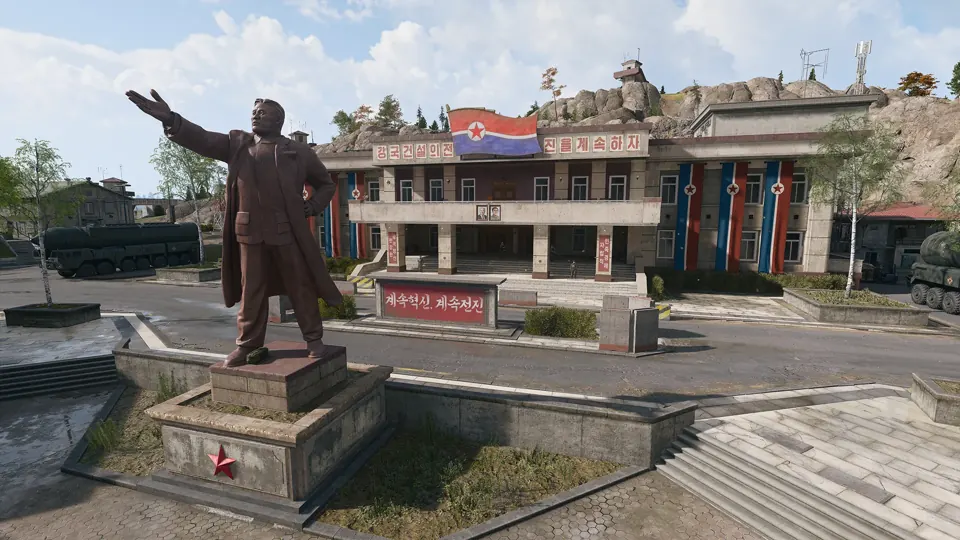 Strongholds · Grid B5
Stronghold in Hajin, marked on the official Call of Duty map.
Open Admin Complex No. 2 →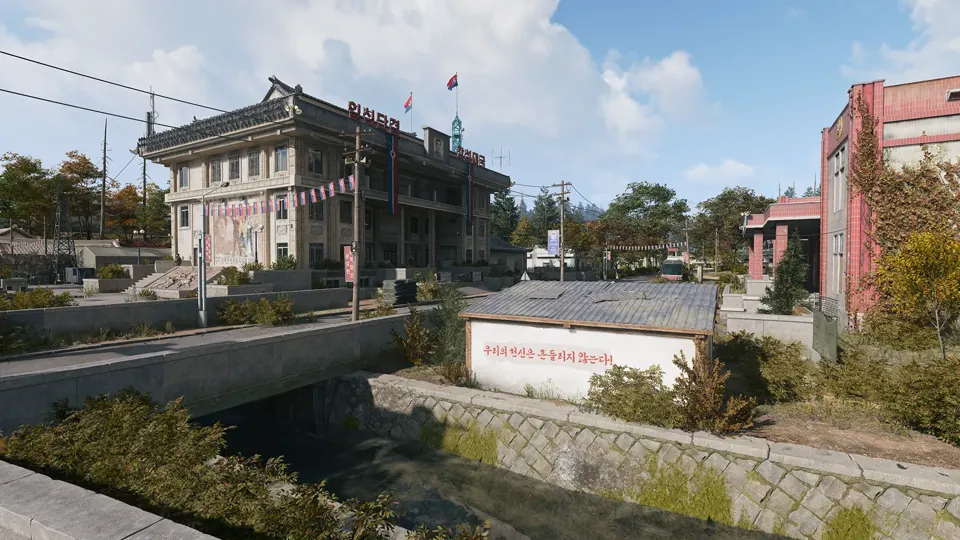 Strongholds · Grid B6
The two central Re-Education buildings, where enemy troops gather in numbers.
Open Re-Education Center →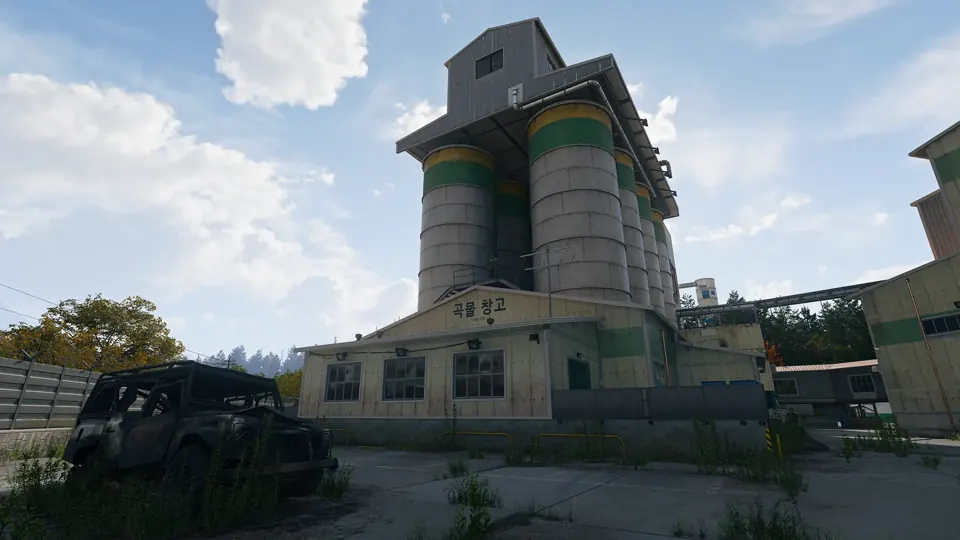 Strongholds · Grid D7
The industrial mill that towers over the farmland, a key elevated position reached through its warehouses.
Open Rice Mill →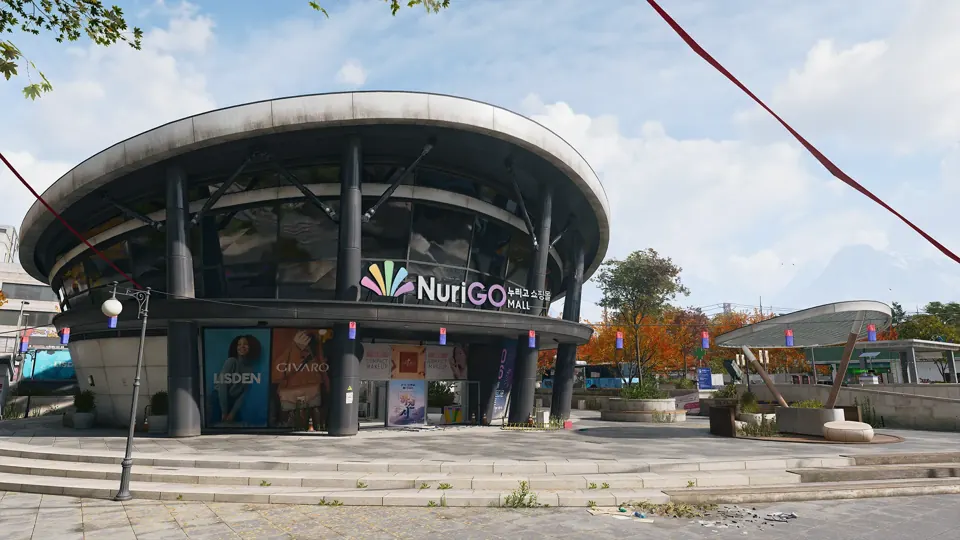 Strongholds · Grid H5
A shopping district in northeast Hajin City with shops, a police station, a clinic and City Hall above a large unlit underground mall.
Open NuriGO Mall →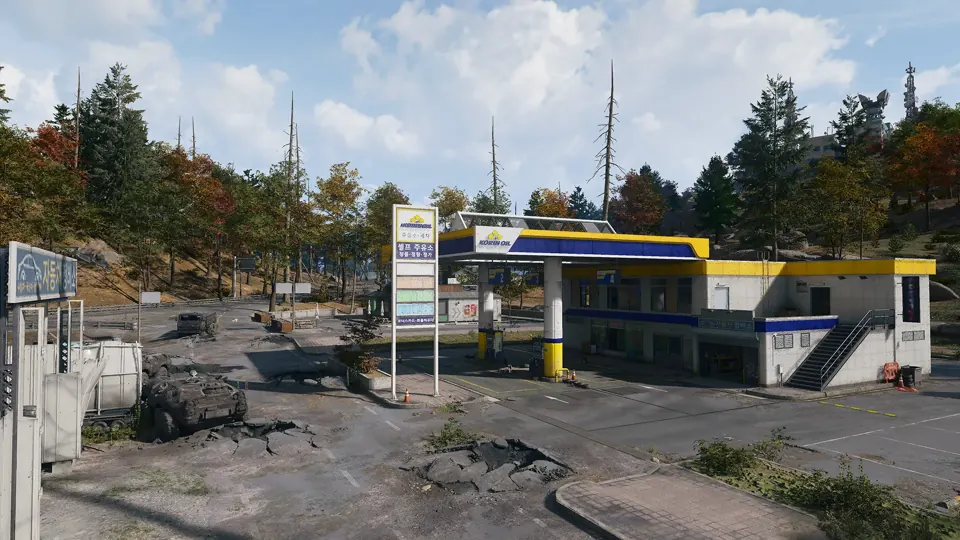
 Gas Stations · Grid D2
Repair and refuel vehicles or refill a gas can.
About Gas Stations → Gas Stations · Grid D4Repair and refuel vehicles or refill a gas can.
About Gas Stations → Gas Stations · Grid C4Repair and refuel vehicles or refill a gas can.
About Gas Stations → Gas Stations · Grid C6Repair and refuel vehicles or refill a gas can.
About Gas Stations → Gas Stations · Grid B7Repair and refuel vehicles or refill a gas can.
About Gas Stations → Gas Stations · Grid D8Repair and refuel vehicles or refill a gas can.
About Gas Stations →Gas Stations · Grid E8Repair and refuel vehicles or refill a gas can.
About Gas Stations → Gas Stations · Grid E4Repair and refuel vehicles or refill a gas can.
About Gas Stations → Gas Stations · Grid G4Repair and refuel vehicles or refill a gas can.
About Gas Stations → Gas Stations · Grid H4Repair and refuel vehicles or refill a gas can.
About Gas Stations → Gas Stations · Grid D5Repair and refuel vehicles or refill a gas can.
About Gas Stations → Gas Stations · Grid F5Repair and refuel vehicles or refill a gas can.
About Gas Stations → Gas Stations · Grid G5Repair and refuel vehicles or refill a gas can.
About Gas Stations → Gas Stations · Grid H5Repair and refuel vehicles or refill a gas can.
About Gas Stations → Gas Stations · Grid F7Repair and refuel vehicles or refill a gas can.
About Gas Stations → Gas Stations · Grid F7Repair and refuel vehicles or refill a gas can.
About Gas Stations → Gas Stations · Grid H6Repair and refuel vehicles or refill a gas can.
About Gas Stations → Gas Stations · Grid I6Repair and refuel vehicles or refill a gas can.
About Gas Stations →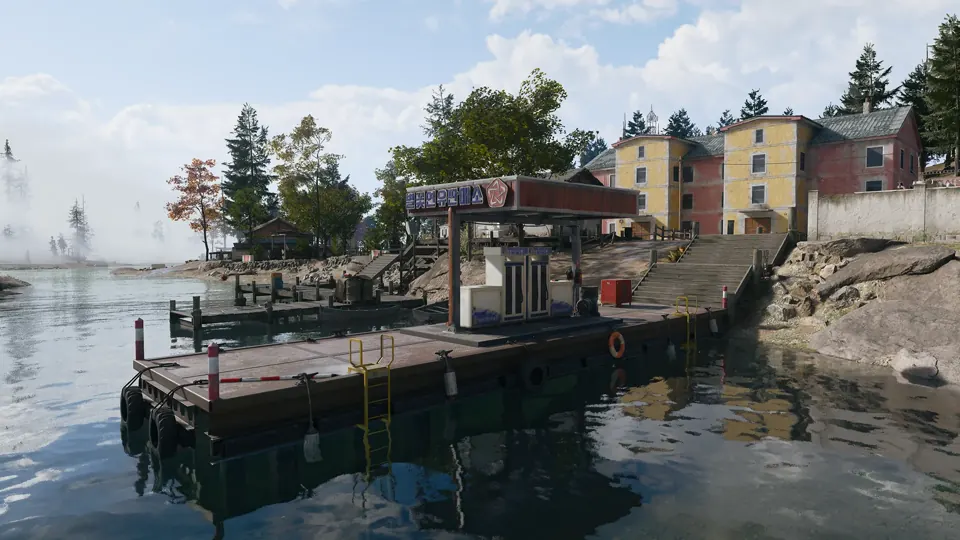
 Marine Gas Stations · Grid C1
Repair and refuel boats at a waterfront jetty with two pumps.
About Marine Gas Stations → Marine Gas Stations · Grid F3Repair and refuel boats at a waterfront jetty with two pumps.
About Marine Gas Stations → Marine Gas Stations · Grid I4Repair and refuel boats at a waterfront jetty with two pumps.
About Marine Gas Stations → Marine Gas Stations · Grid I6Repair and refuel boats at a waterfront jetty with two pumps.
About Marine Gas Stations → Marine Gas Stations · Grid G8Repair and refuel boats at a waterfront jetty with two pumps.
About Marine Gas Stations → Marine Gas Stations · Grid G9Repair and refuel boats at a waterfront jetty with two pumps.
About Marine Gas Stations →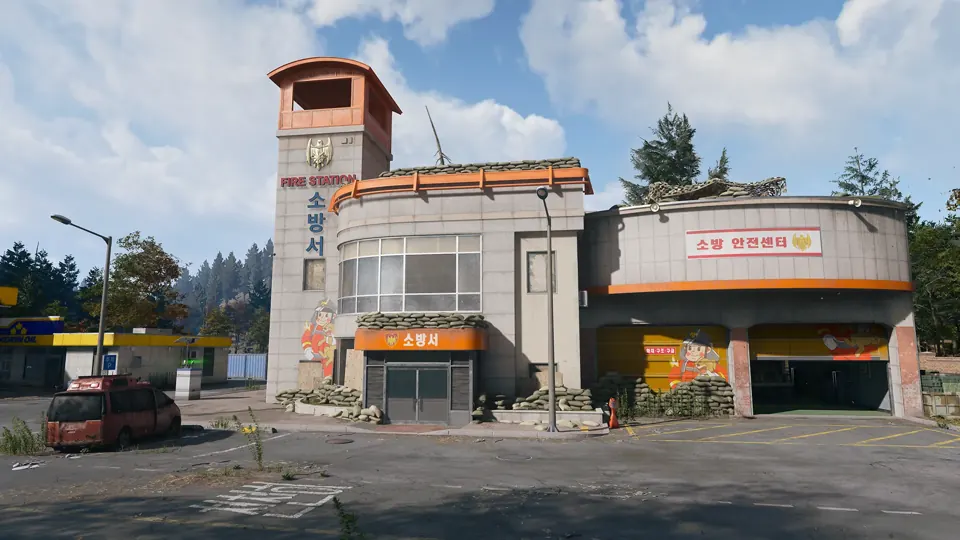
 Fire Stations · Grid C1
Search fire stations for radiation equipment and parachutes.
About Fire Stations → Fire Stations · Grid C4Search fire stations for radiation equipment and parachutes.
About Fire Stations → Fire Stations · Grid C6Search fire stations for radiation equipment and parachutes.
About Fire Stations → Fire Stations · Grid E4Search fire stations for radiation equipment and parachutes.
About Fire Stations → Fire Stations · Grid H5Search fire stations for radiation equipment and parachutes.
About Fire Stations → Fire Stations · Grid D8Search fire stations for radiation equipment and parachutes.
About Fire Stations →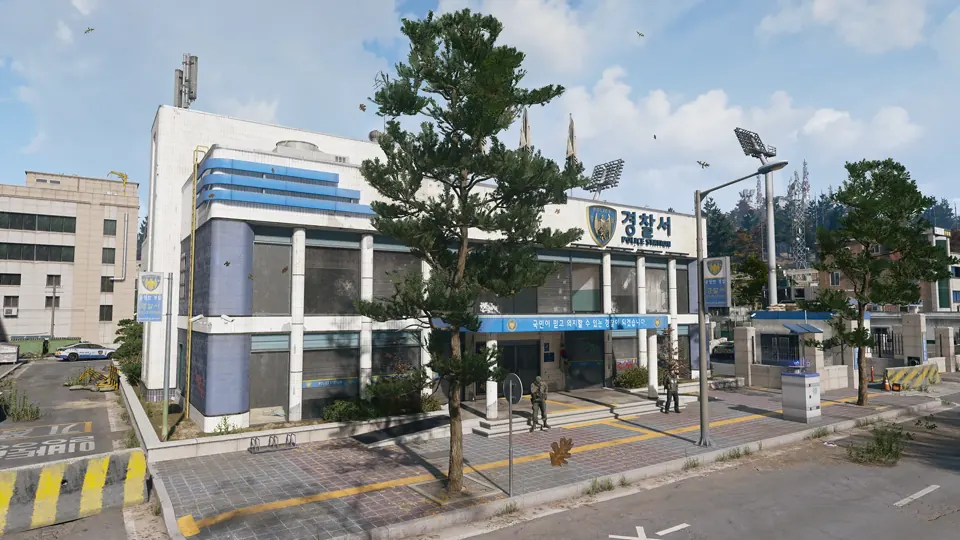
 Police Stations · Grid D2
Search police stations for military equipment and locked armories.
About Police Stations → Police Stations · Grid C4Search police stations for military equipment and locked armories.
About Police Stations → Police Stations · Grid F4Search police stations for military equipment and locked armories.
About Police Stations → Police Stations · Grid H5Search police stations for military equipment and locked armories.
About Police Stations → Police Stations · Grid G7Search police stations for military equipment and locked armories.
About Police Stations →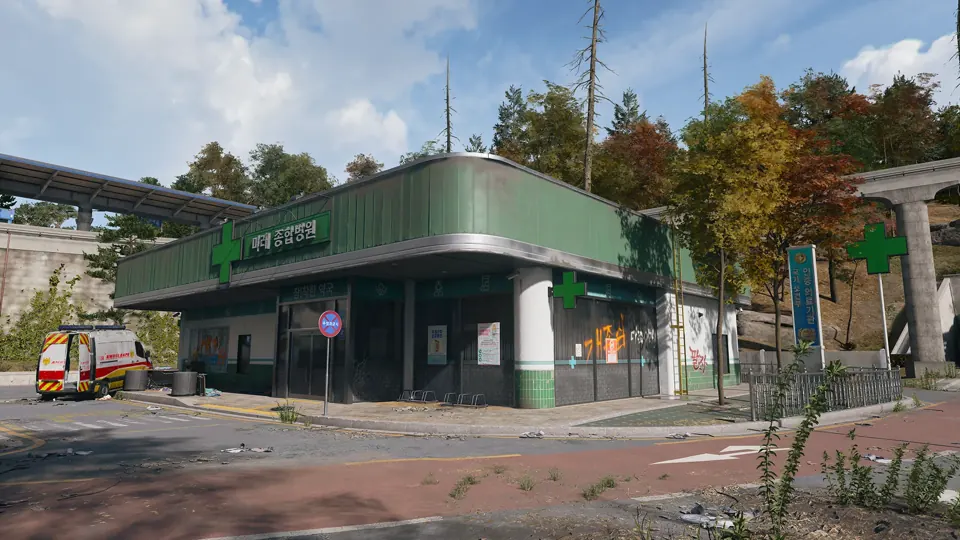
 Ammo & Armor Caches · Grid B3
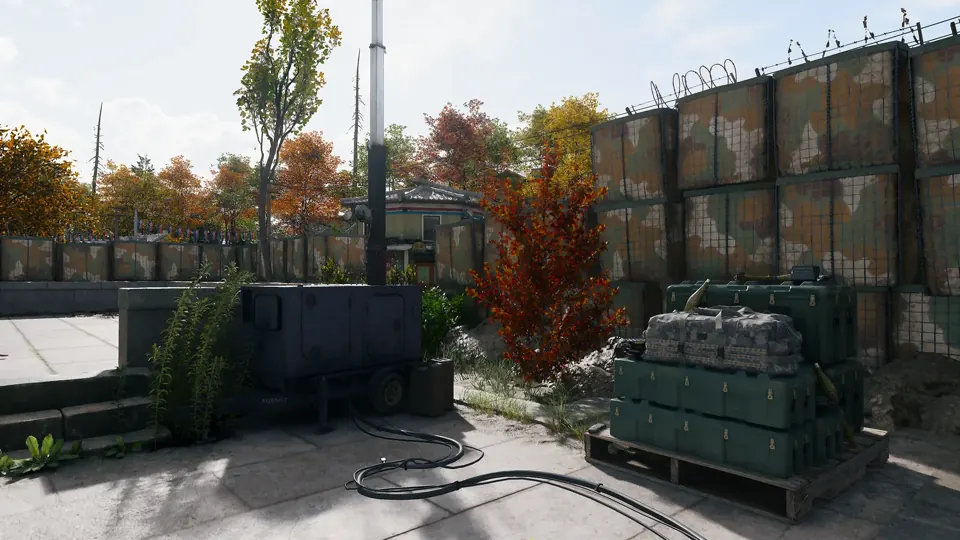
Restock ammunition and armor plates, then wait for the cache cooldown before using it again.
About Ammo & Armor Caches → Ammo & Armor Caches · Grid B4Restock ammunition and armor plates, then wait for the cache cooldown before using it again.
About Ammo & Armor Caches → Ammo & Armor Caches · Grid B5Restock ammunition and armor plates, then wait for the cache cooldown before using it again.
About Ammo & Armor Caches → Ammo & Armor Caches · Grid B5Restock ammunition and armor plates, then wait for the cache cooldown before using it again.
About Ammo & Armor Caches → Ammo & Armor Caches · Grid B6Restock ammunition and armor plates, then wait for the cache cooldown before using it again.
About Ammo & Armor Caches → Ammo & Armor Caches · Grid D4Restock ammunition and armor plates, then wait for the cache cooldown before using it again.
About Ammo & Armor Caches → Ammo & Armor Caches · Grid D5Restock ammunition and armor plates, then wait for the cache cooldown before using it again.
About Ammo & Armor Caches → Ammo & Armor Caches · Grid F4Restock ammunition and armor plates, then wait for the cache cooldown before using it again.
About Ammo & Armor Caches → Ammo & Armor Caches · Grid F4Restock ammunition and armor plates, then wait for the cache cooldown before using it again.
About Ammo & Armor Caches → Ammo & Armor Caches · Grid F4Restock ammunition and armor plates, then wait for the cache cooldown before using it again.
About Ammo & Armor Caches → Ammo & Armor Caches · Grid F4Restock ammunition and armor plates, then wait for the cache cooldown before using it again.
About Ammo & Armor Caches → Ammo & Armor Caches · Grid F5Restock ammunition and armor plates, then wait for the cache cooldown before using it again.
About Ammo & Armor Caches → Ammo & Armor Caches · Grid I3Restock ammunition and armor plates, then wait for the cache cooldown before using it again.
About Ammo & Armor Caches → Ammo & Armor Caches · Grid H3Restock ammunition and armor plates, then wait for the cache cooldown before using it again.
About Ammo & Armor Caches → Ammo & Armor Caches · Grid H4Restock ammunition and armor plates, then wait for the cache cooldown before using it again.
About Ammo & Armor Caches → Ammo & Armor Caches · Grid H5Restock ammunition and armor plates, then wait for the cache cooldown before using it again.
About Ammo & Armor Caches → Ammo & Armor Caches · Grid H6Restock ammunition and armor plates, then wait for the cache cooldown before using it again.
About Ammo & Armor Caches → Ammo & Armor Caches · Grid G6Restock ammunition and armor plates, then wait for the cache cooldown before using it again.
About Ammo & Armor Caches → Ammo & Armor Caches · Grid G6Restock ammunition and armor plates, then wait for the cache cooldown before using it again.
About Ammo & Armor Caches → Ammo & Armor Caches · Grid H7Restock ammunition and armor plates, then wait for the cache cooldown before using it again.
About Ammo & Armor Caches → Ammo & Armor Caches · Grid I6Restock ammunition and armor plates, then wait for the cache cooldown before using it again.
About Ammo & Armor Caches → Ammo & Armor Caches · Grid G7Restock ammunition and armor plates, then wait for the cache cooldown before using it again.
About Ammo & Armor Caches → Ammo & Armor Caches · Grid G7Restock ammunition and armor plates, then wait for the cache cooldown before using it again.
About Ammo & Armor Caches → Ammo & Armor Caches · Grid D6Restock ammunition and armor plates, then wait for the cache cooldown before using it again.
About Ammo & Armor Caches → Ammo & Armor Caches · Grid E7Restock ammunition and armor plates, then wait for the cache cooldown before using it again.
About Ammo & Armor Caches → Ammo & Armor Caches · Grid F7Restock ammunition and armor plates, then wait for the cache cooldown before using it again.
About Ammo & Armor Caches → Ammo & Armor Caches · Grid D7Restock ammunition and armor plates, then wait for the cache cooldown before using it again.
About Ammo & Armor Caches → Ammo & Armor Caches · Grid D7Restock ammunition and armor plates, then wait for the cache cooldown before using it again.
About Ammo & Armor Caches →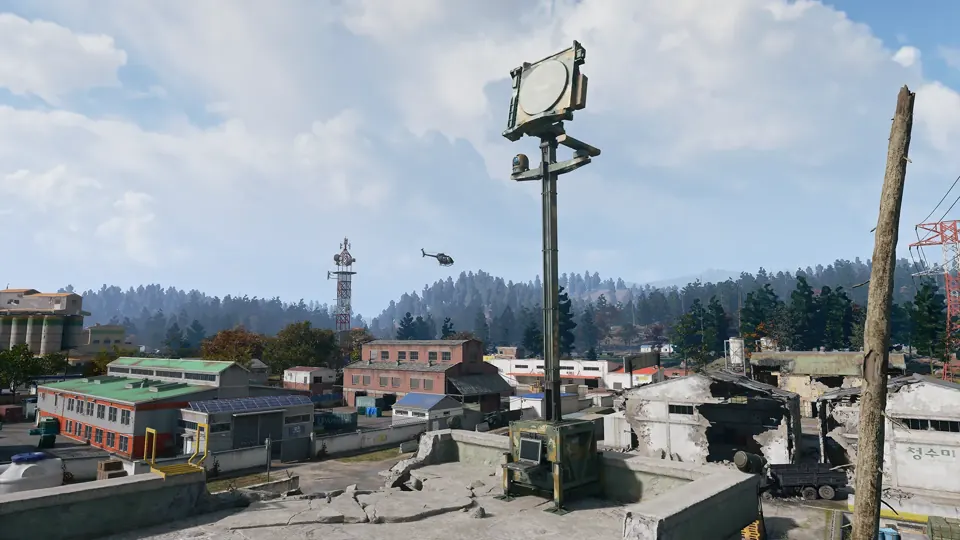
 UAV Towers · Grid B3
Activate a tower to reveal nearby operators and enemies and complete a Side Op.
About UAV Towers → UAV Towers · Grid B5Activate a tower to reveal nearby operators and enemies and complete a Side Op.
About UAV Towers → UAV Towers · Grid B6Activate a tower to reveal nearby operators and enemies and complete a Side Op.
About UAV Towers → UAV Towers · Grid D6Activate a tower to reveal nearby operators and enemies and complete a Side Op.
About UAV Towers → UAV Towers · Grid D8Activate a tower to reveal nearby operators and enemies and complete a Side Op.
About UAV Towers → UAV Towers · Grid E4Activate a tower to reveal nearby operators and enemies and complete a Side Op.
About UAV Towers → UAV Towers · Grid G4Activate a tower to reveal nearby operators and enemies and complete a Side Op.
About UAV Towers → UAV Towers · Grid H4Activate a tower to reveal nearby operators and enemies and complete a Side Op.
About UAV Towers → UAV Towers · Grid G5Activate a tower to reveal nearby operators and enemies and complete a Side Op.
About UAV Towers → UAV Towers · Grid H5Activate a tower to reveal nearby operators and enemies and complete a Side Op.
About UAV Towers → UAV Towers · Grid E6Activate a tower to reveal nearby operators and enemies and complete a Side Op.
About UAV Towers → UAV Towers · Grid F7Activate a tower to reveal nearby operators and enemies and complete a Side Op.
About UAV Towers → UAV Towers · Grid H7Activate a tower to reveal nearby operators and enemies and complete a Side Op.
About UAV Towers → UAV Towers · Grid I6Activate a tower to reveal nearby operators and enemies and complete a Side Op.
About UAV Towers →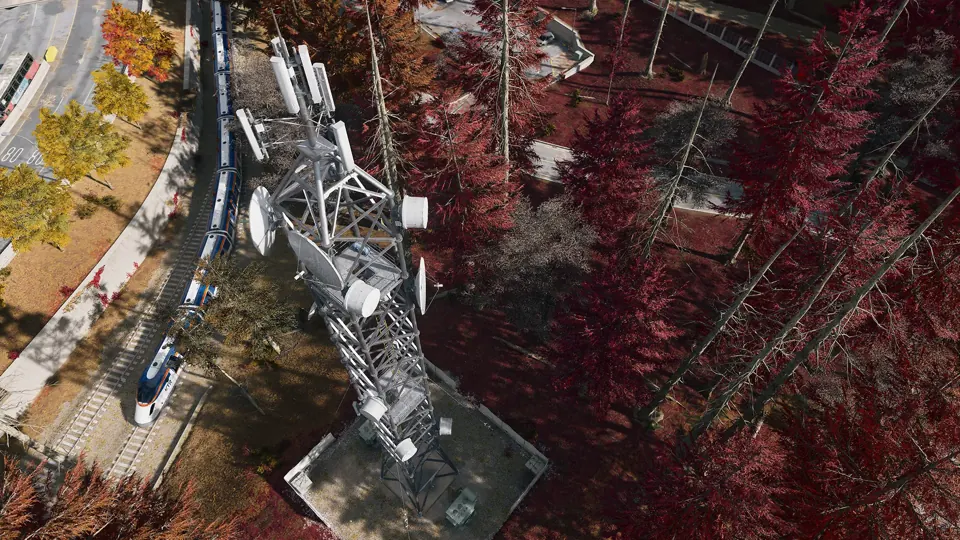
 Lieutenant Towers · Grid D3
Climb a communications tower and use its laptop to locate a nearby Lieutenant.
About Lieutenant Towers → Lieutenant Towers · Grid B7Climb a communications tower and use its laptop to locate a nearby Lieutenant.
About Lieutenant Towers → Lieutenant Towers · Grid G4Climb a communications tower and use its laptop to locate a nearby Lieutenant.
About Lieutenant Towers → Lieutenant Towers · Grid F6Climb a communications tower and use its laptop to locate a nearby Lieutenant.
About Lieutenant Towers → Lieutenant Towers · Grid H7Climb a communications tower and use its laptop to locate a nearby Lieutenant.
About Lieutenant Towers → Exfils · Grid C5
Call an extraction helicopter at an active exfil and defend the area until you can board.
Active extraction sites vary by deployment. Check your Tac-Map before heading to an exit.
About Exfils →Exfils · Grid D6Call an extraction helicopter at an active exfil and defend the area until you can board.
Active extraction sites vary by deployment. Check your Tac-Map before heading to an exit.
About Exfils → SAM Sites · Grid B7
Hack and defend a SAM site to turn its missiles against enemy aircraft.
About SAM Sites →SAM Sites · Grid C7Hack and defend a SAM site to turn its missiles against enemy aircraft.
About SAM Sites →UAV Towers · Grid B5Activate a tower to reveal nearby operators and enemies and complete a Side Op.
About UAV Towers →UAV Towers · Grid I6Activate a tower to reveal nearby operators and enemies and complete a Side Op.
About UAV Towers →UAV Towers · Grid G7Activate a tower to reveal nearby operators and enemies and complete a Side Op.
About UAV Towers → Radiation Zones · Grid H6
Check your Tac-Map for current radiation. Entering Haneul Nuclear Reactor requires Radiation Gear and a Gas Mask. Read the survival guide before heading into a contaminated area.
Radiation survival guide →The Y-shaped fortress inside the prison yard: gantries, cell blocks, a furnace and high value targets in a maze where squads are easily cut off.
Open The Citadel →Exfils · Grid D3Call an extraction helicopter at an active exfil and defend the area until you can board.
Active extraction sites vary by deployment. Check your Tac-Map before heading to an exit.
About Exfils →The industrial mill that towers over the farmland, a key elevated position reached through its warehouses.
Open Rice Mill →The two central Re-Education buildings, where enemy troops gather in numbers.
Open Re-Education Center →Stronghold in Hajin, marked on the official Call of Duty map.
Open Admin Complex No. 2 →Exfils · Grid F8Call an extraction helicopter at an active exfil and defend the area until you can board.
Active extraction sites vary by deployment. Check your Tac-Map before heading to an exit.
About Exfils →Exfils · Grid I7Call an extraction helicopter at an active exfil and defend the area until you can board.
Active extraction sites vary by deployment. Check your Tac-Map before heading to an exit.
About Exfils →SAM Sites · Grid I6Hack and defend a SAM site to turn its missiles against enemy aircraft.
About SAM Sites →SAM Sites · Grid G6Hack and defend a SAM site to turn its missiles against enemy aircraft.
About SAM Sites →SAM Sites · Grid G6Hack and defend a SAM site to turn its missiles against enemy aircraft.
About SAM Sites →SAM Sites · Grid G6Hack and defend a SAM site to turn its missiles against enemy aircraft.
About SAM Sites →SAM Sites · Grid G7Hack and defend a SAM site to turn its missiles against enemy aircraft.
About SAM Sites →SAM Sites · Grid F7Hack and defend a SAM site to turn its missiles against enemy aircraft.
About SAM Sites →Exfils · Grid G7Call an extraction helicopter at an active exfil and defend the area until you can board.
Active extraction sites vary by deployment. Check your Tac-Map before heading to an exit.
About Exfils →Exfils · Grid C5Call an extraction helicopter at an active exfil and defend the area until you can board.
Active extraction sites vary by deployment. Check your Tac-Map before heading to an exit.
About Exfils → Key Rooms · Grid B6
Opens the annex on the ground floor of the Re-Education Center in Deadtown.
Required key: Re-Education Center Annex →Key Rooms · Grid F5Opens a converted conference room in Mirae General Hospital's upper-floor offices, grid F5. Look for the wooden double office doors.
Required key: The Doctor's Command Office →Exfils · Grid E4Call an extraction helicopter at an active exfil and defend the area until you can board.
Active extraction sites vary by deployment. Check your Tac-Map before heading to an exit.
About Exfils →Exfils · Grid B5Call an extraction helicopter at an active exfil and defend the area until you can board.
Active extraction sites vary by deployment. Check your Tac-Map before heading to an exit.
About Exfils →Radiation Zones · Grid C8Check your Tac-Map for current radiation. Entering Haneul Nuclear Reactor requires Radiation Gear and a Gas Mask. Read the survival guide before heading into a contaminated area.
Radiation survival guide →Key Rooms · Grid G5Check the room's door for the required key.
Radiation Zones · Grid D5Check your Tac-Map for current radiation. Entering Haneul Nuclear Reactor requires Radiation Gear and a Gas Mask. Read the survival guide before heading into a contaminated area.
Radiation survival guide →Key Rooms · Grid D2The basement armory at Pyeonghwa Village’s police station, beside the holding cells and caged counter.
Open Police Station Armory area →Key Rooms · Grid D8A locked storage room on an upstairs landing in Cheongun Village’s fire station.
Open Fire Station Storage area →Radiation Zones · Grid F7Check your Tac-Map for current radiation. Entering Haneul Nuclear Reactor requires Radiation Gear and a Gas Mask. Read the survival guide before heading into a contaminated area.
Radiation survival guide →Exfils · Grid E7Call an extraction helicopter at an active exfil and defend the area until you can board.
Active extraction sites vary by deployment. Check your Tac-Map before heading to an exit.
About Exfils →Exfils · Grid C4Call an extraction helicopter at an active exfil and defend the area until you can board.
Active extraction sites vary by deployment. Check your Tac-Map before heading to an exit.
About Exfils →Exfils · Grid H6Call an extraction helicopter at an active exfil and defend the area until you can board.
Active extraction sites vary by deployment. Check your Tac-Map before heading to an exit.
About Exfils →Key Rooms · Grid H6Opens the Gas Station Electrical Room at Construction Zone; look for the grey metal door beside a noticeboard.
Required key: Gas Station Electrical Room →Key Rooms · Grid G5Opens the Coin Mining Den in NuriGO West; look for the grey office door beside a red fire alarm.
Required key: Coin Mining Den Key →Key Rooms · Grid F4Opens the counting-room vault behind the Cashier shopfront on the main floor of Heavenly Luck Casino.
Required key: Counting Room Vault →Key Rooms · Grid F4Vault Armory key required. The armory is in the underground parking area of Heavenly Luck Casino.
Required key: Vault Armory →Key Rooms · Grid F6Iskra’s Control Room key required. The room is in the broadcast building at Cheonwang Peak Array.
Required key: Iskra’s Control Room →Key Rooms · Grid B5A locked maintenance room inside a corrugated-metal supply warehouse northeast of the clinic at Chang-san Air Base.
Open Field Depot area →Key Rooms · Grid I6Opens the three locked cabinets in a gun-store basement. Two locations are marked on the Hajin map.
Required key: Gun Store Weapons Locker Key →Key Rooms · Grid E3Opens the three locked cabinets in a gun-store basement. Two locations are marked on the Hajin map.
Required key: Gun Store Weapons Locker Key →Radiation Zones · Grid E7Check your current Tac-Map for radiation in this area and bring appropriate protective equipment.
Radiation survival guide →Exfils · Grid C2Extraction reference point. Availability varies by deployment; check your current Tac-Map for active exfils.
Active extraction sites vary by deployment. Check your Tac-Map before heading to an exit.
About Exfils →Exfils · Grid C5Extraction reference point. Availability varies by deployment; check your current Tac-Map for active exfils.
Active extraction sites vary by deployment. Check your Tac-Map before heading to an exit.
About Exfils →Exfils · Grid H5Extraction reference point. Availability varies by deployment; check your current Tac-Map for active exfils.
Active extraction sites vary by deployment. Check your Tac-Map before heading to an exit.
About Exfils →Radiation Zones · Grid D3Check your current Tac-Map for radiation in this area and bring appropriate protective equipment.
Radiation survival guide → Bunkers · Grid C3
Bunker entrance. Access requirements and the interior route are not yet documented.
Exfils · Grid B1Final Exfil reference point. Check the extraction countdown and your current Tac-Map; this is not a guaranteed exit in every deployment.
Active extraction sites vary by deployment. Check your Tac-Map before heading to an exit.
About Exfils →Key Rooms · Grid B6Reported to open the Underground Propaganda Store Room beneath the Re-Education Center.
Required key: Underground Propaganda Store Room →Exfils · Grid G6Community-reported extraction reference. Availability varies by deployment; check the active sites on your Tac-Map.
Active extraction sites vary by deployment. Check your Tac-Map before heading to an exit.
About Exfils → Reported Player Spawns · Grid H9
Reported player starting area. Starting positions vary by deployment; this does not guarantee a nearby team.
Radiation Zones · Grid I4Reported radiation area near Haneul Nuclear Reactor. This point does not mark the hazard boundary; check your Tac-Map and bring protective gear.
Radiation survival guide →Exfils · Grid F7Community-reported extraction reference. Availability varies by deployment; check the active sites on your Tac-Map.
Active extraction sites vary by deployment. Check your Tac-Map before heading to an exit.
About Exfils →Exfils · Grid B6Community-reported extraction reference. Availability varies by deployment; check the active sites on your Tac-Map.
Active extraction sites vary by deployment. Check your Tac-Map before heading to an exit.
About Exfils → Reported Dead Drops · Grid G7
Reported dead-drop area. Check the container and your current task before depositing items.
Reported Player Spawns · Grid F4Reported player starting area. Starting positions vary by deployment; this does not guarantee a nearby team.
Reported Player Spawns · Grid D3Reported player starting area. Starting positions vary by deployment; this does not guarantee a nearby team.
Exfils · Grid E5Community-reported extraction reference. Availability varies by deployment; check the active sites on your Tac-Map.
Active extraction sites vary by deployment. Check your Tac-Map before heading to an exit.
About Exfils →Reported Player Spawns · Grid I5Reported player starting area. Starting positions vary by deployment; this does not guarantee a nearby team.
Exfils · Grid G5Community-reported extraction reference. Availability varies by deployment; check the active sites on your Tac-Map.
Active extraction sites vary by deployment. Check your Tac-Map before heading to an exit.
About Exfils →Reported Dead Drops · Grid H5Reported dead-drop area. Check the container and your current task before depositing items.
Exfils · Grid C6Community-reported extraction reference. Availability varies by deployment; check the active sites on your Tac-Map.
Active extraction sites vary by deployment. Check your Tac-Map before heading to an exit.
About Exfils →Reported Dead Drops · Grid C1Reported dead-drop area. Check the container and your current task before depositing items.
Reported Player Spawns · Grid A8Reported player starting area. Starting positions vary by deployment; this does not guarantee a nearby team.
Reported Player Spawns · Grid B2Reported player starting area. Starting positions vary by deployment; this does not guarantee a nearby team.
Reported Player Spawns · Grid B1Reported player starting area. Starting positions vary by deployment; this does not guarantee a nearby team.
Exfils · Grid I5Community-reported extraction reference. Availability varies by deployment; check the active sites on your Tac-Map.
Active extraction sites vary by deployment. Check your Tac-Map before heading to an exit.
About Exfils →Reported Player Spawns · Grid I8Reported player starting area. Starting positions vary by deployment; this does not guarantee a nearby team.
Reported Player Spawns · Grid E3Reported player starting area. Starting positions vary by deployment; this does not guarantee a nearby team.
Key Rooms · Grid G7Opens the lower-floor armory in Gangbyeon Apartment B at the Hajin River Heights compound; the card lists G7.
Required key: Militia Arms Depot →Key Rooms · Grid F5Reported room area. The exact entrance and required key are unverified; check the door in game.
Key Rooms · Grid G6Reported room area. The exact entrance and required key are unverified; check the door in game.
Key Rooms · Grid A6A named locked control room in an underground silo complex; the approach passes a stairway near silo 42.
Open Silo Control Room area →Key Rooms · Grid E4Opens the standalone shack south of the clinic in Cheongun Village; the key description lists F5.
Required key: Mechanic's Shack →Key Rooms · Grid B5Reported room area. The exact entrance and required key are unverified; check the door in game.
Key Rooms · Grid E7Reported room area. The exact entrance and required key are unverified; check the door in game.
Reported Player Spawns · Grid E8Reported player starting area. Starting positions vary by deployment; this does not guarantee a nearby team.
Reported Player Spawns · Grid C8Reported player starting area. Starting positions vary by deployment; this does not guarantee a nearby team.
Reported Player Spawns · Grid I7Reported player starting area. Starting positions vary by deployment; this does not guarantee a nearby team.
Reported Player Spawns · Grid D2Reported player starting area. Starting positions vary by deployment; this does not guarantee a nearby team.
 Bounty Stations · Grid H6
Rooftop Bounty Station in NuriGO East. The marker shows the building area. Use the laptop to view Wanted players, buy intel or reduce your bounty.
About Bounty Stations → Vehicle Sightings · Grid H5
Vehicle seen at this position during gameplay. Vehicles move and may be taken or destroyed; this is not a guaranteed spawn.
Vehicle Sightings · Grid H6Vehicle seen at this position during gameplay. Vehicles move and may be taken or destroyed; this is not a guaranteed spawn.
SAM Sites · Grid H6SAM site in The Grid. Control and availability can change; check your current Tac-Map.
About SAM Sites →Vehicle Sightings · Grid H6Vehicle seen at this position during gameplay. Vehicles move and may be taken or destroyed; this is not a guaranteed spawn.
 Dynamic Op Phones · Grid H6
Dynamic Op phone seen in gameplay. Available operations can vary by deployment; check your current Tac-Map.
About Dynamic Op Phones →Vehicle Sightings · Grid I6Vehicle seen at this position during gameplay. Vehicles move and may be taken or destroyed; this is not a guaranteed spawn.
Dynamic Op Phones · Grid I6Dynamic Op phone seen in gameplay. Available operations can vary by deployment; check your current Tac-Map.
About Dynamic Op Phones →Vehicle Sightings · Grid I6Vehicle seen at this position during gameplay. Vehicles move and may be taken or destroyed; this is not a guaranteed spawn.
Vehicle Sightings · Grid I6Vehicle seen at this position during gameplay. Vehicles move and may be taken or destroyed; this is not a guaranteed spawn.
Vehicle Sightings · Grid I6Vehicle seen at this position during gameplay. Vehicles move and may be taken or destroyed; this is not a guaranteed spawn.
Vehicle Sightings · Grid I7Vehicle seen at this position during gameplay. Vehicles move and may be taken or destroyed; this is not a guaranteed spawn.
Vehicle Sightings · Grid I6Vehicle seen at this position during gameplay. Vehicles move and may be taken or destroyed; this is not a guaranteed spawn.
UAV Towers · Grid F4Service location seen in gameplay. Check your current Tac-Map before heading here.
About UAV Towers →Ammo & Armor Caches · Grid G4Service location seen in gameplay. Check your current Tac-Map before heading here.
About Ammo & Armor Caches →Compounds · Grid G4Service location seen in gameplay. Check your current Tac-Map before heading here.
About Compounds → Clinics · Grid F5
Service location seen in gameplay. Check your current Tac-Map before heading here.
About Clinics →Vehicle Sightings · Grid G4Vehicle seen at this position during gameplay. Vehicles move and may be taken or destroyed; this is not a guaranteed spawn.
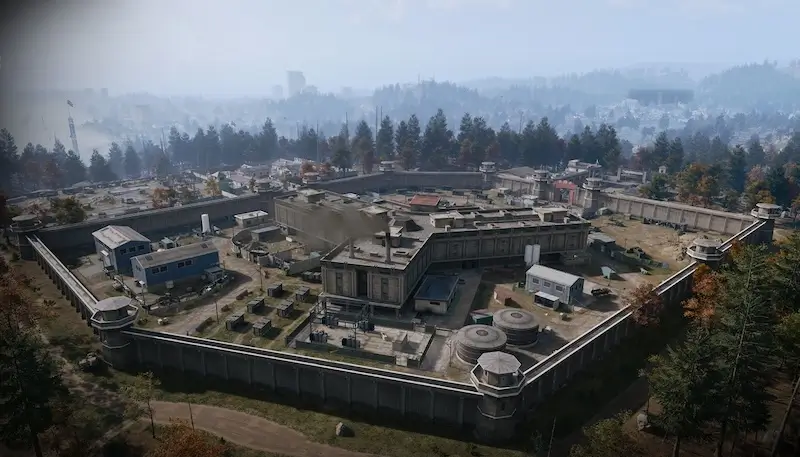
A concrete-walled detention facility on a cleared plateau in the North Korean northwest, with watchtowers on every corner, barracks to the east and the main gate and checkpoint to the south.
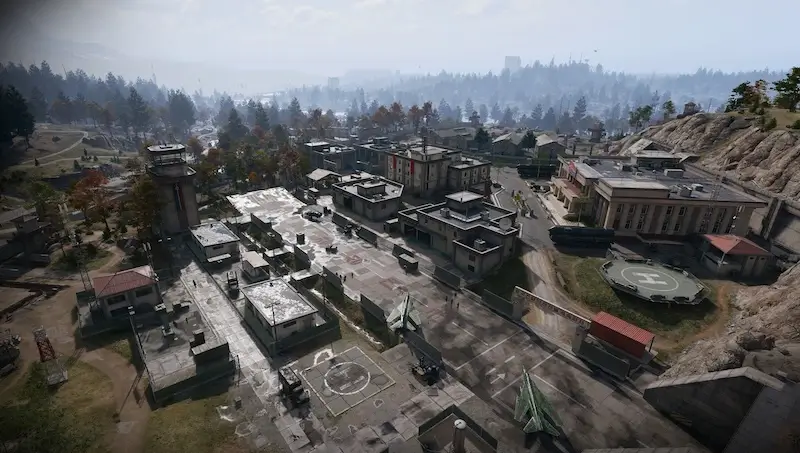
A heavily guarded North Korean air base in western Hajin, cut into a granite hillside, with a runway, helipad, hospital, barracks and command building above a vast underground complex.
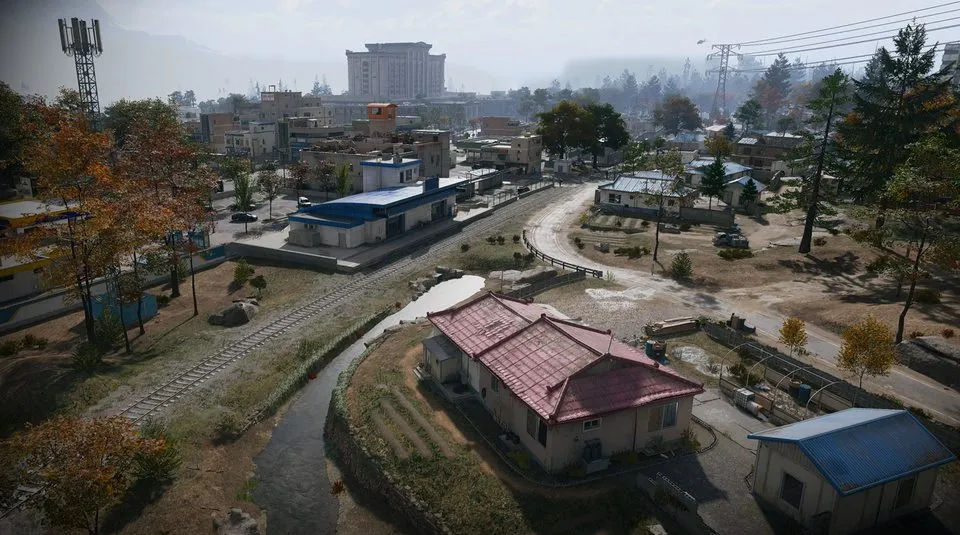
The northernmost South Korean village on the Hajin River, split by border controls, with outskirts to the west and the Heavenly Luck Casino at its heart.
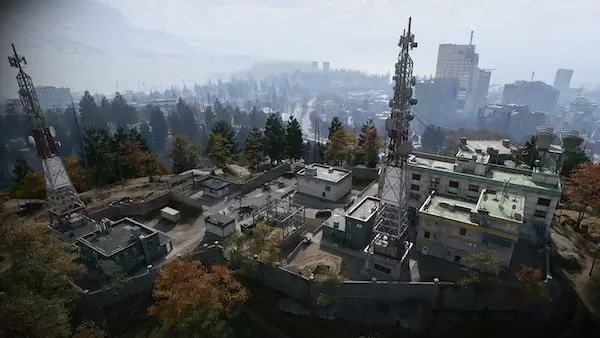
The largest telecommunications array in Hajin, on a central summit, now an enemy barracks with a rooftop helipad and long views.
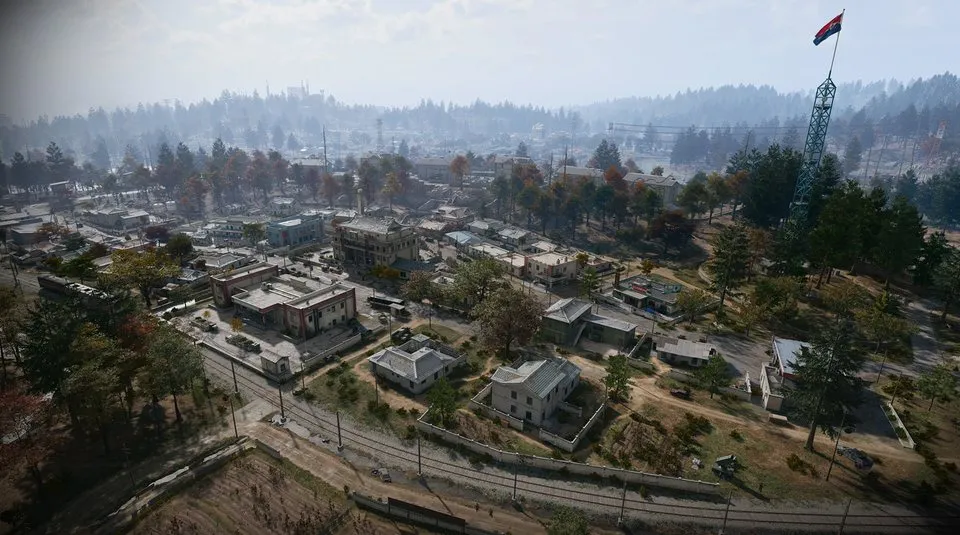
A deserted North Korean farming town in the southwest, taken over by the military. Street fights, sewers under the old buildings, a clinic and gas stations at each end of town.
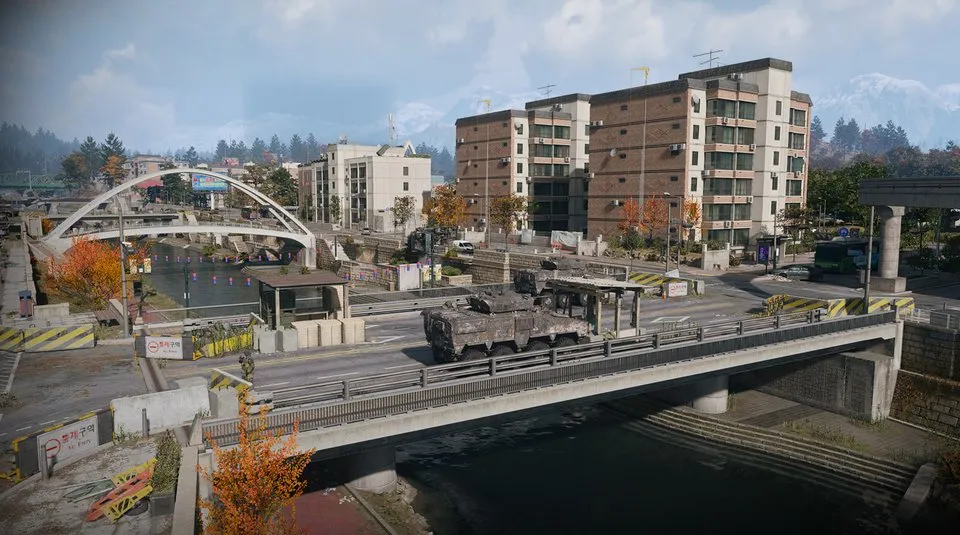
A battered residential district in the southeast, rising towards the South Fork of the Hajin River.
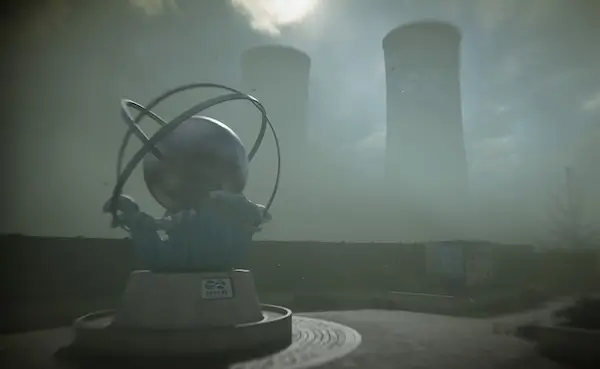
A damaged nuclear plant in the northeast under a cloud of radioactive vapour. Protective gear and a gas mask are required.
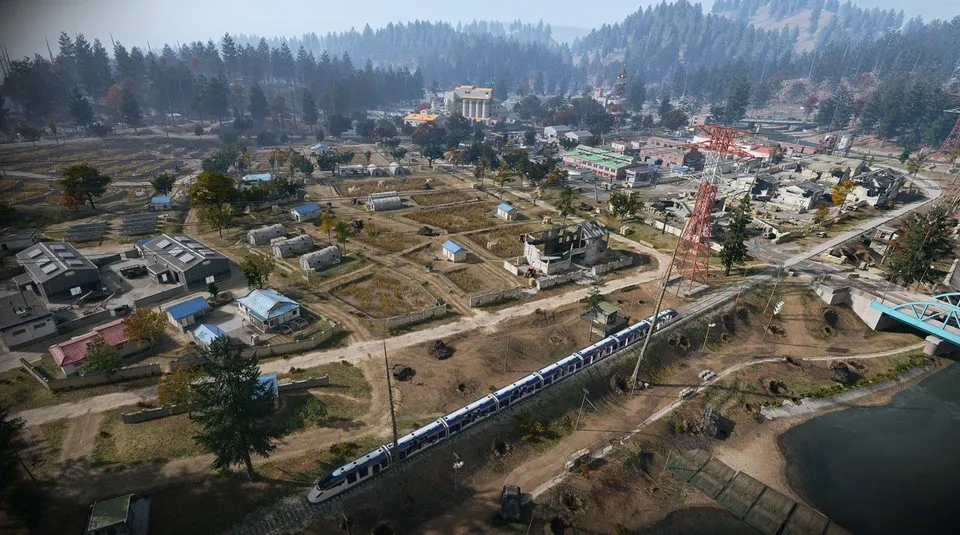
Open rice fields, waterways, farms and rail lines on a low floodplain on the southwestern border, with long sightlines and little cover.
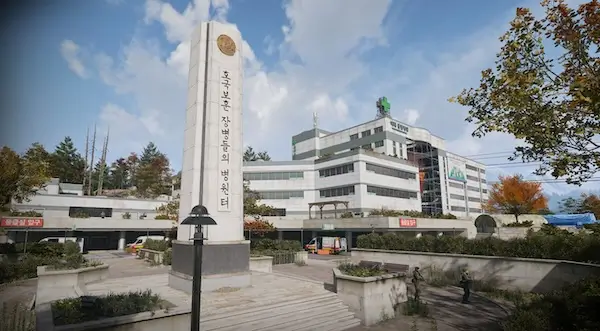
Hajin’s main hospital in the north centre, next to a train station, with triage tents and barracks outside and close-quarters fighting through its wards inside.
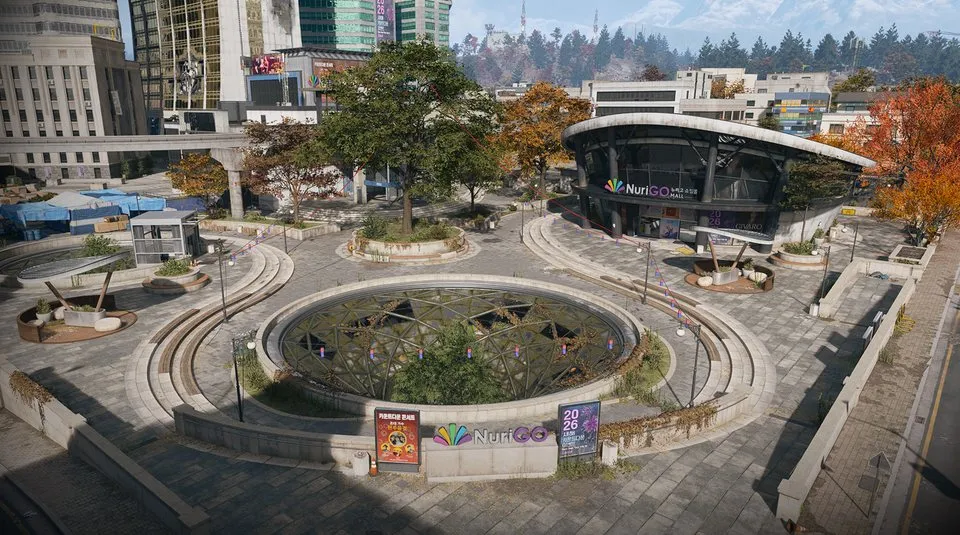
A shopping district in northeast Hajin City with shops, a police station, a clinic and City Hall above a large unlit underground mall.
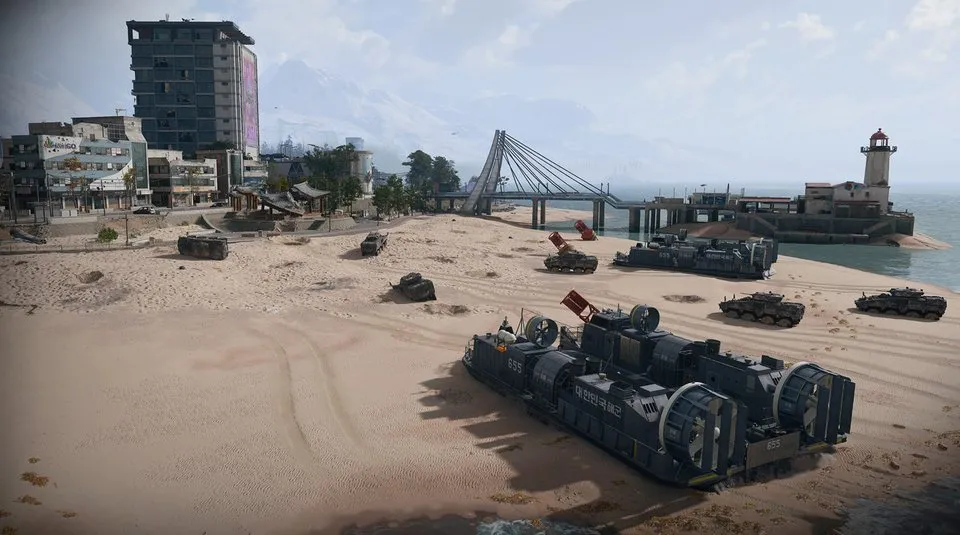
The waterfront of eastern Hajin City: apartments, a market, a pier and lighthouse, and working train and monorail lines.
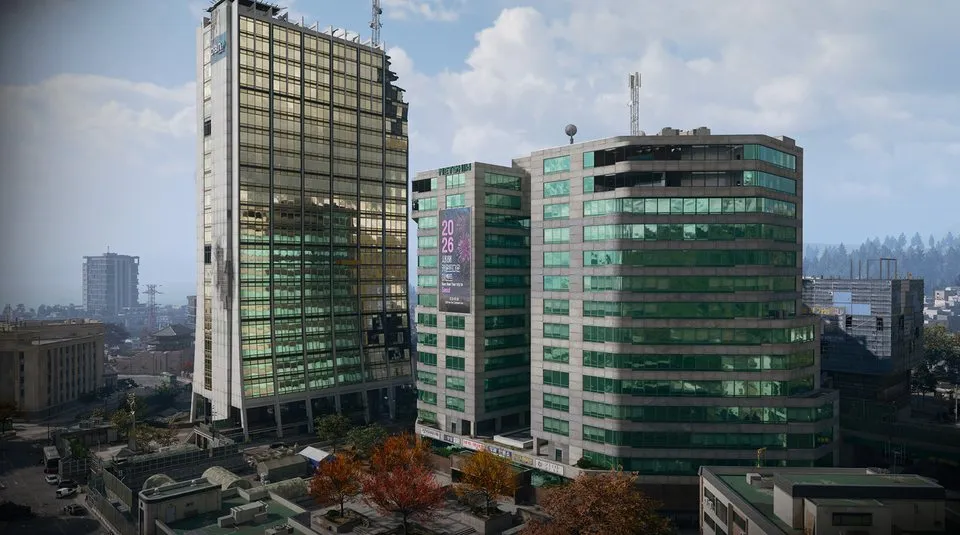
The fortified business district of central Hajin City, walled off with barricades and watchtowers, with fighting on the rooftops and in the streets.
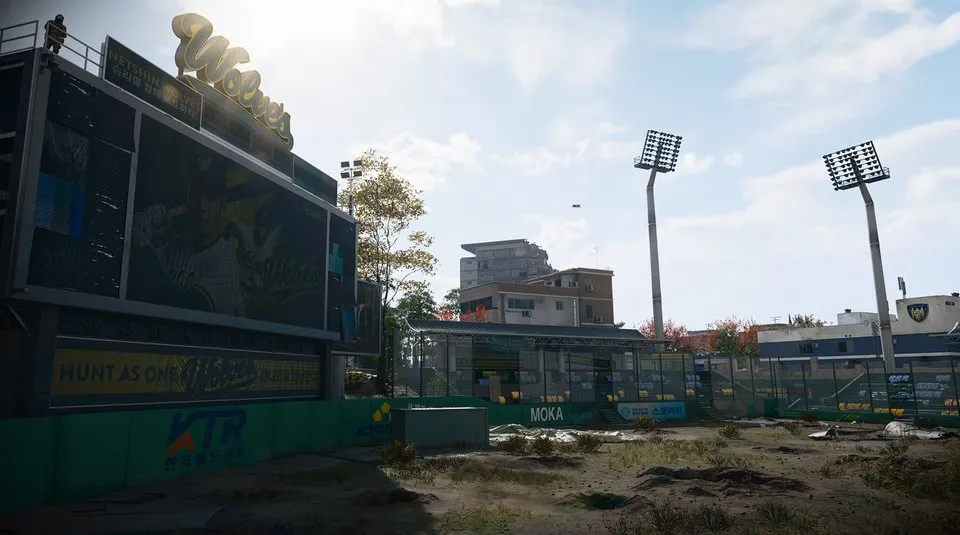
The ruined home of the local baseball team in south central Hajin City, among streets of shops, apartments and a police station.