X01 map guide: entrance, floor routes and your first run
Choose direct FOB deployment when available, or take the northwestern Hajin lift. Set a short objective and an exit before committing to the Vault.
Check the FOB deployment selector for X01 → Free Roam. Select it if available; fresh-account eligibility is unverified. Alternatively, use the northwestern Hajin elevator: open the gate, gather the squad inside and confirm travel. In X01, match your room to the floor views and locate an active exit.
- Choose X01 → Free Roam at the FOB when available, or use the Hajin elevator
- Gather the squad inside the lift before confirming travel
- X01 has its own five-page Orders chapter; the first page is X01 1/5
- Sight Seeing has separate five-container counters for Main Warehouse and Control Room
- Match a numbered Vault card to its door; gate access and room use are different interactions
- Read the active exit and shutdown warnings before extending the run
Check the FOB deployment selector for X01 → Free Roam, or use the abandoned elevator in northwestern Hajin. Select direct entry if your account offers it; otherwise follow the Hajin route below. Fresh-account eligibility is not established. On arrival, check your room name and an active exit before searching for loot.
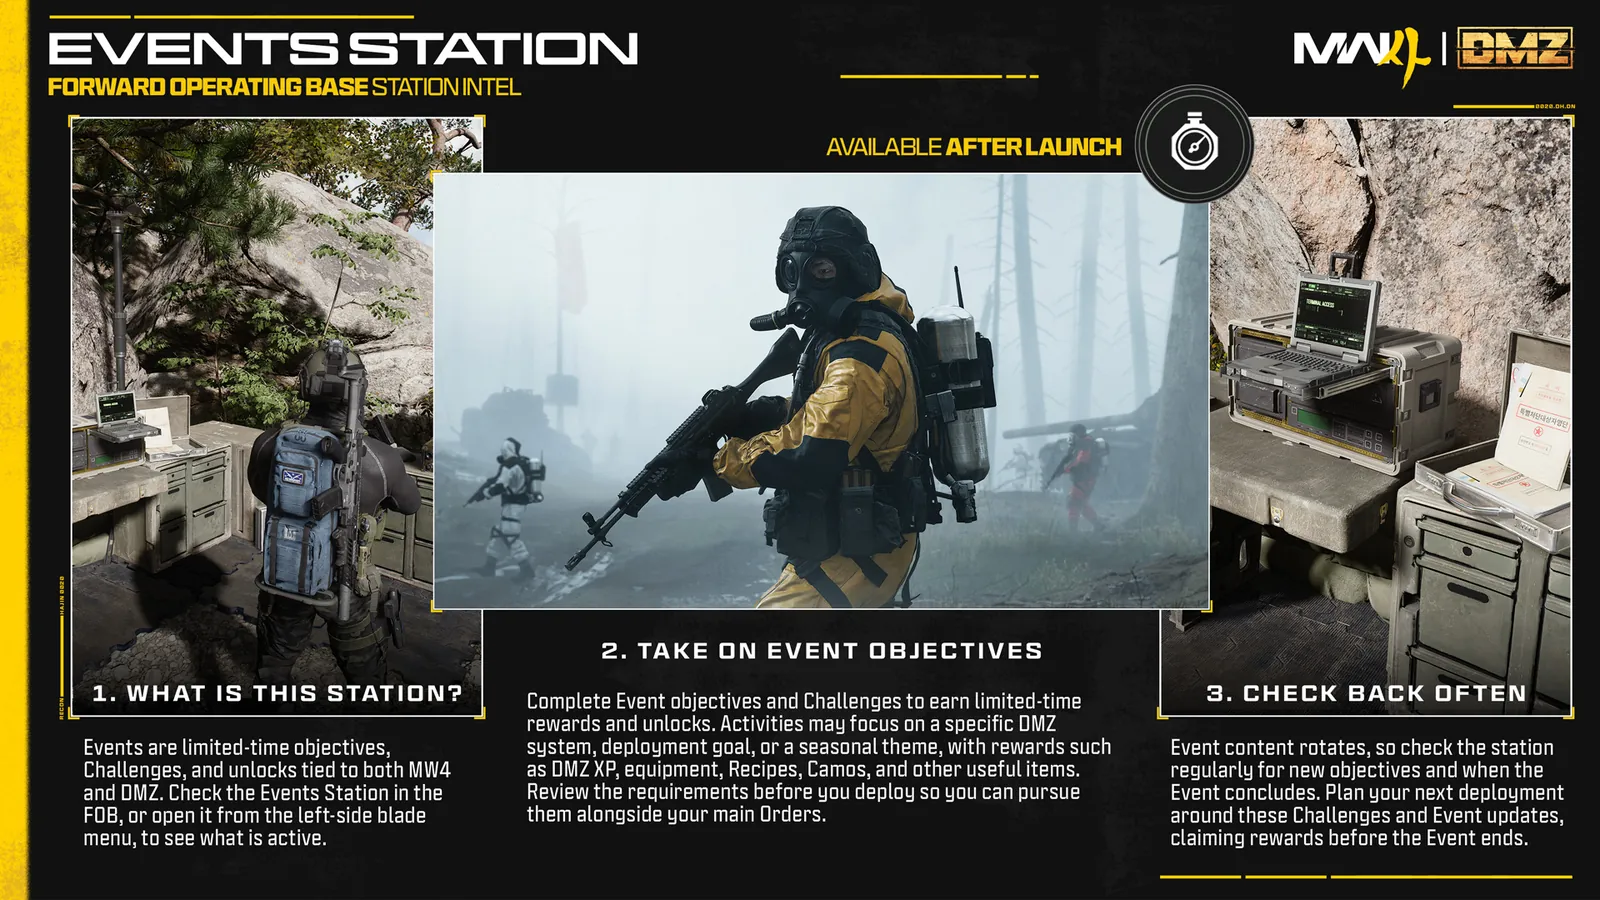
For a first visit, Fresh Start, Sight Seeing and First Win make a useful short run: get inside, learn Main Warehouse and Control Room, then leave with your gear. The X01 Orders walkthrough covers those tasks and the next page’s stash, surveillance and workstation objectives.
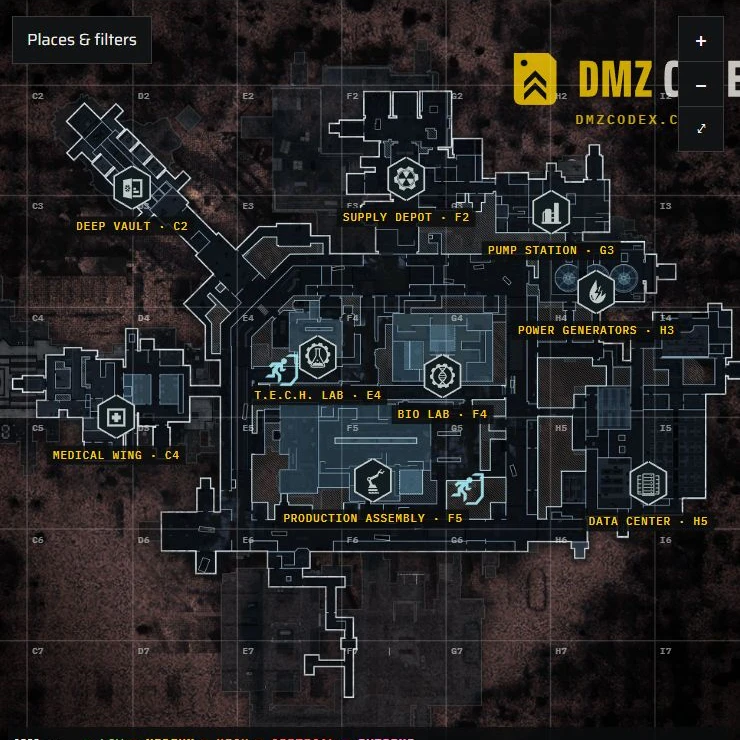
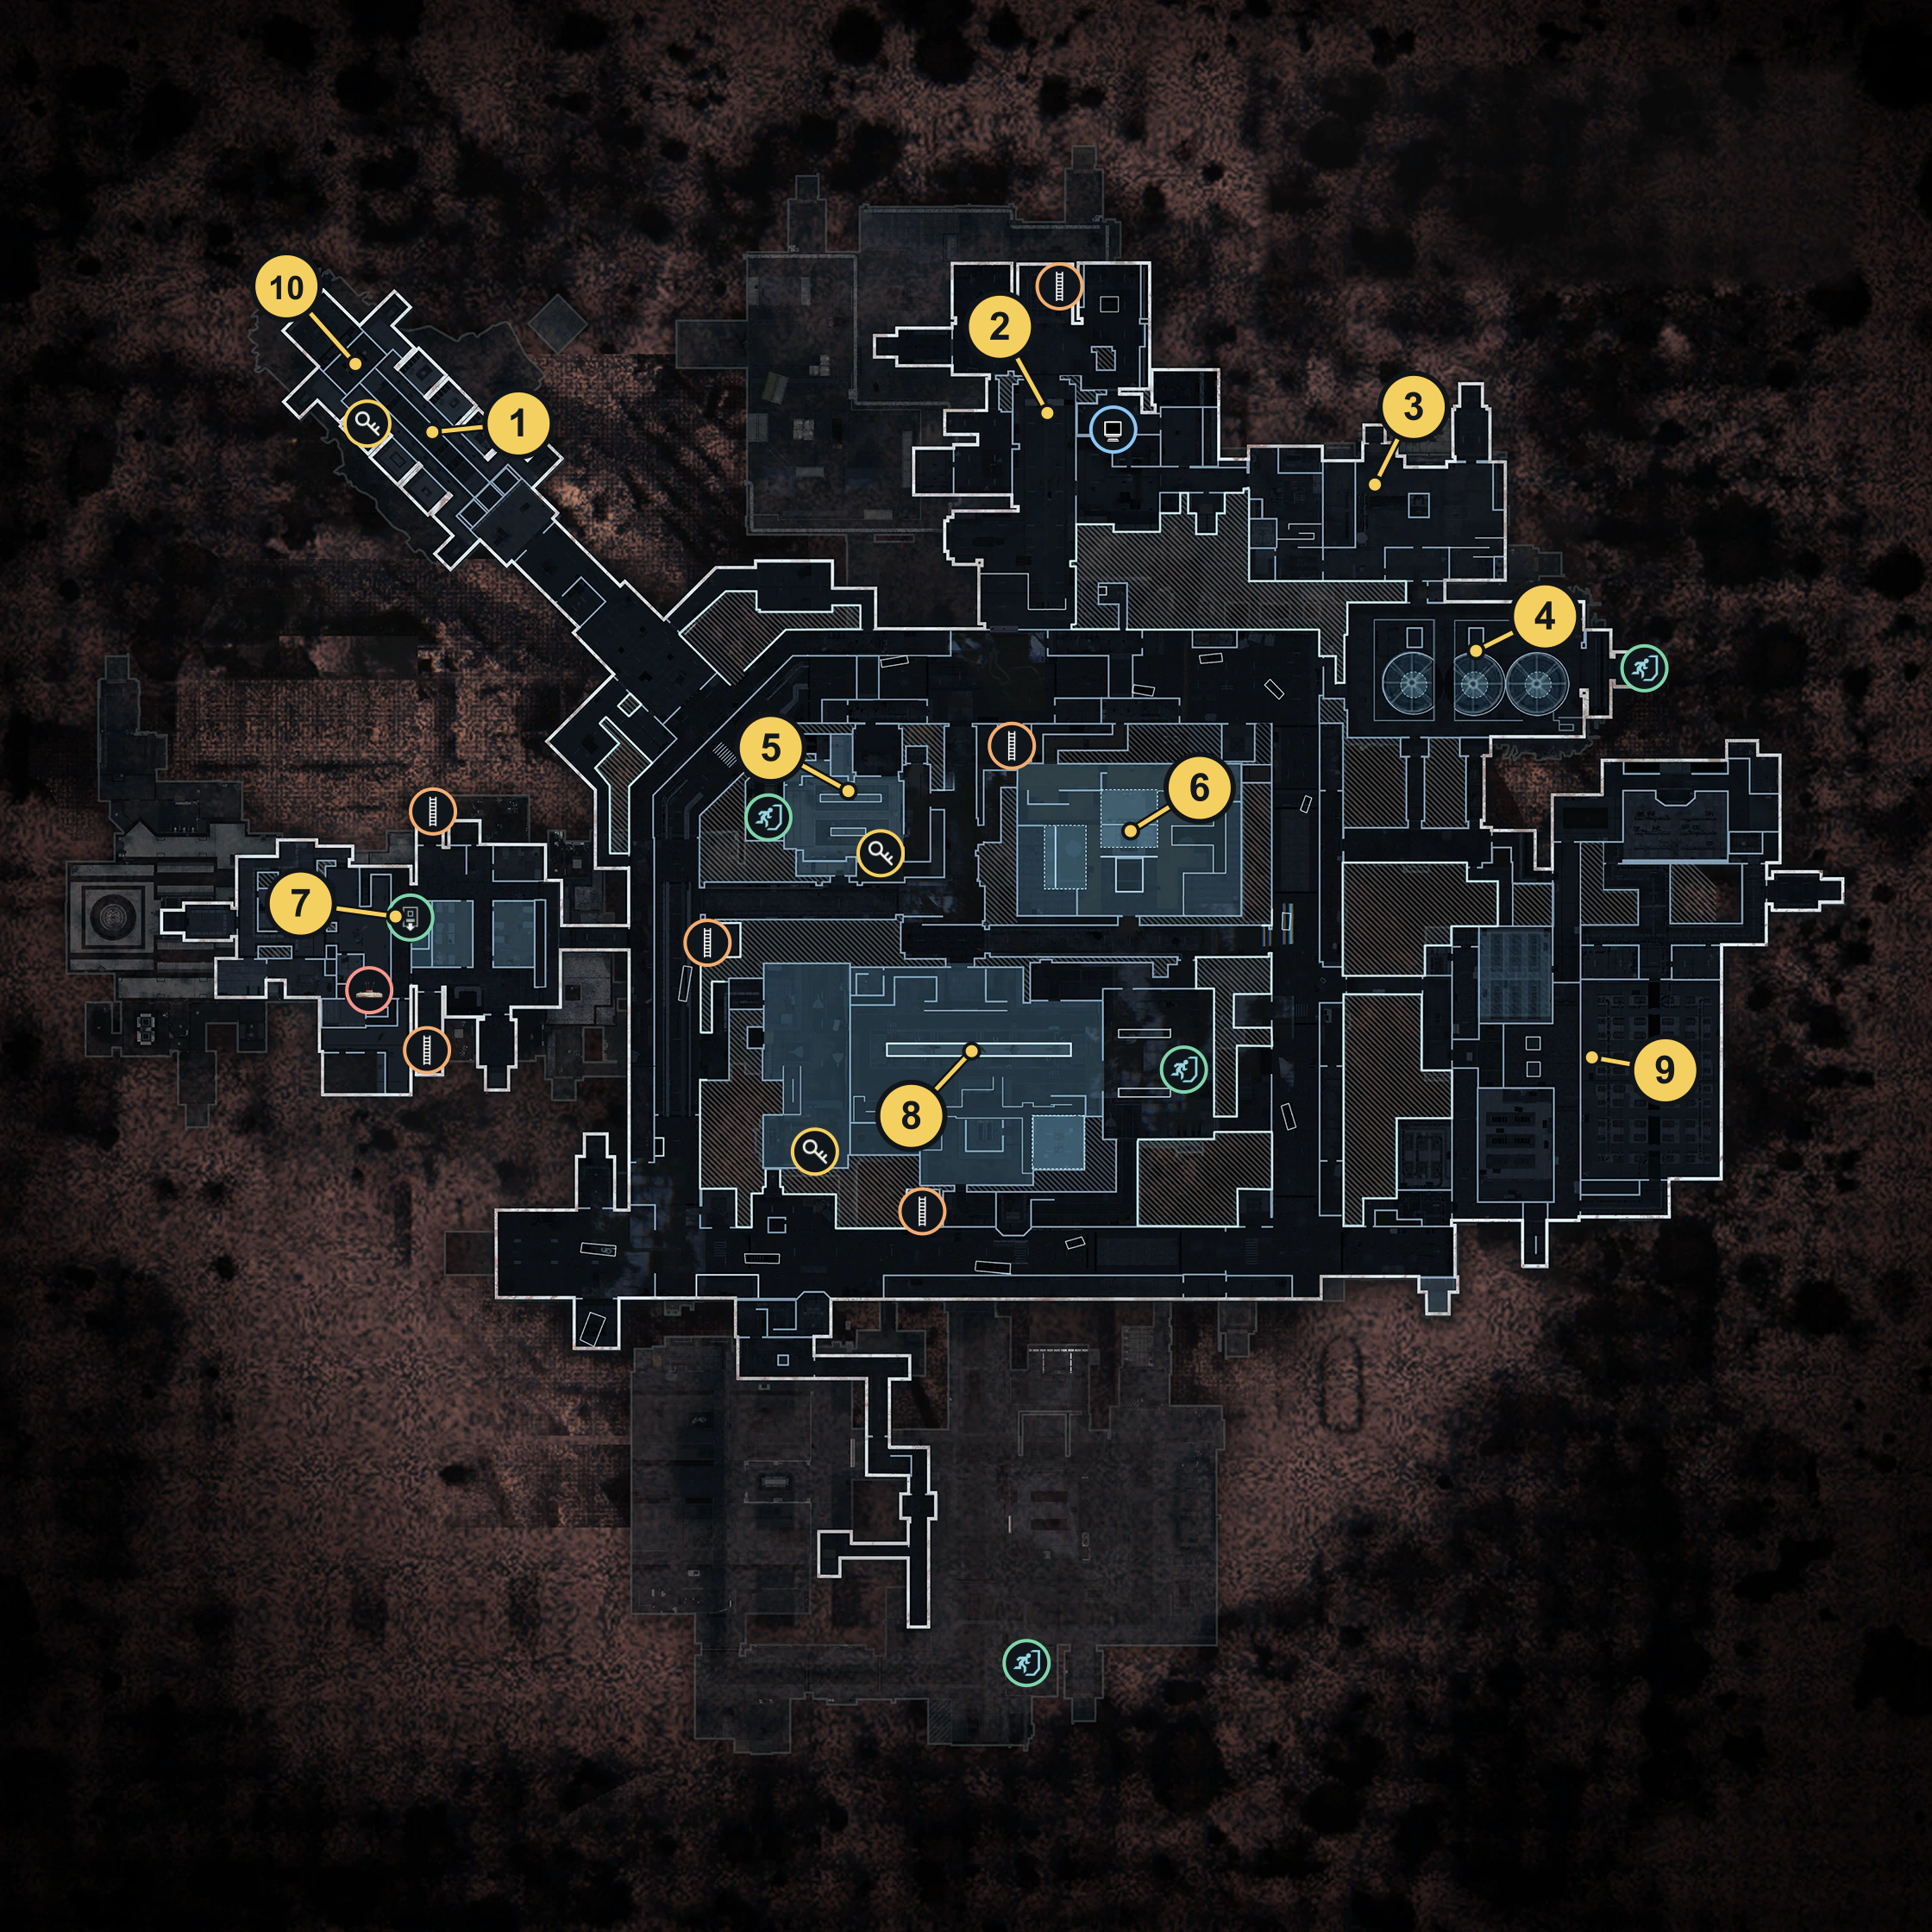
Open the X01 interactive map for the facility’s two views. Keep the Hajin map open while travelling to its entrance.
Deploy directly from the FOB
Select X01 → Free Roam in the FOB deployment selector when it is available on your account, then confirm the displayed deployment settings. This takes you directly to X01 without another trip through Hajin.
Fresh-account access and any first-visit requirement remain unverified. If the option is missing, use the Hajin elevator route below.
Enter X01 from Hajin
- Travel to the northwestern facility. Approach the building with the elevator entrance. Reaching the exterior alone does not complete Fresh Start.
- Use the wall control beside the gate. Open the entrance, then move into the lift.
- Hold the X01 travel interaction. Confirm the destination when prompted.
- Check that the whole squad is inside. The departure warning says distant players can be left behind. Gather before the player confirming travel commits the group.
- Stay in the lift through the transfer. On arrival, read the room label and open the X01 Tac Map. Use that landmark to find your position.
A nearby Story Mission deployment or available vehicle can shorten the Hajin journey. Treat those as travel choices: neither a particular Story Mission nor a helicopter is an established requirement to use the entrance.
Find your room on the two map views
Use the room names for squad callouts. Main Warehouse, Control Room and Admin Offices appear together on the Codex map’s second view. Medical Wing, T.E.C.H. Lab, Production Assembly, Supply Depot and Data Center are on its first view.
| Your goal | Landmarks to find |
|---|---|
| First-page container searches | Main Warehouse and Control Room |
| Second-page hidden stash | Production Assembly |
| Second-page container searches | T.E.C.H. Lab |
| Printer and Encoder visits | Production Assembly and Supply Depot |
| Ri surveillance interaction | Admin Offices |
| Third-page video objectives | Control Room, Medical Wing and Data Center |
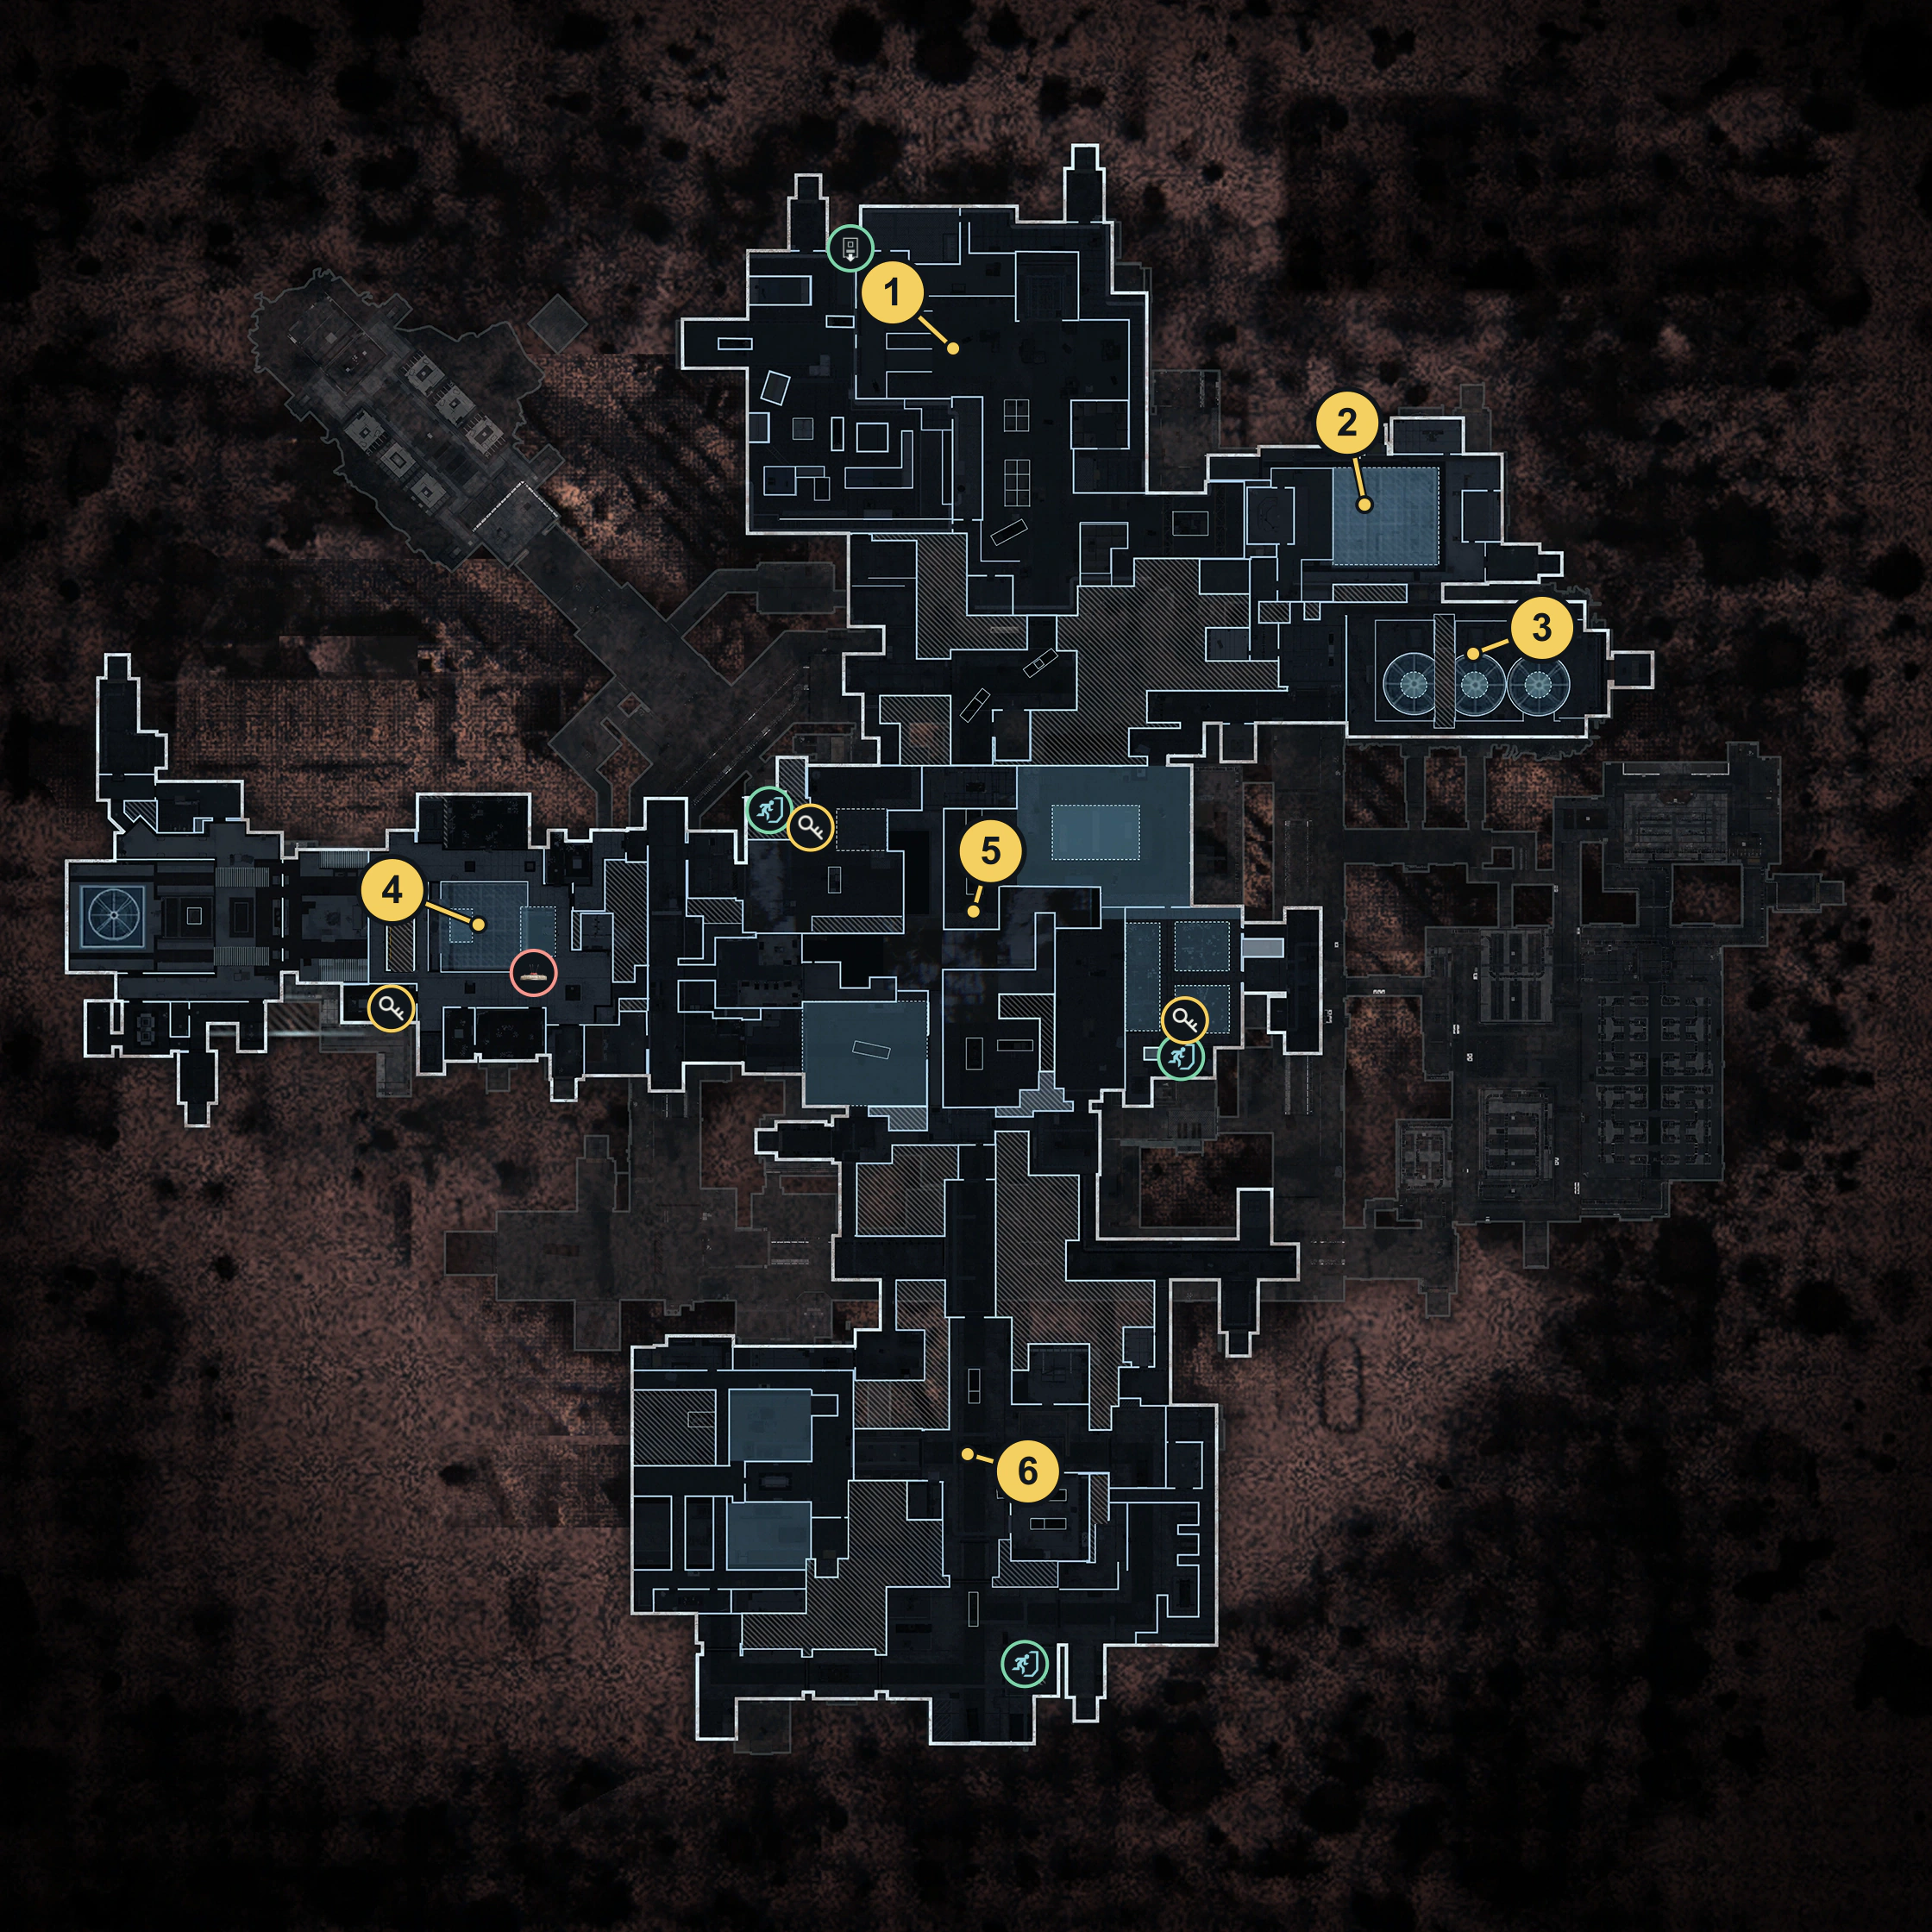
Switch views when the room you need is absent. These are the Codex’s two map views; a card numbered 301 or 406 does not, by itself, tell you which view contains its door. Follow the named area and the actual door label.
Choose a first-run objective
If your active chapter shows X01 1/5, work through this short checklist:
- Fresh Start: enter X01 through an available deployment route and check the objective counter.
- Sight Seeing: open five previously unopened containers in Main Warehouse and five in Control Room. Check the two counters separately.
- First Win: complete an extraction. Reaching an exit marker is only the approach.
Use the Orders guide for container checks and the next page’s steps. If a different page is active, follow that page’s named objective instead of repeating a finished task. The deployment checklist can hold the goal while you browse.
Keep your first run manageable. Decide whether you are there for an Order, a particular locked room or a route check, then identify the exit you intend to use. X01 includes hostile AI and rival Operators, so do not assume a quiet entrance means the rest of the route is clear.
Know what your key opens
A Vault gate, a numbered loot room and the core defense are separate commitments. Match the card to the interaction you are about to use; a card surviving gate access does not establish that it survives every room use.
| Key or card | What to look for |
|---|---|
| Deep Vault 301 | The Deep Vault gate and the separately numbered Room 301. Gate use is reported to keep the card; check inventory after the room interaction. |
| Executive Room | The named room in Admin Offices, near the statue. Match the door rather than another nearby office. |
| Small Test Chamber | The named chamber by the T.E.C.H. Lab security checkpoints. |
| Staff Emergency Exfil Keycard | An Emergency Egress Shaft and its actual card requirement. Keep this exit option in mind before spending the card. |

The Captain is a reported source of Deep Vault 301, while alternative legendary-key gate access is also reported. A Captain kill has not been established as mandatory for every visit. The Encoder, Executive Room and 406 route are a separate branch from using 301.
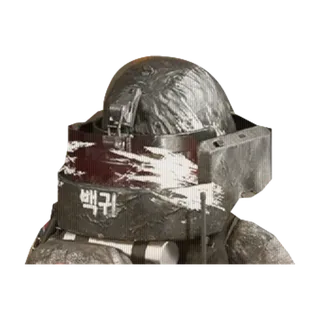
Opening a numbered loot room does not complete the core objective. The core adds controls and an AI-defense phase; decide whether your remaining supplies and exit window suit that longer commitment.
Use the Deep Vault guide for the Encoder route, numbered rooms and the return to the facility.
Keep an exit in the plan
Find an active exit on the Tac Map before extending the run. Match its landmark and view to your position, then read the live evacuation instructions. Standard exits can enter shutdown while a final exfil is active, so an exit you passed earlier may no longer be an option.
Before leaving a key room or starting a defense:
- Check the active exit and the route back to it.
- Read the current closure warning rather than relying on a timer from another run.
- Keep the required card available if you intend to use an Emergency Egress Shaft.
- Follow the exit’s interaction and stay through departure until the game confirms extraction.
If the final exit marker points to Production Assembly, follow that marker and check its current instructions. Do not assume that every exit there stays active. For general recovery and evacuation preparation, use the DMZ exfil guide.
The X01 extraction guide walks through normal lift calls, emergency shafts and the return from the Vault.
Prepare for the objective you chose
X01’s in-world 3D Printer has nine documented menu bills, including the distinct 3.5-Plate Armor Vest and Argonaut Armor. Use the X01 recipe table for the observed ingredients, then check your current station menu before spending materials. Check FOB costs and unlocks separately; exact DMZ armor protection remains unknown.

Use the armor and backpack guide to choose capacity and protection, the healing guide for wound recovery and the Printer guide for established crafting. If your active task only asks you to visit a station, check that task before spending resources.
For the separate Bio Lab swim, use the underwater route guide to find the fan controls, loose valve and lower laboratory. Water Wading uses the flooded barracks beneath Supply Depot instead.
For rewards and events outside this route, see the Season 1 overview. For the next objective inside the facility, continue with the X01 Orders guide.
Plan your next X01 deployment
Quick questions
Where is the X01 entrance in MW4 DMZ?
Check the FOB selector for X01 → Free Roam and select it if available. Fresh-account eligibility is unverified. Alternatively, use the abandoned elevator near the northwestern Hajin facility: open the gate, gather the squad inside and confirm X01 travel.
Which Orders should I start with in X01?
If your active page is X01 1/5, work on Fresh Start, Sight Seeing and First Win. Enter X01, search five unopened containers in each of Main Warehouse and Control Room, then extract successfully.
How do I use the two X01 map views?
Match the named room to the map view rather than guessing from a keycard number. The Codex's first view includes Medical Wing, T.E.C.H. Lab, Production Assembly and Data Center; its second includes Main Warehouse, Control Room and Admin Offices.
Do I need to enter the Vault on my first X01 run?
The first Orders ask for entry, container searches and extraction. You can learn those routes before taking on a locked loot room or the additional core defense.
Does entering X01 from a Story Mission make it PvE-only?
No. Rival Operators can enter the facility alongside hostile AI. A Story Mission approach or a solo deployment does not make X01 private.
Mentioned in this guide
Spotted something wrong? Send a correction.