X01 secret-room routes: four hidden passages
Follow four community-reported X01 passages using their map floor, approach landmarks and room descriptions.
Four community-reported X01 passages use a moved toolbox, a crane-held turret, an opening between floors and a breakable window. Match the map pin and visible landmarks before entering; the routes and room loot have not been independently verified here.
Four community-reported X01 passages use a moved toolbox, a crane-held turret, an opening between floors and a breakable window. Match the map pin and visible landmarks before entering; the routes and room loot have not been independently verified here.
Ladder, yellow toolbox and hatch
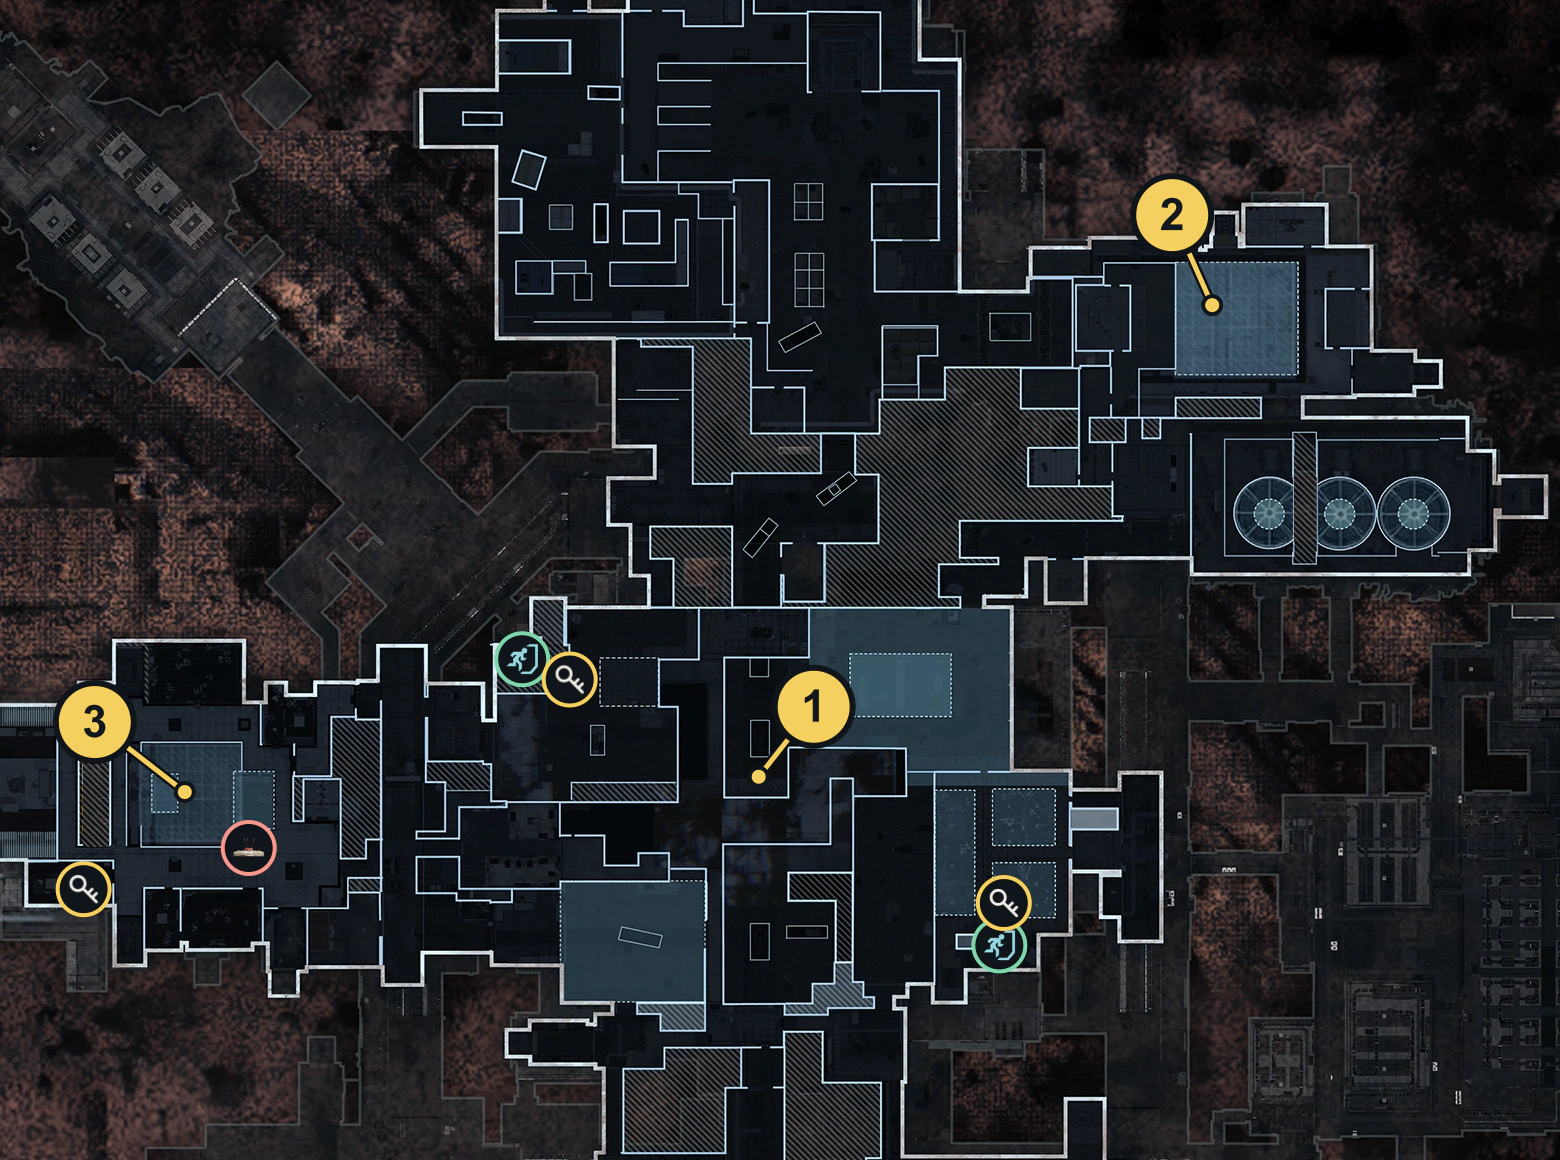
Open the floor 1 passage pin. Climb the ladder, move the large yellow toolbox and look for the hatch into the locked room. Check for a safe once inside; the report does not establish guaranteed contents.
This passage is distinct from the Production Assembly cart/vent stash used by Explorer. Use the Orders guide for that objective.
Crane-held turret and ledge
Open the floor 2 passage pin. Use the tank turret suspended by the crane to reach the opposite ledge. Follow the ledge right, then drop through the hatch into the room. Two weapon lockers are reported there. Check your landing and available return before dropping; the report does not document a guaranteed reverse route.
Admin Offices opening between floors
Use the Admin Offices pin on floor 2. At the central hole upstairs, locate the opening between floors and enter the hidden room. A safe is reported inside. Do not treat every opening in the hole as the entrance; match the ledge/opening before committing.
Breakable-window entrance
Open the floor 2 window-route pin. Approach from the adjacent room on the right, break the large glass window and enter the otherwise locked room. This is a passage report, not proof that a key or Door Breacher Charge works on every nearby door.
Keep the detour short
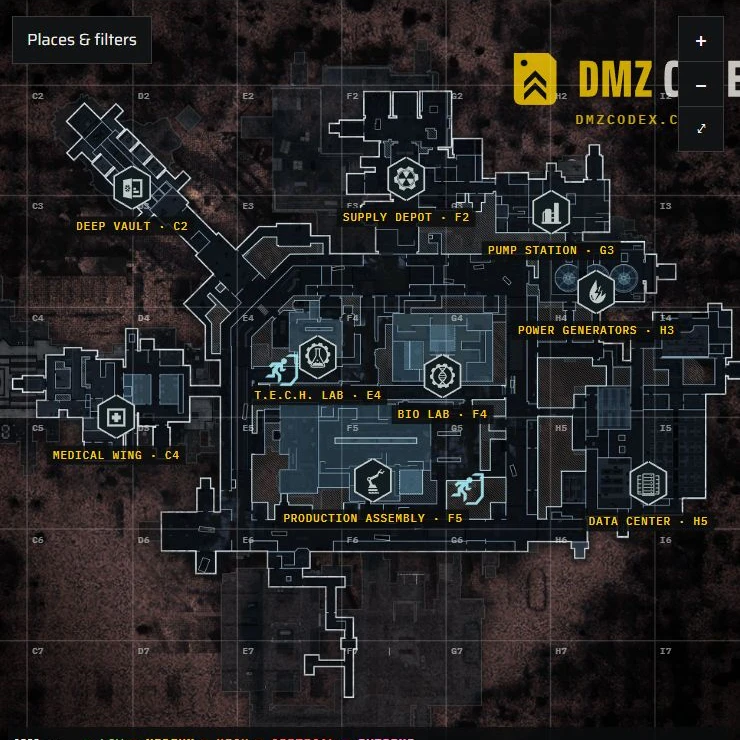
Identify the approach you used, check the shutdown clock and avoid an unfamiliar drop when it would endanger your main objective. A safe or locker on a community map does not guarantee valuable loot or an available container. Keep an active exit within your plan. The map’s two views identify facility layers; they do not describe every physical Vault level.
Spotted something wrong? Send a correction.