X01 Underwater Route: Fans, Valve and Bio Lab Loot
Find the correct fan controls, collect the missing wheel and reach the lower Bio Lab. Keep this route separate from Water Wading's flooded barracks.
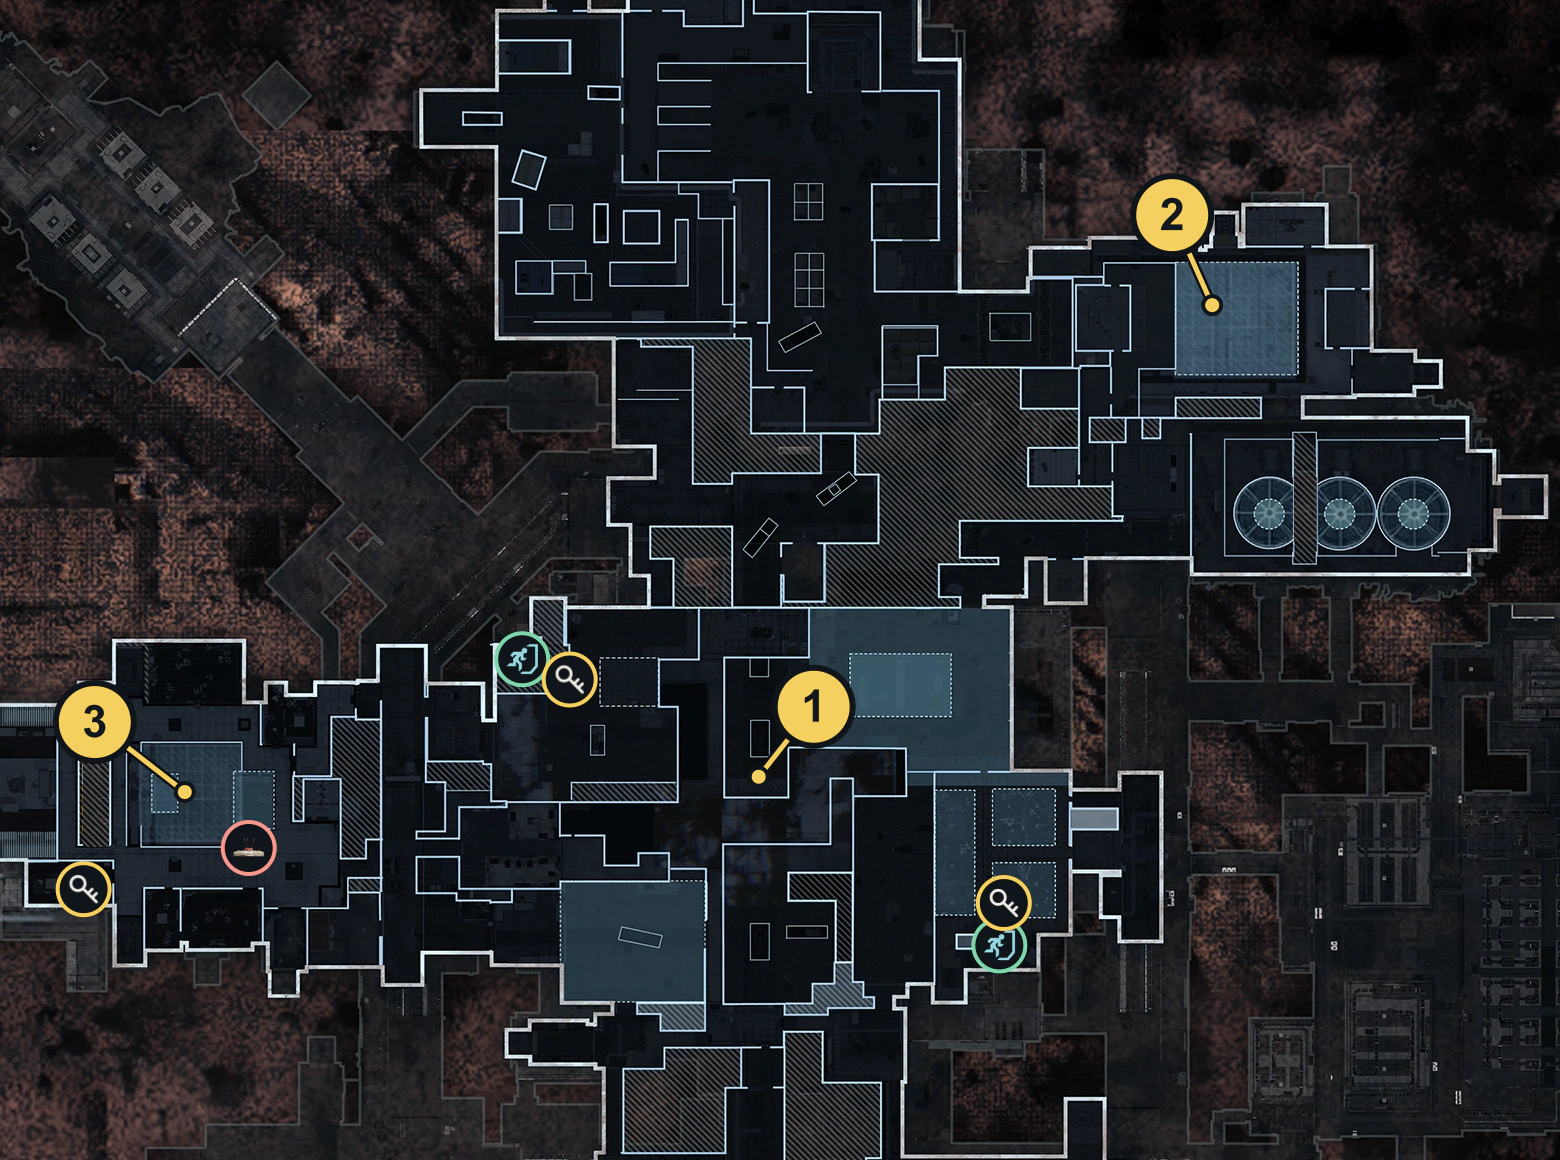
Enter Bio Lab's flooded pool, use Turn Power Off between the first two fans and swim through the right-hand opening. Search the adjoining chamber's tables for the loose yellow valve, fit it at the next fan control and shut that fan down. Reach the lower lab and use Turn Power On in its control room to open the central hatch. Deeper exploration has an ordinary final-lift escape example; the larger puzzle and its final reward remain unverified.
- Bio Lab's underwater route is separate from Supply Depot's flooded barracks
- The first Turn Power Off control is between two submerged fans
- Check the loose valve prompt; two table landmarks are observed search examples, not guaranteed spawns
- The lower control room has a Turn Power On interaction and a central flooded hatch
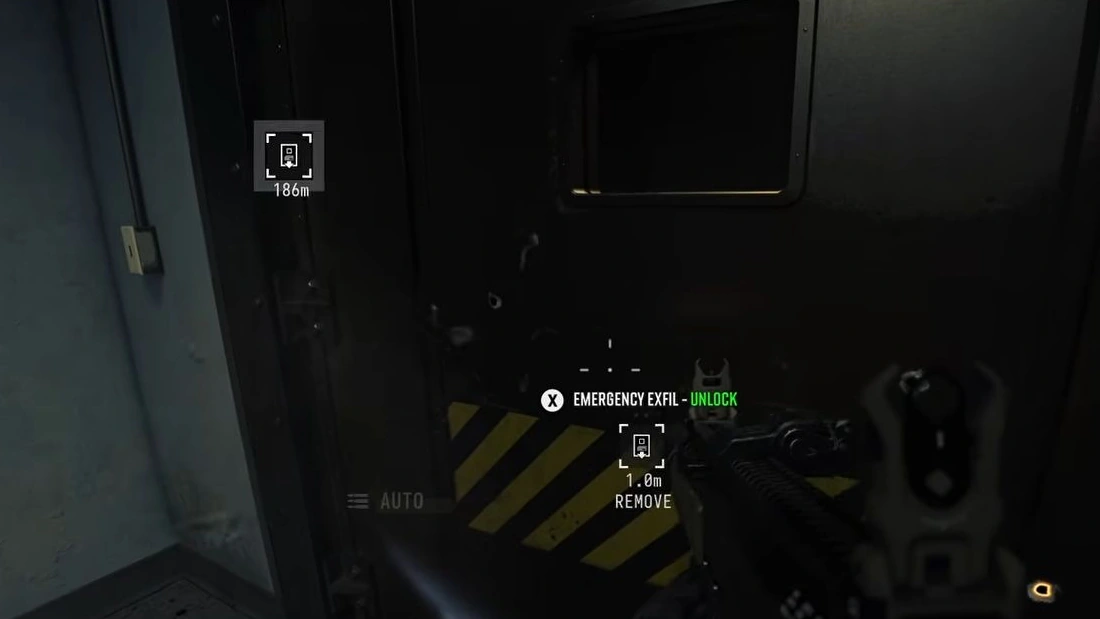
- Staff Emergency Exfil Keycard and Human Trial Records: R-18 are observed loot examples, not guaranteed drops
- Deeper puzzle completion and the final reward remain unverified
Stop the fans, collect the missing valve and reach the lower Bio Lab control room. This route gives you recognizable controls and landmarks through X01’s flooded passages, then the Turn Power On interaction for the central hatch.
Start in Bio Lab, not the flooded barracks beneath Supply Depot. If your active Order is Water Wading, follow the Orders guide’s barracks route for the Super User Data Access Keycard instead. The two areas use different controls and pickups.
Prepare before entering the water
Take a Rebreather, room for loot and enough time to return to an active exit. Air pockets break up parts of the swim, but they are places to pause and orient yourself, not a reason to ignore your remaining breathing time.
Check the X01 extraction guide before committing to the lower route. A hatch or an unfamiliar passage is not an established extraction. If you carry a mission item, reserve time to get back to a known lift or emergency shaft.
Find the first fan control in Bio Lab
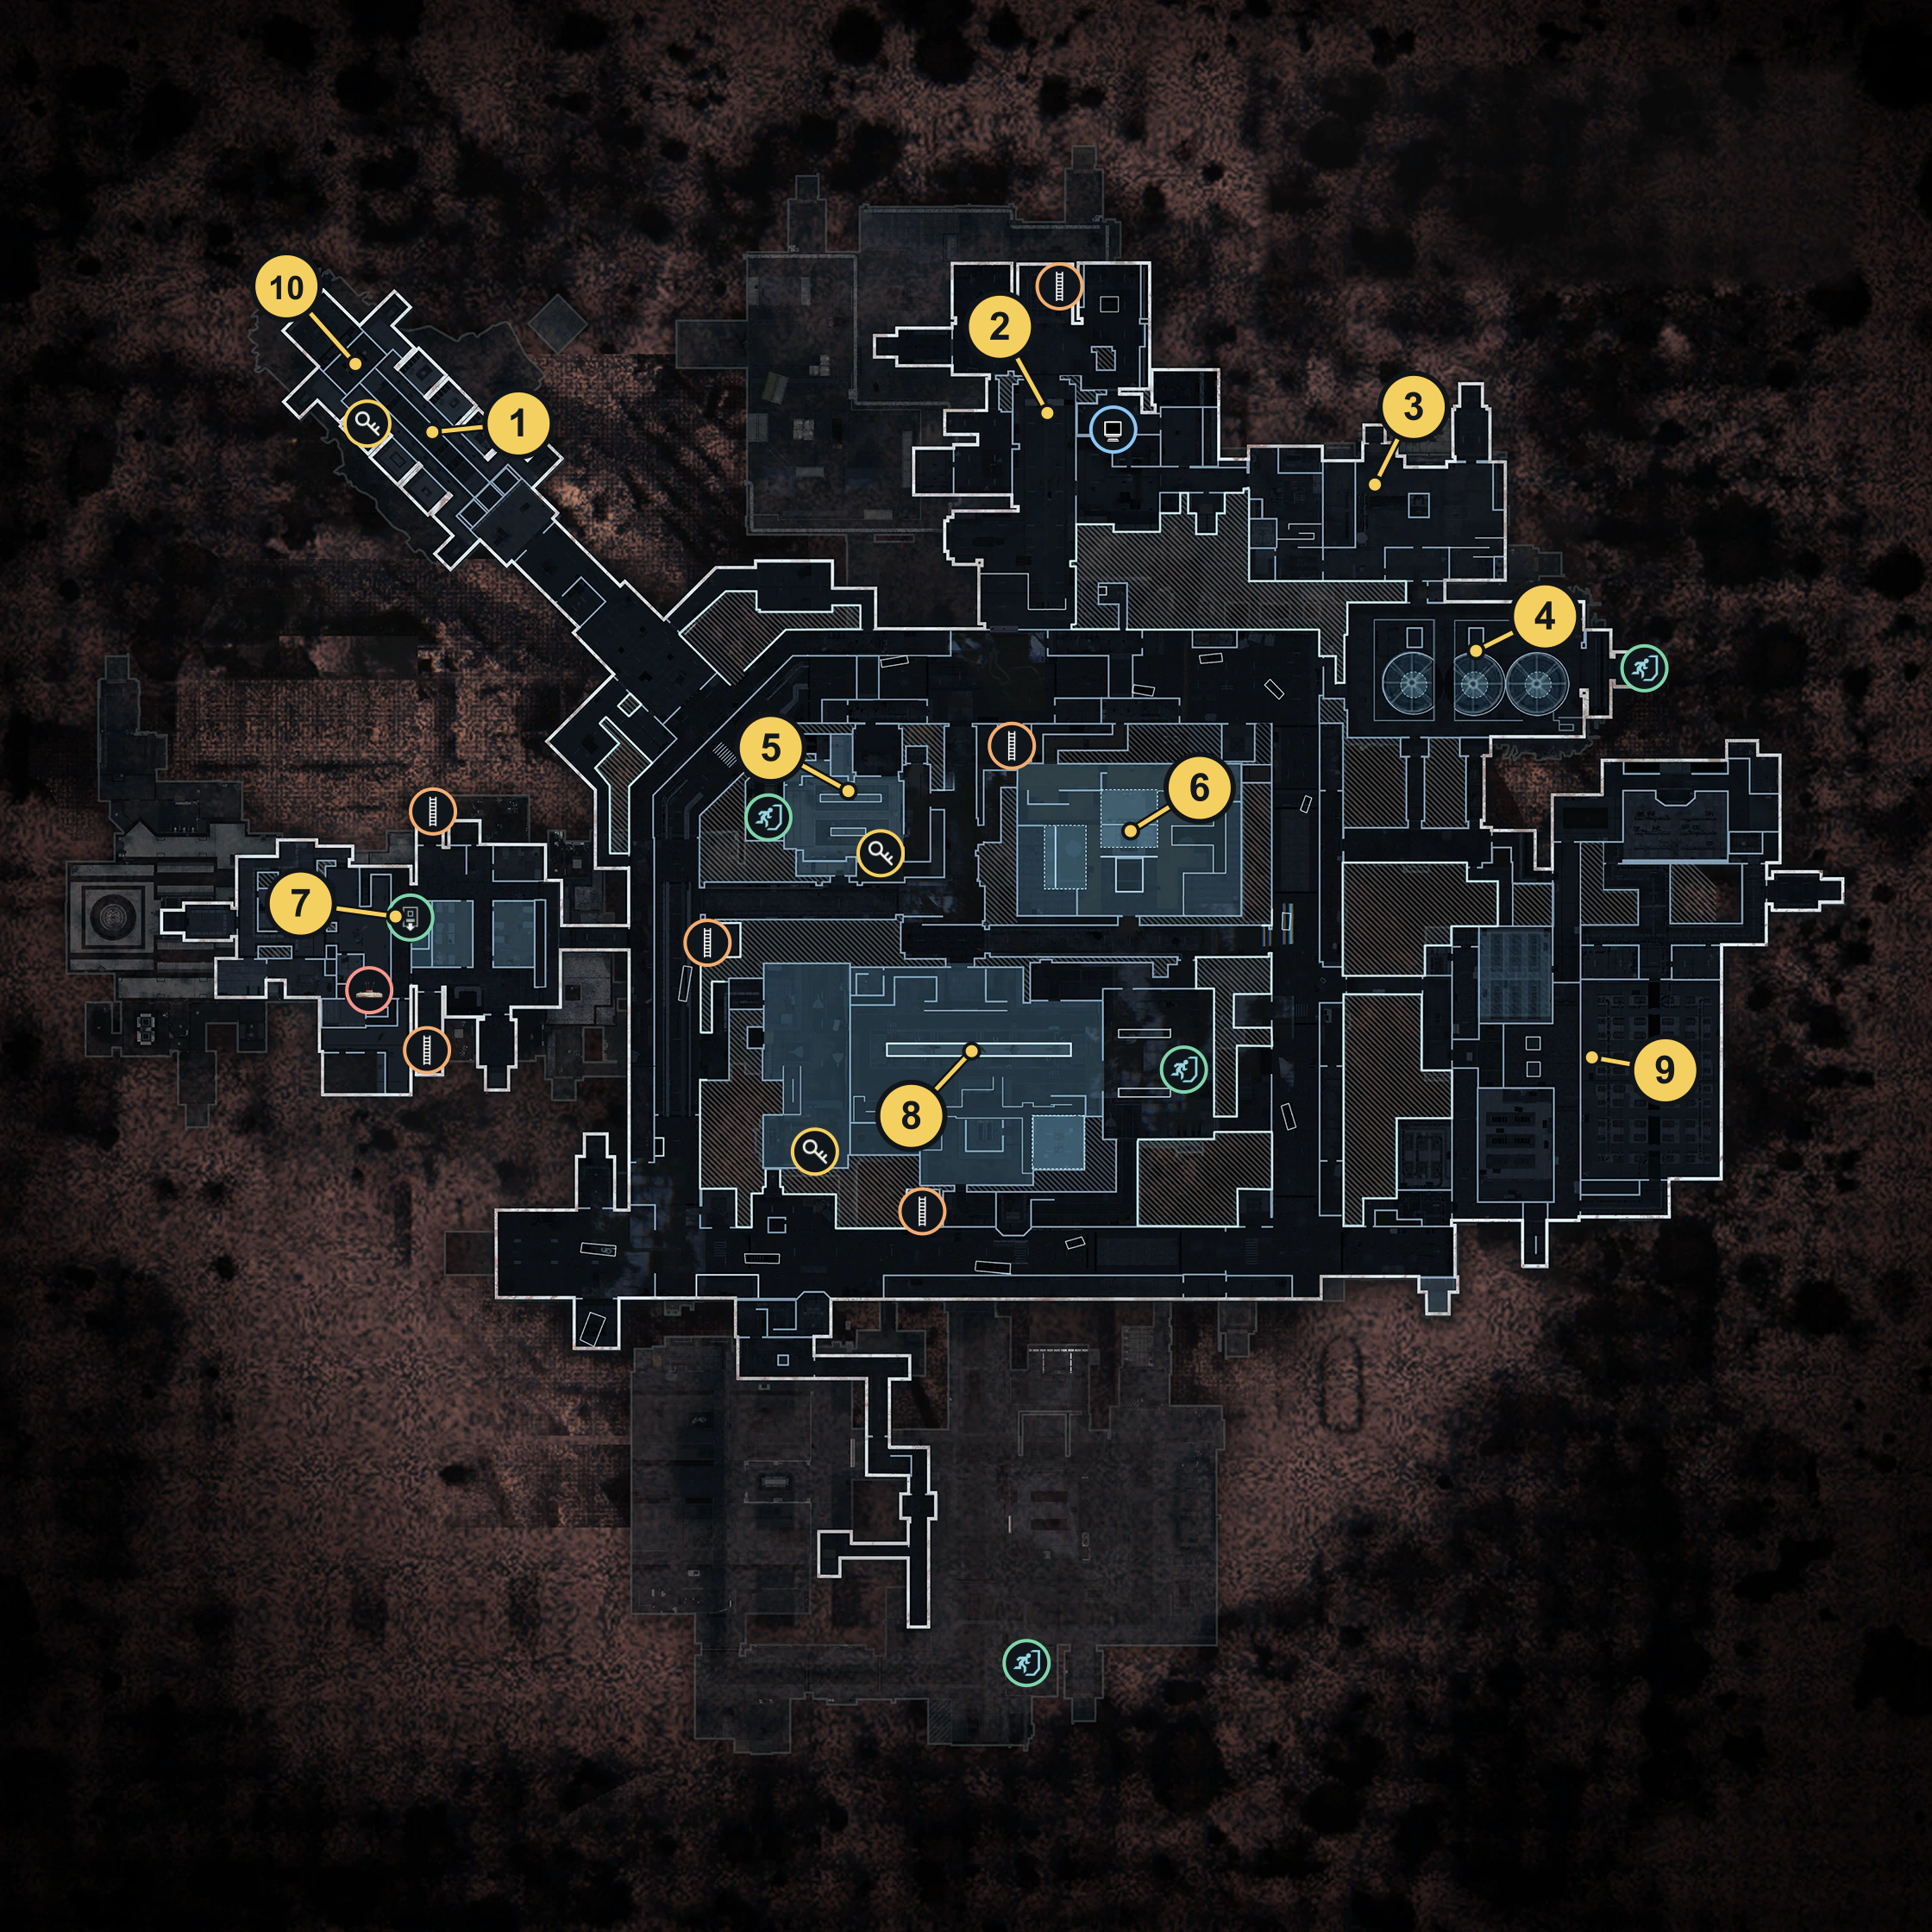
- Find the Bio Lab doorway leading to the yellow-railed flooded pool. Enter that pool area and identify the two submerged circular fan openings.
- Face the yellow wheel between those first two fans. Read the interaction before using it: Turn Power Off.
- Shut the fan power down. Check the opening before swimming through; do not try to force a passage through an operating fan.
- Use the right-hand fan opening for the onward route. Swim into the round tunnel and follow it through the flooded pipe-lined passages.
Pause at the air pockets you reach, including the chamber beneath a metal grating. Note the circular passage you arrived through so you can recognize the return rather than choosing a side opening purely because it contains loot.
Collect the loose valve and stop the next fan
The next fan control needs a wheel. Search the adjoining chamber’s tables rather than assuming the first table always has it. Two useful search landmarks are a thick pipe beside wire mesh and a wall light beside a vertical green-lit pipe. The second table is an alternate observed find, not a guaranteed replacement spawn.
- Find the loose yellow wheel and confirm Take Valve. Collect the route object before leaving the chamber.
- Carry it to the wall fitting beside the next fan. Fit the wheel, then face the completed control.
- Use Turn Power Off. Check the fan passage before swimming through it.
- Continue toward the lower laboratory. Keep the pipe-filled chambers and round openings in mind for your return.
If the fitting is still missing its wheel, check that you actually collected the valve. If a usual table is empty, search the adjoining chamber while watching your air supply. A crafting material in a nearby container is a different item.
Reach the lower laboratory and open its hatch
Look for the lower Bio Lab room with yellow railings and a platform above the water. This is the next useful landmark after the flooded tunnels.
- Come out at the laboratory platform. A yellow Chemical Storage cabinet is one recognizable loot container in this room.
- Take the metal stairs up into the control room. Look for the central floor hatch, surrounding consoles and small raised stair platforms.
- Find the green-lit console with Turn Power On. Finish that interaction, then check the central floor opening.
- Confirm the hatch is open before approaching its flooded shaft. Reaching the room or seeing the console is not the same as opening the hatch.
The hatch leads to further exploration. Keep enough air and exit time for the return; opening it does not complete the larger puzzle or secure a final reward.
Use the deeper landmarks without losing the return
In the deeper chambers, check the observation-window pedestal for Press Button. Cracked glass is a useful landmark, but it is not a confirmed quest-complete signal or a promise of special loot.
Note the yellow wall wheel, round flooded passage and metal ladder toward a hatch as orientation points. Identify how each connects to the section you already know before leaving an air pocket. These landmarks do not establish a complete route through every closed door.
The larger puzzle’s complete solution and final reward remain unverified. Search ordinary containers only while your breathing supply and return window allow it; a Staff card or valuable document is not proof that a hidden finale has been completed.
Check the loot name before planning around it
These are observed examples, not a guaranteed room-clear reward or a promise that an unopened container will contain the same item.
| Item or container | What to check |
|---|---|
| Staff Emergency Exfil Keycard | Read the exact pickup name. Reserve it for a compatible emergency shaft if you plan to use that exit. |
| Human Trial Records: R-18 | Confirm the full record name. It is different from R-18 Grade 3 Bio. |
| Chemical Storage | Search the actual cabinet; its ordinary contents do not establish guaranteed Irradiated Containers. |
| EMT Bag and weapons lockers | Check the current contents and your breathing/exit time before making another detour. |

Treat a Staff card or an R-18 record as a possible find while searching, rather than the reason to risk another long swim. Neither has an established fixed spawn on every visit, and neither is a confirmed reward for finishing the deeper puzzle.
Return to a known exit
Keep the circular passages, grating air pocket, fan controls and lower-lab stairs as return landmarks. If you cannot identify the next section or your air supply is becoming tight, return toward the last known air pocket instead of committing to an unexplored branch.
Once back in the facility, follow the active exit or Final Exfil marker and its live timer. A successful Tech Lab final-lift escape is documented; it is an ordinary extraction, not a Bio Lab puzzle reward. Use the X01 extraction guide and remain until the game confirms success.
Quick questions
Is the Bio Lab underwater route the same as Water Wading?
No. Water Wading uses the flooded barracks beneath Supply Depot and requires the Super User Data Access Keycard plus extraction. Bio Lab's fan-and-valve route is a separate underwater area.
Where is the missing valve in X01's underwater route?
Search the chamber beyond the first fan passage. A table beside a thick pipe and wire mesh and a table beneath a wall light beside a green-lit vertical pipe are observed search spots. Check for Take Valve; neither spot is guaranteed.
What opens the lower Bio Lab hatch?
Reach the lower laboratory, climb its metal stairs into the control room and use Turn Power On at the green-lit console. Check that the central floor hatch is open before entering it.
Is a Staff Emergency Exfil Keycard guaranteed underwater?
No guaranteed spawn is established. A named Staff card has been found on an underwater loot run, but your route and loot availability can differ. Keep another exit plan.
Does this route complete the underwater Easter egg?
The fan-and-valve route opens access to the lower lab and deeper exploration. Button and cracked-glass landmarks are known, but the complete larger puzzle, its final reward and any special extraction remain unverified.
Mentioned in this guide
Spotted something wrong? Send a correction.