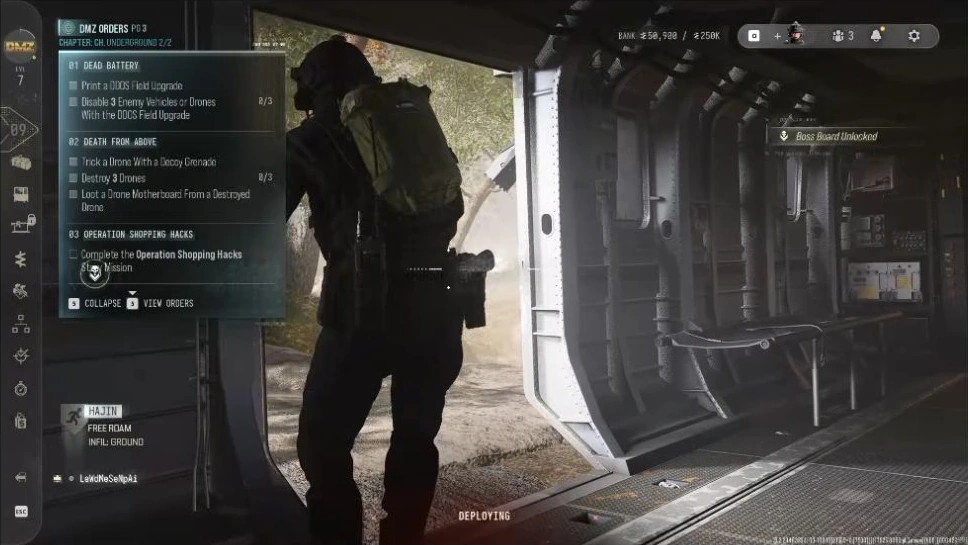
X01 Orders Guide: Objectives and Locations for All Five Pages
Find the right room, use the required control and check each objective before moving on, from Fresh Start to Source Code.
X01 has five Orders pages with three Orders on each page. Start with entry, separate container searches and extraction; later pages cover Ri's feeds, the Deep Vault, flooded barracks and three Data Center downloads. Page 3 can show completion before raid extraction, while page 5 Source Code explicitly requires its downloads and extraction in the same match.
- Five X01 pages contain 15 Orders; match the active task name before following a route
- Sight Seeing has separate five-container counters for Main Warehouse and Control Room
- Page 3's Data Center log uses a terminal; check the Order before raid extraction
- Opening the Vault core and using Neutralize Bioweapon are separate actions
- Water Wading requires the Super User Data Access Keycard and extraction
- Source Code requires three downloads and extraction in the same match
Follow the five X01 Orders pages from Fresh Start to Source Code. Begin with entry, separate container searches and a successful extraction; later pages add surveillance terminals, the Deep Vault and the flooded barracks.
Match the X01 chapter, page and task on your Orders panel before following a step. The guide below covers the supported routes across all five pages. Squad kills can contribute to the Control Room task; death/reset and broader sharing rules remain unverified. For entry options, use the X01 entrance guide.
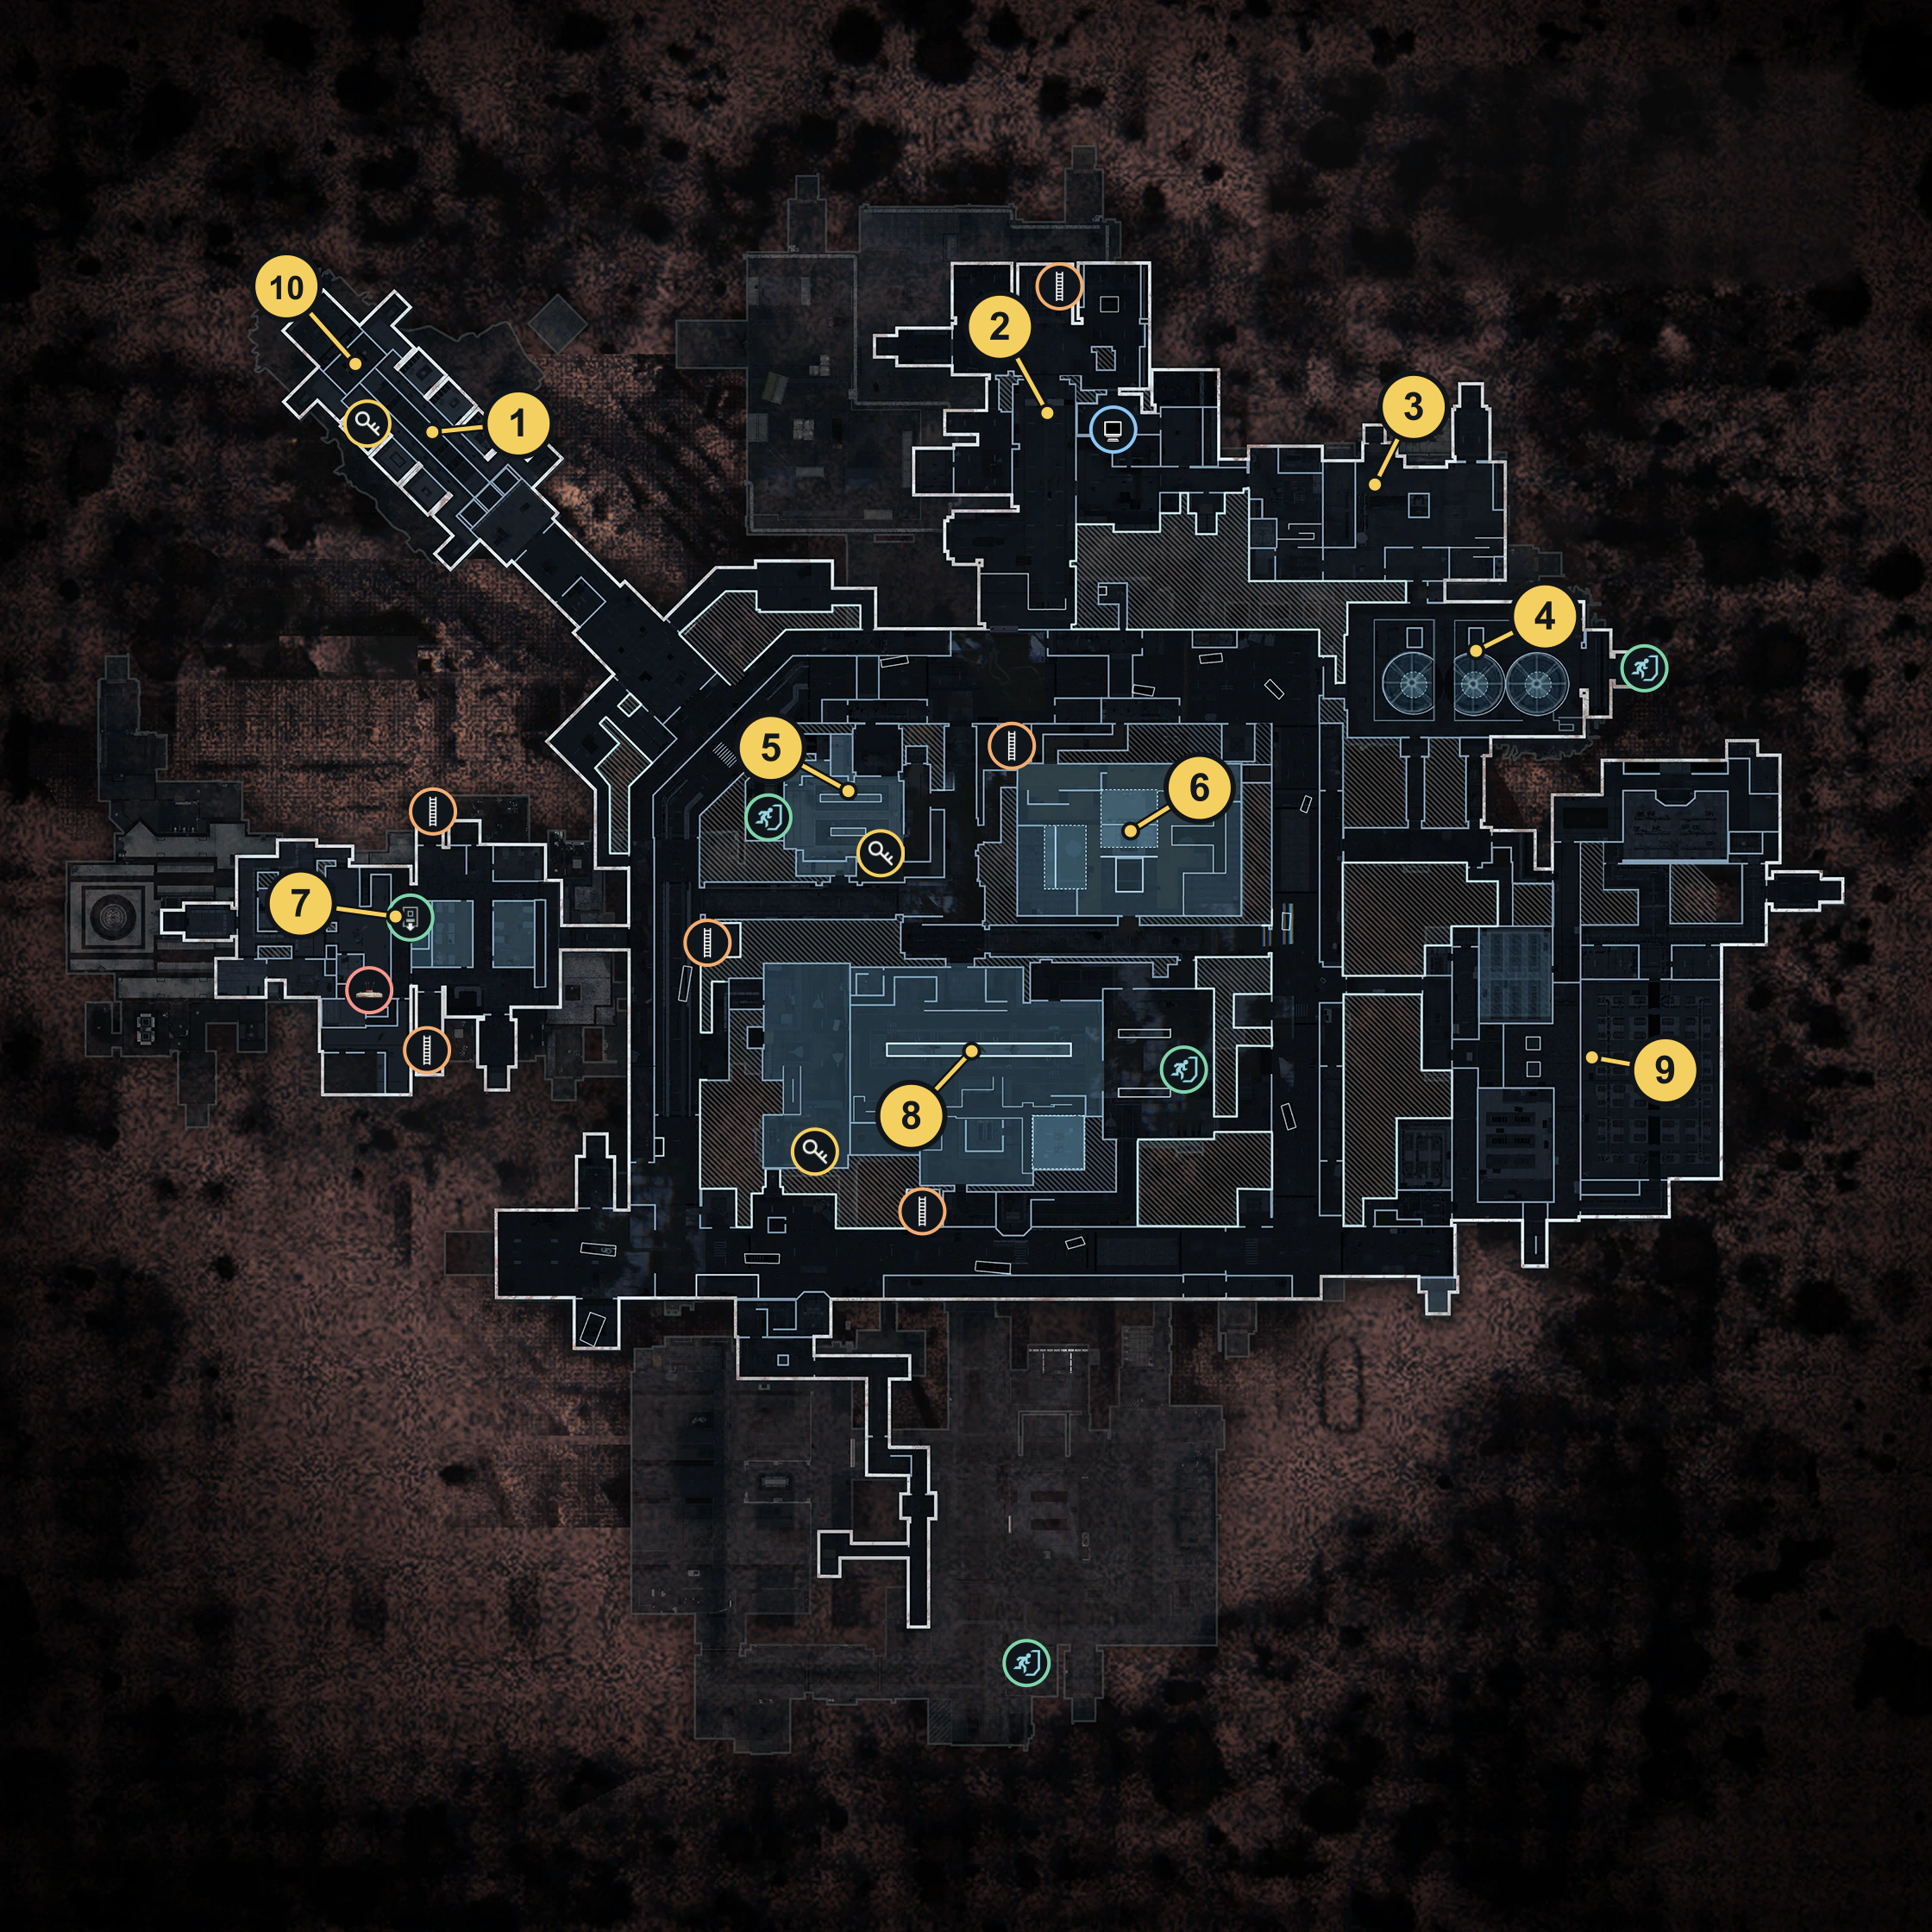
Keep the X01 interactive map beside the guide. Match the room label and map view before using a container, terminal or door.
Pick the task on your current page
| Active task | Where to go | What needs to happen |
|---|---|---|
| Fresh Start | FOB X01 selection or the physical Hajin transfer | Finish travelling into X01 |
| Sight Seeing | Main Warehouse and Control Room | Search five unopened containers in each area |
| First Win | An active X01 exit | Complete extraction |
| Explorer | Production Assembly, then T.E.C.H. Lab | Find the hidden stash and search five unopened lab containers |
| Crafting Material | X01 Printer and a Keycard Encoder Station | Visit the two stations and check both tasks |
| Video Footage | Admin Offices surveillance room | Use the Ri-footage search interaction |
The named room matters. A crate beside the boundary of another area may be convenient loot without counting for the task you are following. Open one eligible container or use one interaction, then check the objective before repeating it.
Page 1: Fresh Start, Sight Seeing and First Win
Fresh Start: enter X01
If X01 → Free Roam is available in your FOB location selector, you can select that deployment route. Fresh-account unlock requirements remain unverified. You can also use the physical Hajin transfer:
Travel to the elevator near the facility in northwestern Hajin, use the gate’s wall control and enter the lift. Confirm the X01 transfer with the squad inside. Once the facility loads, check Fresh Start for completion; visiting the building outside is not the same as entering X01.
Your arrival room may differ from another player’s. Open the map and use the room label to find your position before heading for Main Warehouse or Control Room.
Sight Seeing: keep the two counters separate
You need five unopened containers in Main Warehouse and five unopened containers in Control Room. The two counters are independent: five in one area do not finish the other.
- Find Main Warehouse on the map and enter the named area.
- Open a container that has not already been searched. Check that the Main Warehouse counter increases.
- Continue until that counter reaches its requirement, then move to Control Room.
- Repeat the check there for its separate five-container task.
On the Codex map, Main Warehouse and Control Room are on the second view. Search the rooms themselves rather than nearby Power Generators lockers. If the count does not move, check the room label and find an unopened container before spending more time in the same spot.
First Win: complete the departure
Find an active exit on the Tac Map, match its view and landmark to your position, then follow its interaction and departure instructions. Stay through the departure until extraction is confirmed. Standing on an exit marker does not complete First Win.
For the lift call and emergency-shaft steps, use the X01 extraction guide.
Read the shutdown and final-exfil messages while moving between your container searches. If an ordinary exit closes, select an active alternative rather than following the route back to a marker that is no longer available.
Page 2: Explorer, Crafting Material and Video Footage
These tasks use several areas. Start with the nearest safe objective from your arrival room; there is no need to cross the facility solely to follow the order of the headings below.
Explorer: find the Production Assembly hidden stash
The stash is reached from the north side of Production Assembly, through the lower doorway between the stairs. Look for the STAIRS sign and the short route down into a storeroom.
- Cross to that lower doorway and go inside.
- Descend the short stairs, then look right for a small opening.
- The opening is blocked by a movable yellow cart or tool cabinet. Crouch and use a melee strike to shift it out of the way.
- Go through and loot the Military Bag on the wooden crate. Check Explorer’s stash task before leaving the room.
Finding the doorway is only the approach; finish the stash interaction. The task’s own map marker can help you locate the correct side of the hall, but the blocked opening is easy to pass when looking only at the floor above.
Explorer: open five fresh containers in T.E.C.H. Lab
The stash does not finish Explorer by itself. Travel to T.E.C.H. Lab and search five unopened containers inside that named area. Check the counter after your first search to confirm you are in the correct room.
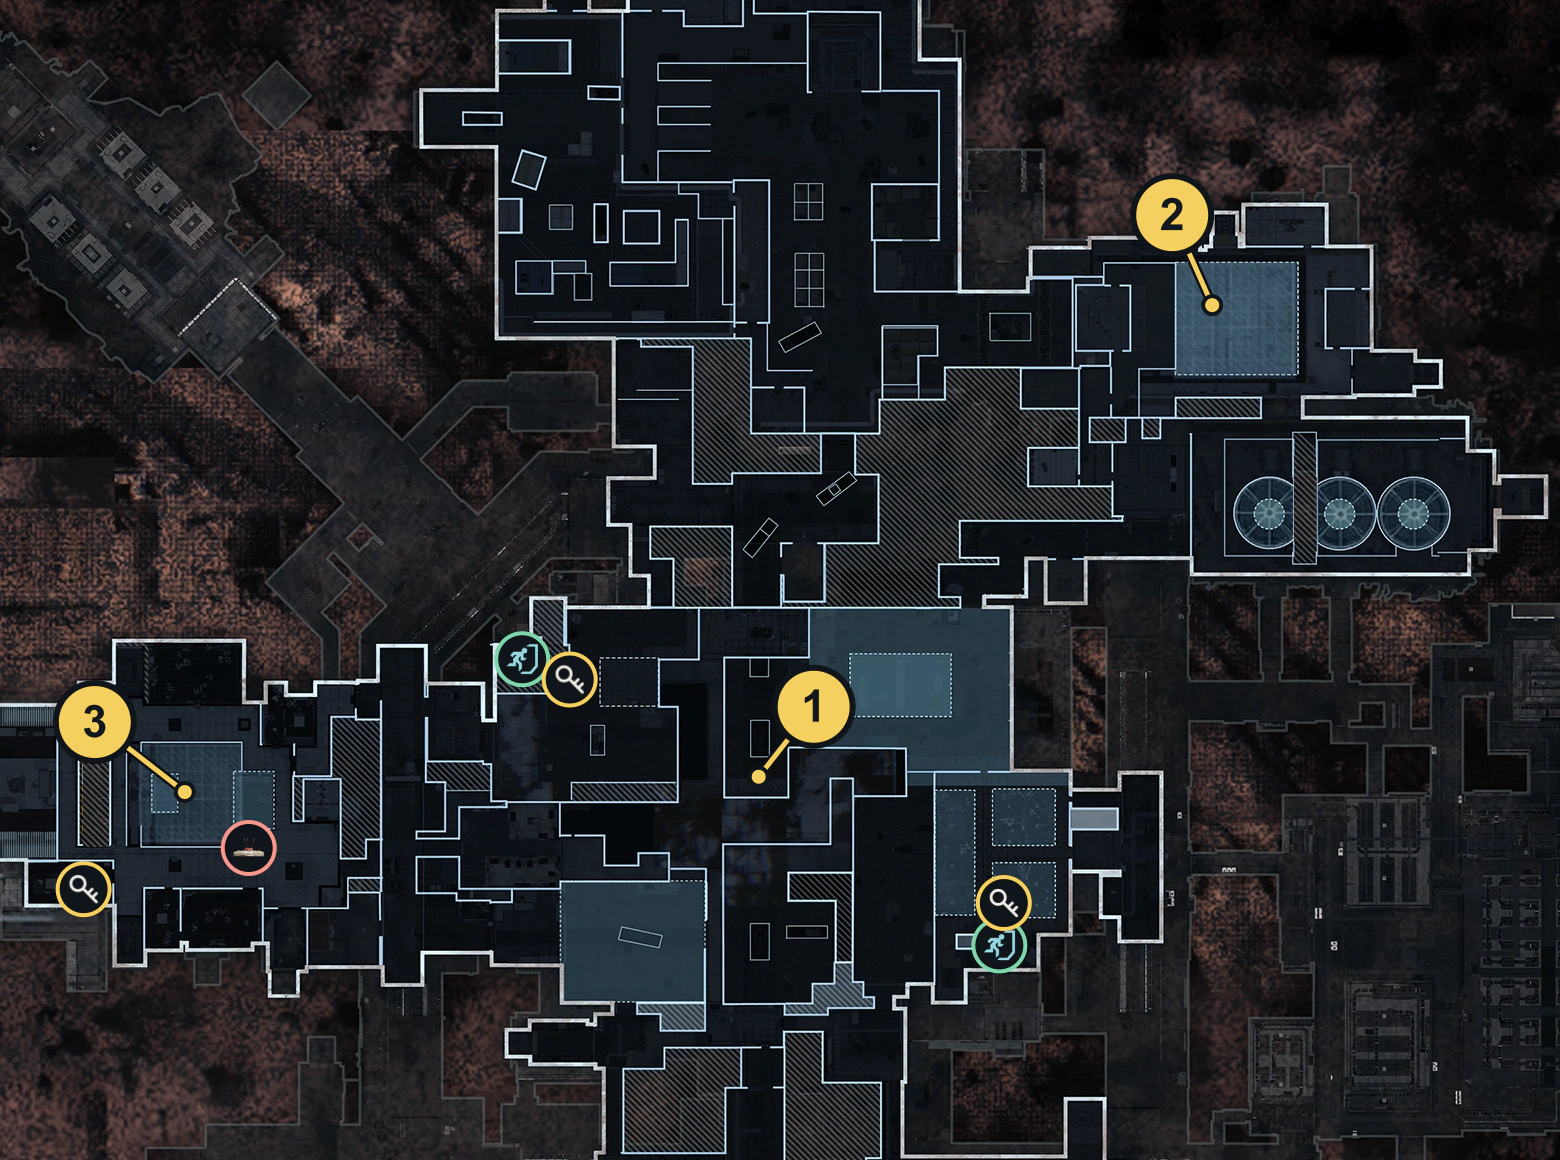
The Codex map’s first view contains Production Assembly and T.E.C.H. Lab. Use the lab label to distinguish its containers from loot in a neighbouring security area. Do not count a teammate’s already-opened container as a fresh search.
Crafting Material: visit the Printer and Encoder
These are visit objectives. Check both tasks before spending a resource or keycard.
| Station | Where to look | What to do |
|---|---|---|
| X01 3D Printer | The small office on the upper walkway at the west side of Production Assembly | Take the stairs up, find the Printer cabinet and open its Print Item menu. Check the Printer visit. |
| Keycard Encoder Station | The small room at the east side of Supply Depot | Find the grey kiosk and use its Encode Keycard interaction. Check the Encoder visit. |
An Encoder can have a use beyond this Order, but that does not turn the visit into a requirement to make or spend a card. If a task remains unchecked, confirm the station’s name, use its interaction and check the panel again. Do not buy or consume materials simply because a menu offers that action.
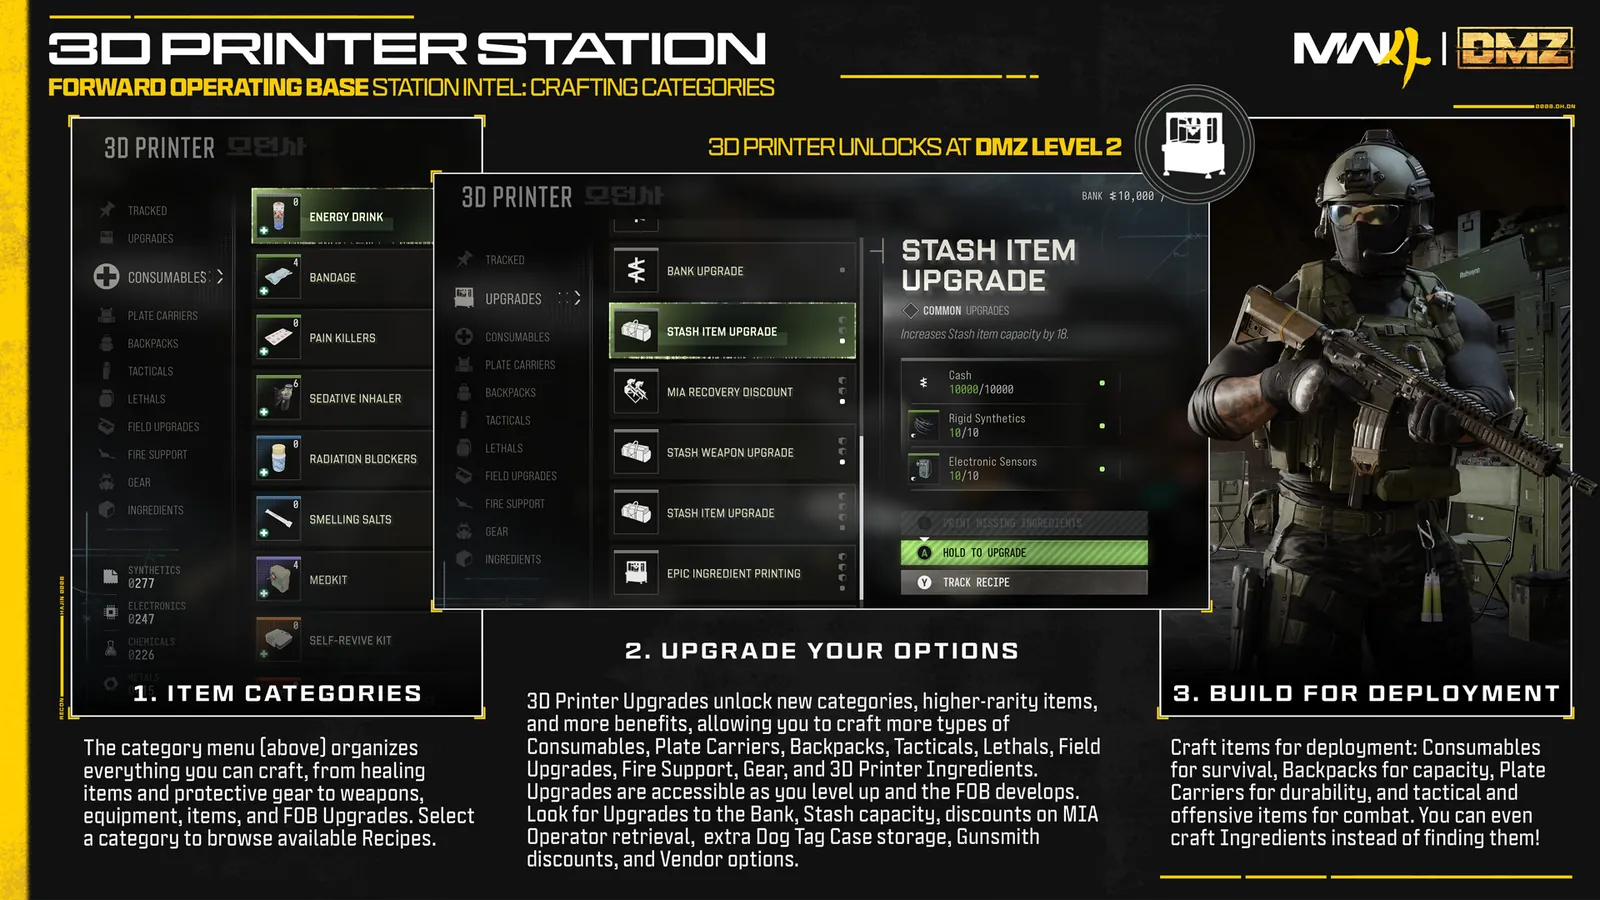
For ordinary crafting preparation, see the 3D Printer guide. Its FOB recipes should not be assumed to be the X01 menu.
Video Footage: use the surveillance-room monitors
Head to Admin Offices, on the Codex map’s second view. Look for the dark blue surveillance room with server racks, green desk monitors and wall screens showing Ri.
Use the desk-monitor search interaction for Ri’s original video copy, then check Video Footage for completion. The task is an interaction in the surveillance room, not a loose item to find somewhere in the office complex.
Keep an approach clear while using the monitors. Finish the interaction and check the task before leaving; entering Admin Offices alone is not enough.
Page 3: Streaming Service Ep. 1–3
Follow the Ri feed marker inside each named area, then check its separate action counter. Control Room is on the map’s second view; Medical Wing and Data Center are on the first.
Ep. 1: Control Room feed and 10 enemies
Use the feed console beneath the large Ri display in Control Room, then check the feed objective. Fight inside the named room and watch its 10-enemy counter. A nearby corridor kill must not be assumed to count.
Your squad can contribute kills to this task. You do not each need ten personal kills: the Control Room objective can complete while a player’s personal raid kill total is below ten. Check your own task for the completed mark before leaving. This does not establish credit for a player outside the room, a dead teammate or a different Order.
Ep. 2: Medical Wing feed and 10 healing items
Use the marked feed interaction in Medical Wing, then search that area’s medical loot for 10 healing items. Loot the items; you do not need to use ten heals. Bandages, painkillers and radiation blockers are reported to count, but the full eligibility list is unverified. Check your counter after each pickup. Do not rely on stims, brought-in items, teammate drops or repeated pickups as established shortcuts.
Ep. 3: Data Center log and three Robot Dogs
- Follow the log marker into the lower Data Center section and use the console’s Extract Ri Video Log interaction.
- Eliminate three Robot Dogs in X01, checking your own counter. An encounter warning helps locate a threat; it is not a fixed-spawn guarantee.
- Check the whole Ep. 3 Order while you are still inside X01. It can display completion before raid extraction; confirm both the terminal task and the 3/3 Robot Dog counter.
Extract Ri Video Log is the terminal interaction. Check its objective after using the console. Death/disconnect retention and reward timing remain unverified; the prompt does not establish a physical log that you must carry out.
Page 4: Bio Lab, Captain and Complete Defusal
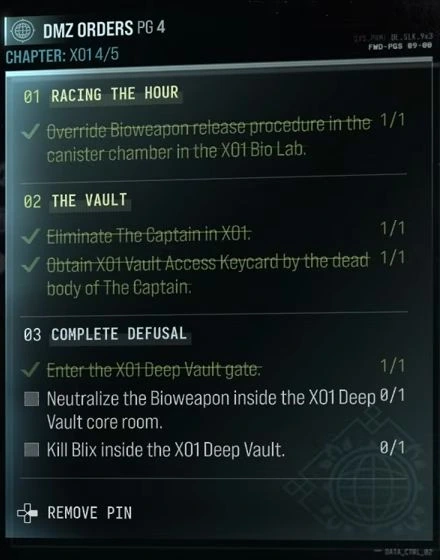
Racing the Hour: Bio Lab canister chamber
Enter the Bio Lab canister chamber and interact with the wall canister. Check the release-procedure task before leaving. Entering Bio Lab or visiting the underwater passage does not replace that interaction.
The Vault: Captain and the access card
Eliminate The Captain, then recover the Vault access keycard beside his body. The kill and card recovery are separate objectives: check both. Do not follow one supposed fixed Captain position or assume a particular numbered card always drops.
Complete Defusal: gate, core console and Blix
- Use the access card at the Deep Vault main gate.
- Reach the upper central control terminal and start the core-opening defense. Finish the sequence and descend into the opened core.
- Use the different computer on the central glass case, with the visible Neutralize Bioweapon prompt.
- Complete the separate Blix elimination objective and check all three tasks on your panel.
Opening the core or defeating Blix does not substitute for the central-case interaction. Defense reset rules, guaranteed Blix appearances and shared credit remain unverified. Use the Deep Vault guide for card use, numbered rooms and the side-shaft return. Returning through the Vault gate is not extraction from X01.
Page 5: Door Opener, Water Wading and Source Code
Complete the three page 5 Orders below. Keep Water Wading’s keycard extraction separate from Source Code’s same-match download and extraction requirement.
| Order | Required action |
|---|---|
| Door Opener | Destroy the Logistics Tunnel Wheelson and cut the Power Generators power |
| Water Wading | After the power shutdown, enter the flooded barracks beneath Supply Depot, obtain the Super User Data Access Keycard and extract |
| Source Code | Download three Data Center source-code parts and extract in the same match |
Door Opener: Wheelson, then the power controls
Destroy the Logistics Tunnel Wheelson, then use the two successive power controls for the shutdown objective. Follow your active task marker and check the power task after the shutdown. The Wheelson’s Remote Module belongs to the console/power route in the exfil guide. It is separate from Prototype K9 Core V2.
Water Wading: flooded barracks and the laser panel
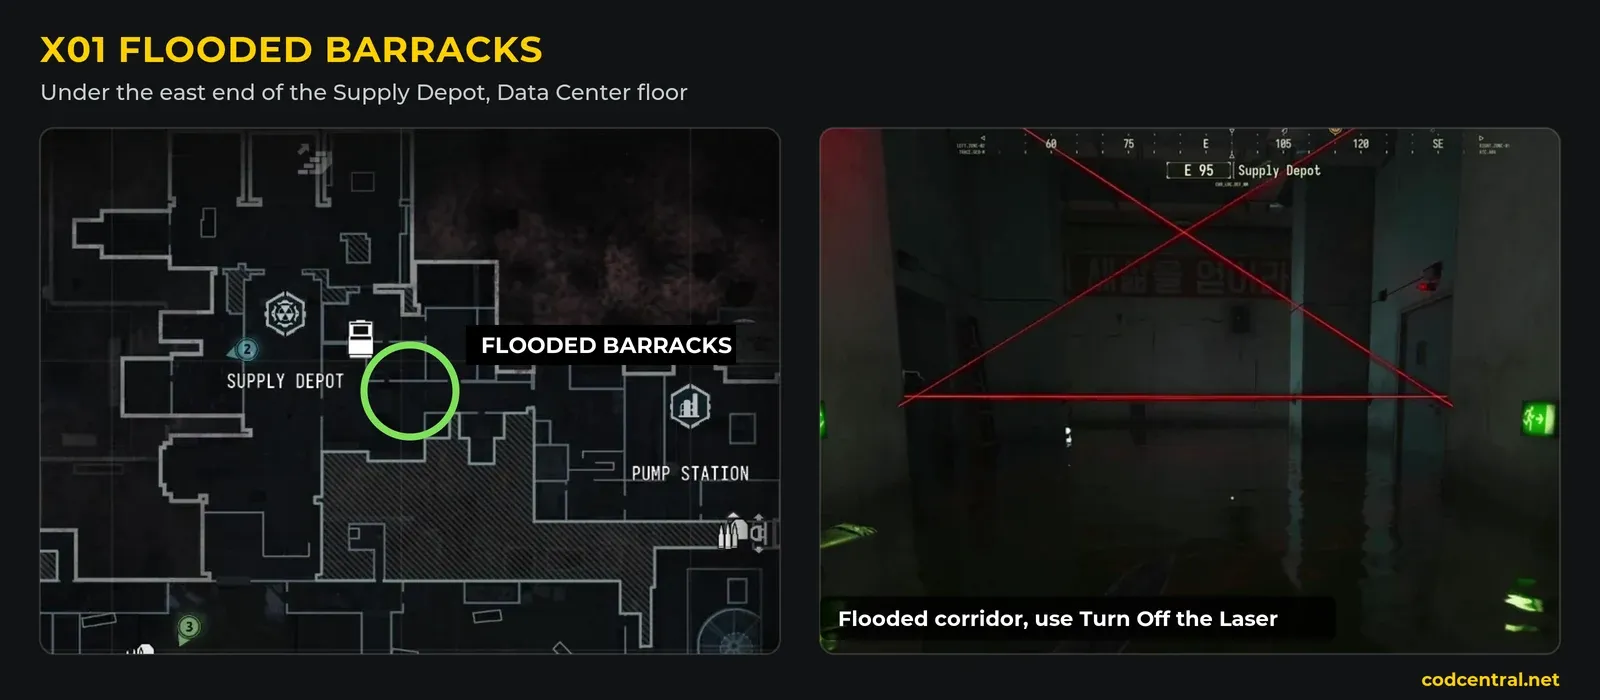
- Shut down power for Door Opener, then head to Supply Depot.
- Find the green-lit stairs beneath Supply Depot and descend into the flooded barracks.
- Move carefully through the flooded laser corridor to the wall panel at its far end.
- Use Turn Off The Laser on that panel, then backtrack toward the room on the left.
- Search the barracks loot room, checking the tables and loose loot as well as the active objective marker. Read the pickup name: Super User Data Access Keycard.
- Open your backpack and confirm that exact card is present with its Mission Item label. A Staff emergency card, a room key or a searched locker does not replace it.
- Choose an active exit and successfully extract with the card. Check Water Wading afterward: entering the barracks and collecting the card for extraction are separate task rows.
Check the card in your backpack before leaving the barracks and check the completed Order after extraction. A universal fixed spawn on one table is not established. If the room has been looted, use the objective and exact item name rather than assuming any nearby container held the card.
These are the Supply Depot flooded barracks. The separate Bio Lab underwater route uses fans and a removable valve; visiting that route does not replace Water Wading’s mission-card objective.
Source Code: three downloads and same-match extraction
- Reach the Data Center lobby approach. Follow the raised metal walkway and find the long dark glass wall beside the lobby.
- Find the side doorway beside that glass wall. Look for its green access pad, then enter the dark server aisles outlined by blue floor strips.
- Follow the three download markers to the wall-mounted monitors beside the racks. Read Download Source Code on each panel and hold its interaction until it finishes.
- Check the Source Code counter after every download. Continue until it reads 3/3; reaching the room or standing in front of a monitor is not the completed action.
- Extract in that same match. An active normal lift can finish this extraction requirement; no special Source Code-only exit is established. Board, remain through departure and wait for the successful extraction result.
Keep all three downloads and the required extraction in one match. Do not split Source Code across runs or assume the same retention rules apply to every other Order.
Check your own progress and rewards
Use the task panel after each interaction, pickup and kill. A completed checkbox, a carried mission item and a successful extraction are different states. Beyond the Control Room kill contribution described above, exact death/disconnect retention, second-player access to a looted stash and per-action squad credit remain unverified.
Reward previews are also different from a claim result. Receiving an armor item does not by itself unlock its permanent recipe, and repeatable page rewards remain unconfirmed. Keep your next required item and exit route in the deployment checklist.
When an objective does not advance
- Container count stays still: check the named room and whether the container was already opened. Main Warehouse, Control Room and T.E.C.H. Lab are different counters on different pages.
- Explorer still shows the stash: move past the obstruction and loot the bag; reaching the room or pushing the cart is not the full action.
- Crafting Material remains incomplete: check which station visit is missing. Use that station’s interaction; the task does not list an item to print or a card to encode.
- Video Footage remains incomplete: search at the surveillance desk monitors, not an unrelated server or a container elsewhere in Admin Offices.
- You are following an old page: read the X01 label and the exact task name. The general Hajin chapter and the historical X01 task preview are not a substitute for your active panel.
For page progression in the wider game, use the general Orders guide. Keep your next X01 objective and exit visible in the deployment checklist.
Focused routes for your next objective
Quick questions
How many pages of X01 Orders are there?
The X01 chapter has five pages, X01 1/5 through X01 5/5, with three Orders on each. Squad contribution is supported for the Control Room ten-kill task; death/reset and broader squad-credit rules remain unverified.
Why are my Sight Seeing containers not counting?
Check that you are inside Main Warehouse or Control Room and are opening a previously unopened container. Each named area has its own five-container counter; a container in a neighbouring room does not satisfy that area's instruction.
Where is the hidden stash in Production Assembly?
Use the lower doorway between the stairs on the north side of the Production Assembly hall. Descend the short stairs and look right for the small opening blocked by a movable cart or tool cabinet. Crouch, move it with a melee strike and loot the stash behind it.
Do I have to craft an item for Crafting Material?
The two objectives ask you to visit the X01 3D Printer and a Keycard Encoder Station. Use the station interaction and check the task for credit. No crafting requirement or keycard expenditure is listed for these visits.
Is Ri video footage an item I must carry out on page 2?
Page 2 uses the Admin Offices surveillance search. Page 3 uses a different Data Center terminal, Extract Ri Video Log. Complete that interaction, eliminate the three Robot Dogs and check Streaming Service Ep. 3 inside X01. The terminal wording does not add a requirement to carry a physical log out.
Must Source Code be completed in one match?
Yes. The page 5 objective explicitly requires three Data Center downloads and extraction in the same match. Do not apply that condition to every other X01 task.
Do squadmates' actions count for every X01 Order?
Squad kills can contribute to the Control Room ten-enemy task, so each player does not need ten personal kills for that task. No universal sharing rule has been established for other Orders, pickups or extraction. Check your own counters.
How do I know I picked up the correct Water Wading card?
Open your backpack and read Super User Data Access Keycard with its Mission Item label. The pickup alone does not finish Water Wading; extract with that card and check the completed Order afterward.
Do I need to finish a new Story Mission for the first X01 page?
Fresh Start asks you to enter X01, Sight Seeing asks for container searches and First Win asks for successful extraction. Those are X01 Orders; do not substitute a Hajin Story Mission for an objective that names a room inside X01.
Mentioned in this guide
Spotted something wrong? Send a correction.