DMZ loot routes: compound safes, Air Base or western bunkers?
Choose what you need to bring home, then build a run around your start, equipment and exit.
Compound safes are a focused valuables search; the Air Base surface sweep is a resource-oriented alternative; western bunkers offer another valuables route, while Iron Citadel adds the mission armory. Small reported samples compare these options, but backpack value is different from banked Cash. Use the route that suits your actual start and the equipment you can afford to risk.
- Four options, with at least 3 sampled runs each
- Six-compound loop: Delta → Echo → Bravo → Alpha → Charlie → Foxtrot
- Air Base: barracks, fridge building and northern safe building
- Reported hourly value is not guaranteed banked Cash
Six compounds · Safe farming
Before you deployBring plates, healing, ammo and backpack space. Choose an active exit before committing.
Open planYour objective checklist
Check your gear and deployment
Bring a rifle, ammo, plates and backpack space. Start near Delta if practical; change the run to suit your deployment.
Finished when: Your required equipment, key and return supplies have been checked before committing.
Check Compound Delta
Search the current green safe. Skip this compound if its safe is already open or the stop is contested. Keep useful finds and continue only while space, supplies and time permit. The point marks a compound area, not an exact safe door.
Finished when: This stop was searched, or deliberately skipped because the safe was open, the area unsafe or the run should end.
Check Compound Echo
Check both reported Echo safe locations: the underground parking and the sandbag tent. Skip an open safe or contested approach. Check space and supplies before continuing to Bravo. The compound point does not locate either safe precisely.
Finished when: This stop was searched, or deliberately skipped because the safe was open, the area unsafe or the run should end.
Check Compound Bravo
Search the current green safe. Skip this compound if its safe is already open or the stop is contested. Keep useful finds and continue only while space, supplies and time permit. The point marks a compound area, not an exact safe door.
Finished when: This stop was searched, or deliberately skipped because the safe was open, the area unsafe or the run should end.
Check Compound Alpha
Search the current green safe. Skip this compound if its safe is already open or the stop is contested. Keep useful finds and continue only while space, supplies and time permit. The point marks a compound area, not an exact safe door.
Finished when: This stop was searched, or deliberately skipped because the safe was open, the area unsafe or the run should end.
Check Compound Charlie
Search the current green safe. Skip this compound if its safe is already open or the stop is contested. Keep useful finds and continue only while space, supplies and time permit. The point marks a compound area, not an exact safe door.
Finished when: This stop was searched, or deliberately skipped because the safe was open, the area unsafe or the run should end.
Check Compound Foxtrot
Search the current green safe. Skip this compound if its safe is already open or the stop is contested. Keep useful finds and continue only while space, supplies and time permit. The point marks a compound area, not an exact safe door.
Finished when: This stop was searched, or deliberately skipped because the safe was open, the area unsafe or the run should end.
Choose an active exit and extract
Check backpack and supplies. Choose a current active exit, leave contested stops and extract useful finds before time or protection runs out.
Finished when: You have extracted with the required items or value, rather than only collecting them.
Area references, not surveyed interior doors. Loot and active exits vary; lines show visit order, not checked paths.
Pick one thing you need to bring back: valuables, printer resources or armory gear. Then choose a route you can reach from your actual start and leave before your supplies run out. The spawn guide helps with the first decision; the keep, sell and craft guide helps you decide what deserves backpack space.
Choose the run for your objective
A reported comparison updated 3 November 2026 sampled at least 3 runs per option. Its rounded results are useful for choosing a type of run, rather than predicting the value of your next backpack.
| Route | Approximate backpack value/hour | Approximate resources/hour | Choose it when |
|---|---|---|---|
| Compound safes | 240,000 | 55 | You want a focused valuables search near your deployment |
| Air Base surface sweep | 230,000 | 1,470 | You want printer resources from ordinary surface buildings |
| Western bunkers | 220,000 | 440 | A nearby western start makes the bunker entrances practical |
| Iron Citadel | 220,000 | 1,190 | You want the mission and its armory, and can prepare for the full sequence |
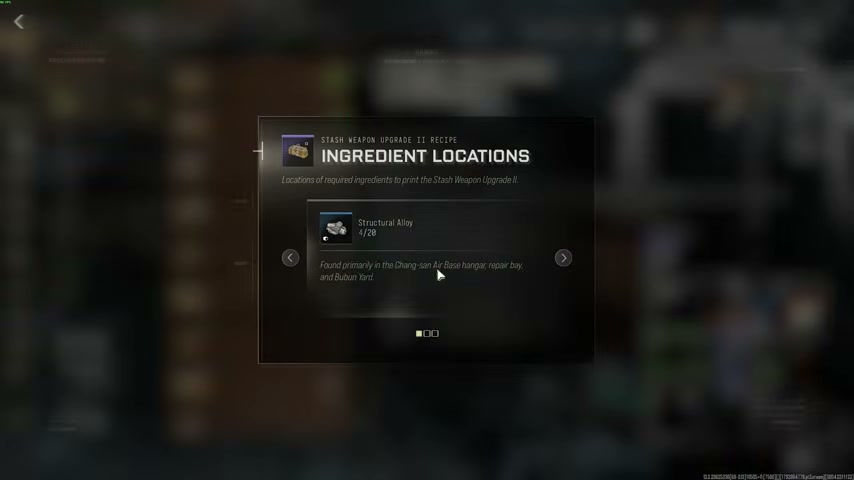
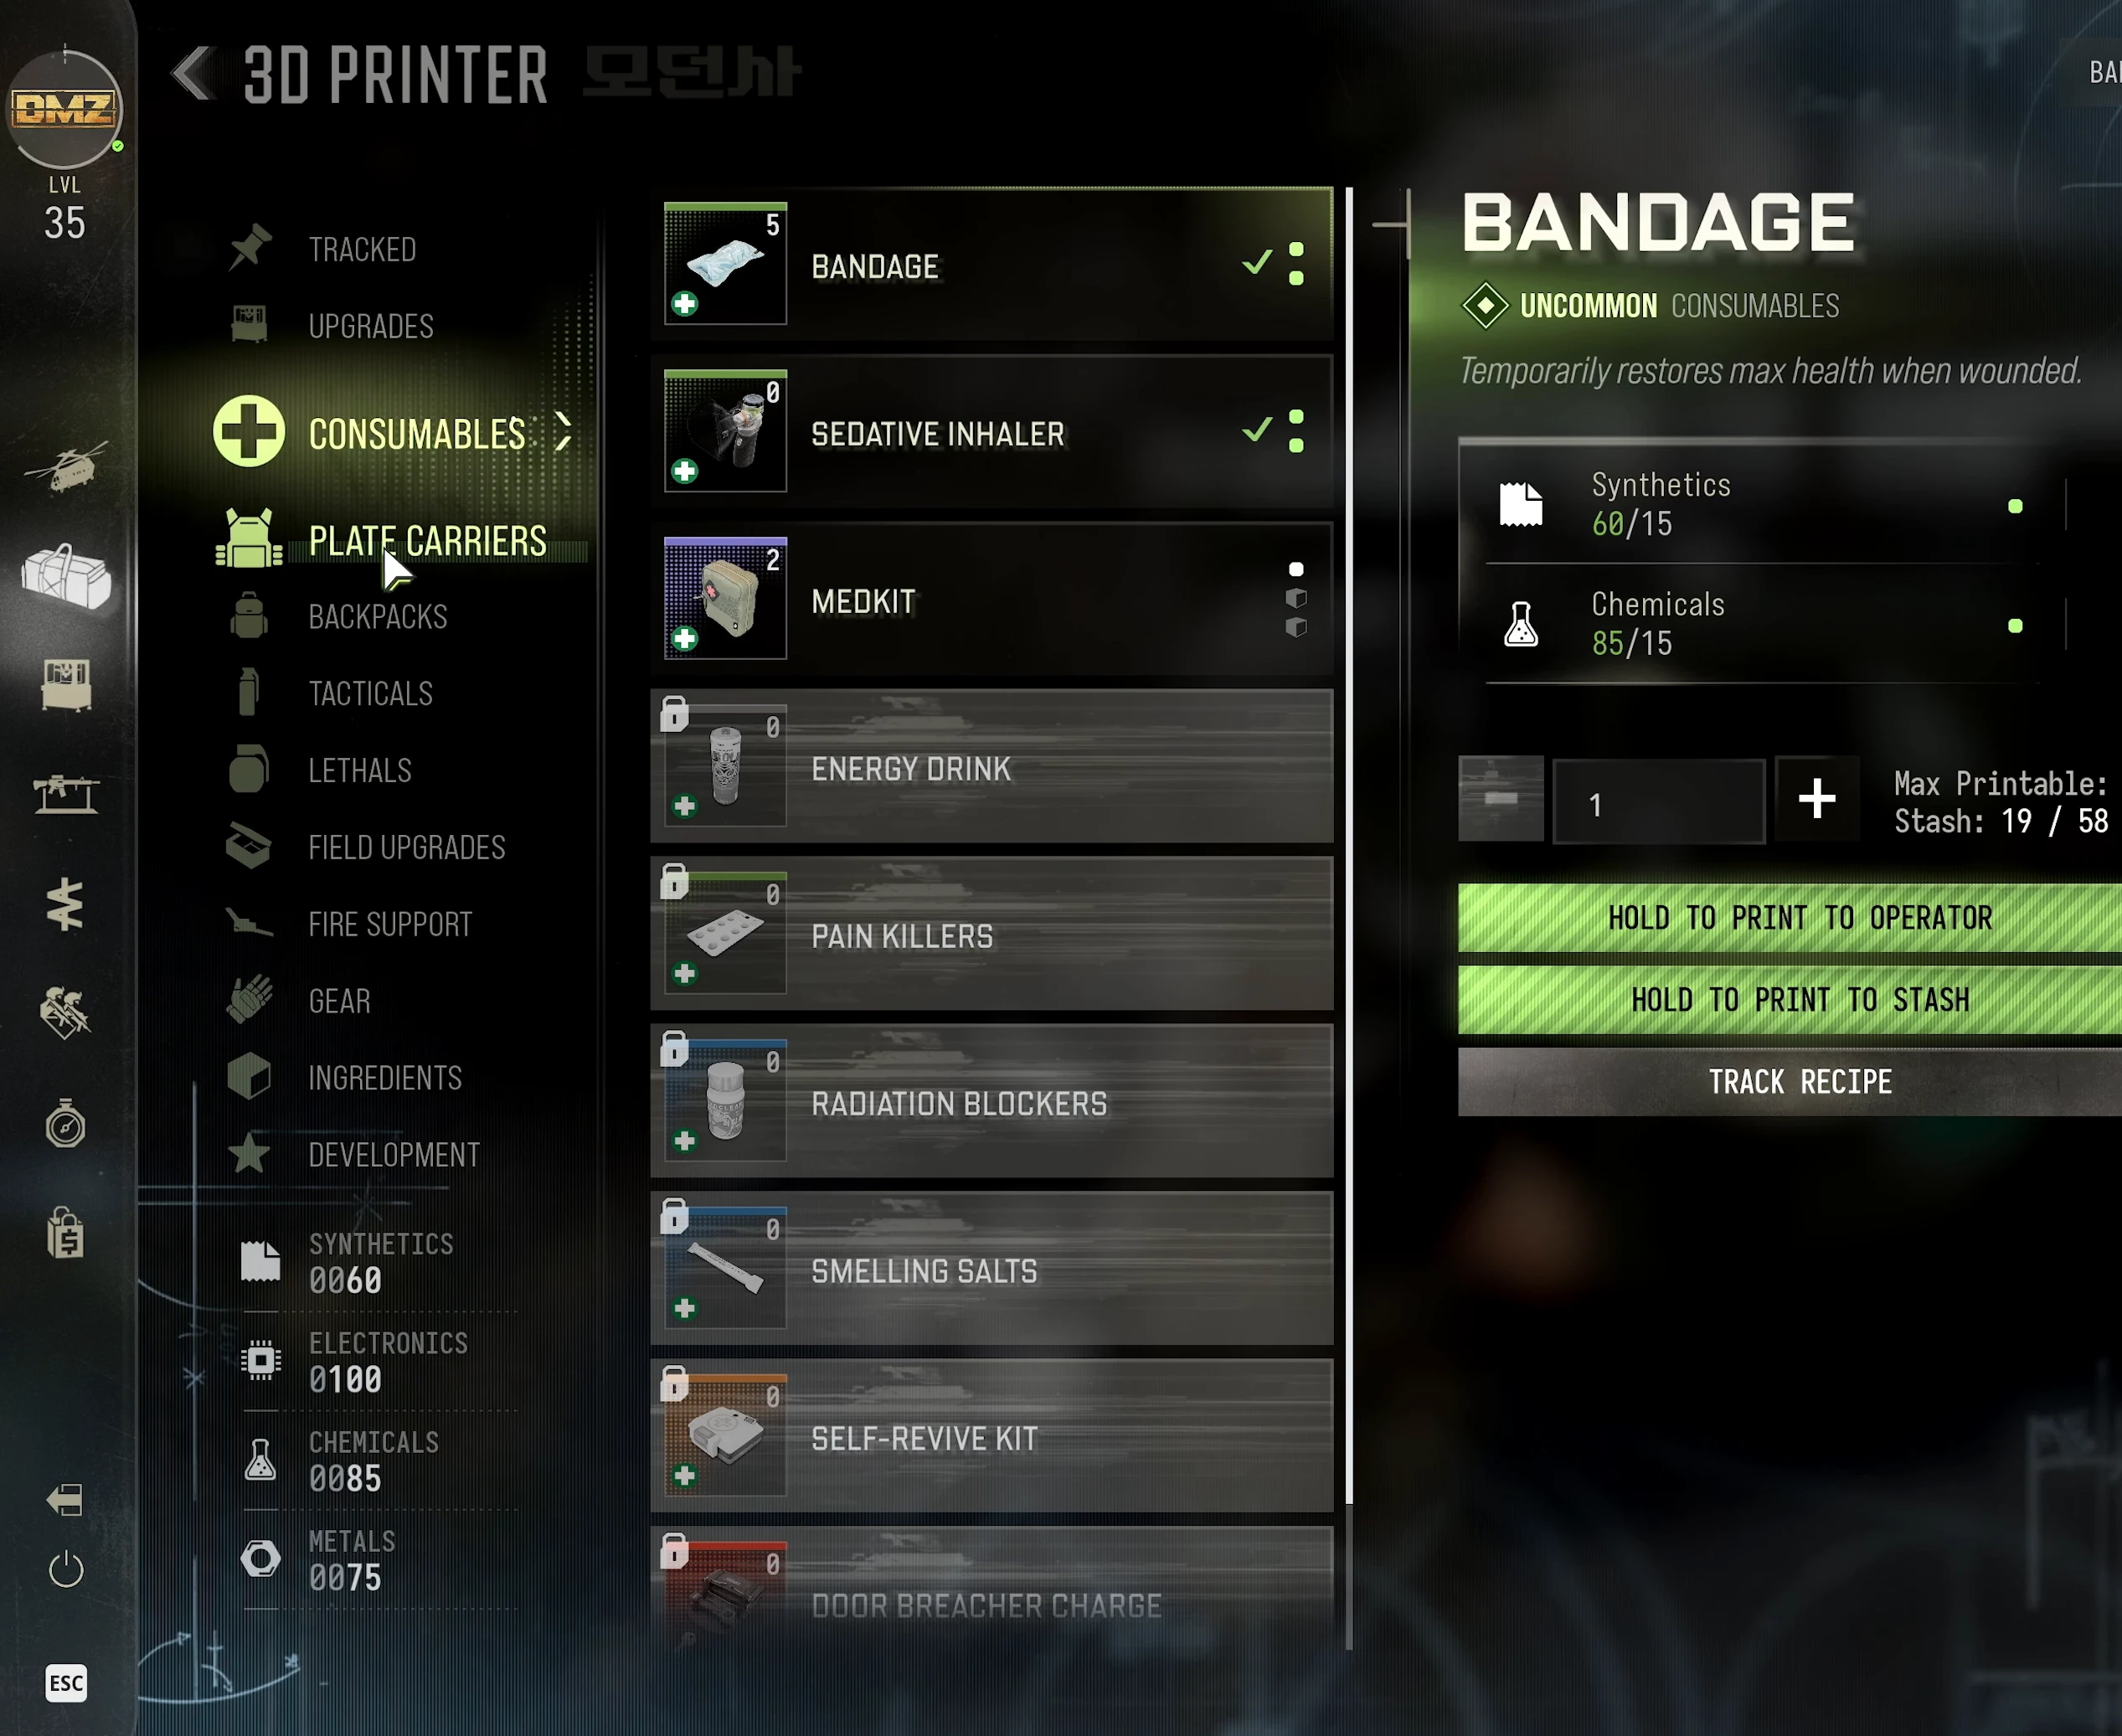
Backpack sale value, banked Cash and printer resources are different measures. A valuable carried item is not the same as a Cash reward already paid into your Bank. If a particular upgrade needs a physical ingredient, use the ingredient search guide; a high total resource count does not replace that named part.
Prepare for the next stop, not just the first room
Before queuing, check your equipped weapon, plates, healing, ammunition and backpack. Leave room for the item you are hunting. If you plan to add a locked room, identify its exact key and destination with the Key Finder; reaching a Compound or the Air Base does not open every lock there.
On arrival, compare your route with the transport, fuel, remaining time and active exits you actually have. These are suggested planning checks, not fixed requirements or a claim that a vehicle will spawn beside you. A full-loop preset is a list you can shorten: finding a needed ingredient at the first stop can be a reason to extract rather than complete the remaining tour.
Six-compound safe run
Open the editable full-compound safe route. Its reported sequence is Delta → Echo → Bravo → Alpha → Charlie → Foxtrot. An available Fallen Ember start can put you near Delta, but this loot run does not require completing that mission.
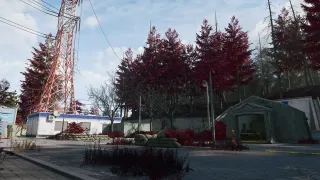
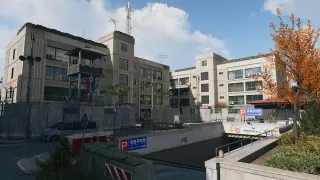
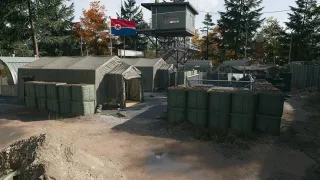
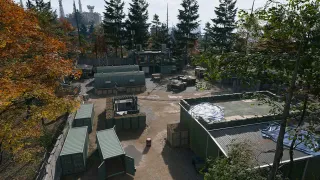
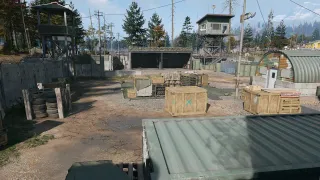
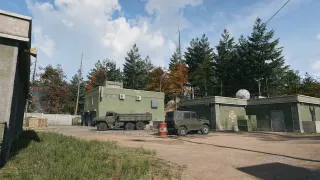
Search the room leads at each Compound
Use these reported room descriptions to narrow your search. An unopened safe, fixed payout or exact door coordinate is not guaranteed. Open the safe layer and compare the buildings with what you see in game.
| Stop | Reported place to check | Decision before the next drive |
|---|---|---|
| Delta | Canvas military tent; a reported opening places the safe just inside the entrance on the left | Check your cargo and supplies before committing to the longer loop |
| Echo | The sampled route checks the underground-parking safe and the safe in the sandbag tent | Treat these as two searches; finding one does not establish that the other remains unopened |
| Bravo | Upstairs/watchtower office near a desk; a separate report also describes a green shipping container on the east side | Choose accessible searches and avoid clearing the same site twice without a useful objective |
| Alpha | Office in the large northeast building, with a monitor wall and green crates; the safe is reported below the monitors | Match the room landmarks before treating a broad Compound marker as the destination |
| Charlie | Reported office search spots include a desk, a main room below a damaged screen and a second office facing a radio mast | Check which room you reached; multiple reports do not guarantee a fresh safe in every room |
| Foxtrot | Office in the Compound building, with a reported safe on the floor by the desk | Recheck the active exit rather than finishing the westward loop with no departure plan |
These are search leads from different observations, not a claim that every listed safe was checked in one run. This full sequence also differs from the existing shorter loop with a Wolves police-station detour.
Open, inspect and decide
Clear the immediate room, cover its entrances and hold the safe’s displayed interact prompt. Ordinary safes covered by the safe-opening guide do not use the same access sequence as a named key room or mission vault. Inspect what appeared before deciding how much of the route remains worthwhile.
If you are also doing Robbery, its separate objective is to extract with 5,000 total backpack and loadout value. Opening a safe alone does not complete that extraction check. Gold is another separate goal: the Gold Bar and Gold Skull guide explains sampled finds and why an upgrade reserve may matter more than the item’s sale value.
Skip an already-open safe or an exposed stop. If the search solved your shortage, choose an active exit. The planner has preparation, one task for each Compound and a final extraction task; its lines suggest visit order rather than measured driving paths.
Air Base surface sweep
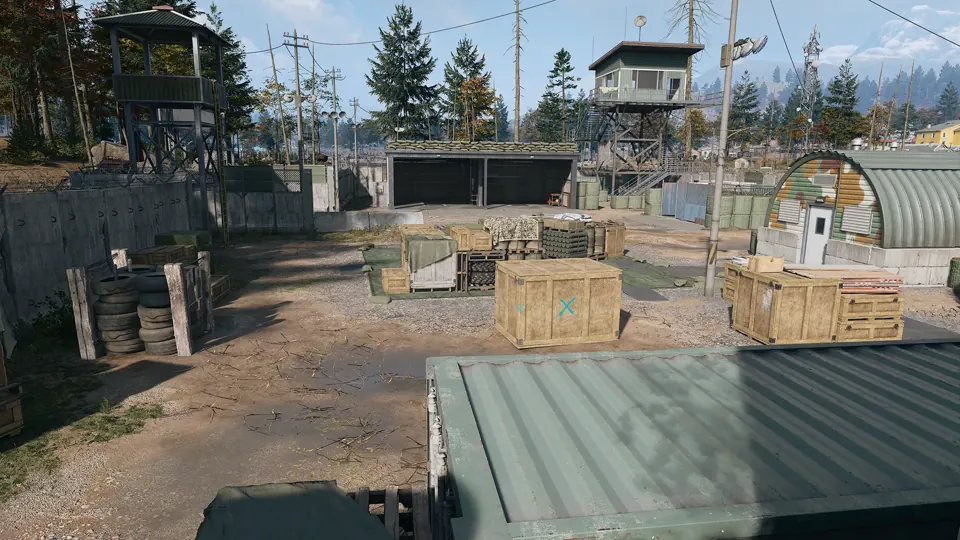
Open the editable Air Base sweep. The reported search uses Iron Citadel’s nearby start, crosses the wall and visits three stop groups. It includes three barracks plus a fridge building and a northern safe building, rather than three buildings in total.
| Stop group | What to search | What to keep separate |
|---|---|---|
| Three barracks | Work through the buildings and inspect their containers | A building on the route is not confirmation that its loot remains unopened |
| Adjacent fridge building | Check the downstairs fridges before moving on | Ordinary resource searches do not grant mission-armory access |
| Northern safe building | Search the safe and surrounding rooms | A safe’s valuables and printer resources contribute different things to the run |
| Optional western clinic | Add its medical and chemical-storage searches if they suit your shortage | This detour added time in the sample and is not required for the short surface loop |
Prepare armor, healing and ammunition for the base before treating it as a quick materials trip. Recipes were reported during these searches, without a guaranteed drop rate. A finished gun, a Recipe and a Weapon Manual are different pickups; inspect the card you actually found.
The planner uses broad areas and an optional clinic branch. It does not map a verified indoor path through all five buildings. Use the descriptions to identify the rooms in your own run and skip the detour when the approach or return is too exposed.
When the surface sweep becomes a mission run
The Iron Citadel armory is a separate objective. Its route searches for the Multi Use Access Card, upgrades it in Admin Complex No. 2 → Server Room, then uses the resulting Armory Card and current keycode parts. The full mission continues through sabotage and manifest extraction. Follow the Iron Citadel walkthrough if that is your goal; reaching the surface buildings does not complete those steps.
Western bunkers and Iron Citadel
Take the ordinary bunker route first
The western silo-bunker guide covers six reported search areas: north and northeast of the Political Prison, west of Tong-il Village, west and south of Chang-san Air Base, and southwest of Deadtown. These are broad orientation areas. Start with a nearby entrance instead of crossing Hajin simply to reproduce a complete chain.
Look for the circular silo structures and their nearby concrete stairwell entrance. In the illustrated ordinary-room route, a door secured from inside is bypassed by continuing along the corridor and taking the left-hand route to the back of the room. Match the layout rather than assuming that every underground building has the same bypass.
The separately named Silo Control Room is a different access decision. A Door Breacher Charge opening is reported, but it is not established as the only possible method. The ordinary route does not make that Ultra item a compulsory farming cost. Read the lock and the breacher guide before consuming anything.
Choose Iron Citadel for its full objective
Iron Citadel combines loot with an access-card, armory and sabotage mission. Choose it when you want that progression and have supplies for the longer sequence. If you only wanted the surface materials, do not treat a partly completed armory sequence as a requirement to stay.
The Iron Citadel walkthrough also retains a separate seven-run farming report that found two recipes and zero Weapon Manuals in its three-building searches. It is a different sample from the four-option comparison above, but it explains why a guaranteed Manual claim is not justified. Confirm the current pickup rather than relying on a farm’s headline.
Read the sample without mistaking it for income
The rounded hourly figures come from small samples, not controlled runs with identical starts, squads and travel. The bunker summary’s 17-minute timing differs from its displayed individual runs. Air Base figures mix short searches and clinic visits; solo and squad Iron Citadel runs differ in timing and loot-sharing conditions. The table retains the reported comparison rather than claiming an independent recalculation.
For your own comparison, record the route variant, match time, equipment you risked, useful items extracted and resources actually recovered. Include the clinic when timing a clinic run. Count the same things on the next run so a longer detour does not appear better merely because its carried valuables had a higher displayed value.
Before extending any route, check backpack space, combat supplies, remaining time and the active extraction sites in your match. Use the exfil checklist to choose an exit and reachable fallback. Return with the useful pickup first; an unfinished optional stop does not undo a successful extraction.
Quick questions
Does 240,000 value per hour mean I bank that much Cash?
No. That is an approximate reported backpack-value rate for the safe route. Banked Cash, carried sale value and printer resources are different results; the sample is not an income guarantee.
Does the Air Base sweep require completing Iron Citadel?
The reported surface search uses an available Iron Citadel start and then searches ordinary buildings. Completing the mission and reaching its armory are separate objectives with their own access sequence.
Should I complete every stop if I already found what I need?
Reassess supplies, backpack space, nearby threats and active extraction options. Ending a useful run early can be preferable to adding another fight or a long drive.
Mentioned in this guide
Spotted something wrong? Send a correction.