DMZ deployment routes: combine an Order, supplies and extraction
One main objective and one optional secondary goal · Three route plans with stop conditions · No promised spawns, payout or fixed exfil
Combine active Triage Protocol with a medical-supply search, or Cheonwang Peak Array electronics with its three safe stops. Choose one main goal, make the second optional and check your live Order counters and extraction. These plans do not guarantee ingredients, cash or an active exit.
- One main objective and one optional secondary goal
- Three route plans with stop conditions
- No promised spawns, payout or fixed exfil
A good combined run has a reason to stop. Select one main goal and one secondary goal that uses the same area or containers. Carry the equipment to finish the main job, then extract when keeping the result matters more than the optional stop.
The plans below combine previously documented searches and Order requirements. They are route-planning recommendations, not newly measured farms. Pick the one near a sensible approach in your live deployment; do not cross Hajin simply to follow the list from its first row.
Choose a plan at the FOB
| Plan | Main goal | Optional gain | Skip when |
|---|---|---|---|
| Clinic / Triage | Complete the three active counters | Medical supplies for the next kit | The Order is not active or the approach is occupied |
| Cheonwang Peak Array | Search accessible tech rooms for your shortage | Three safe stops for useful unlocks or valuables | Your equipment cannot support the defenders or exit |
| Upgrade collection | Reduce one named ingredient shortage | A nearby useful container | The next stop requires a different kit or distant fight |
Before deploying, check whether the intended Order is actually active, reserve required keys and supplies, and subtract your Stash from the shopping list. Identify an extraction direction on the live Tac-Map after arrival. Map references show places, not which exit is currently active.
Plan A: Triage Protocol and a medical reserve
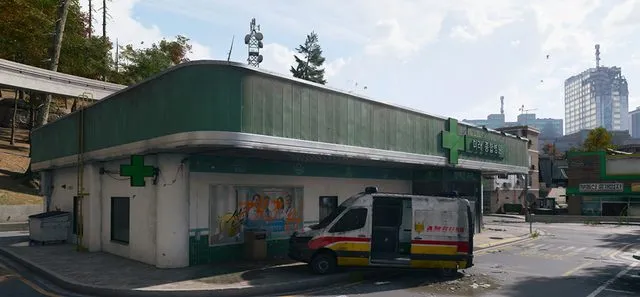
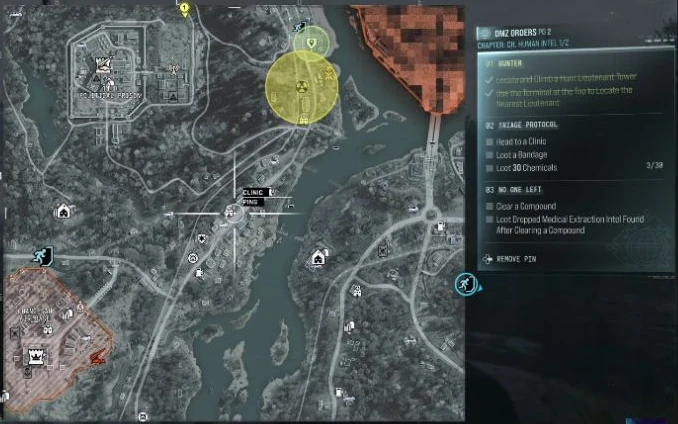
Use this while Triage Protocol is active. Its three checks are entering a Clinic, looting a Bandage and collecting 30 Chemicals. One reported Clinic stop is in C4 at Pyeonghwa Village, south of the 14th Political Prison on the river’s west bank. The location database uses the spelling Pyonghwa.
- Approach the marked Clinic rather than entering the nearby prison. Confirm the green panels and medical cross.
- Enter and check that the Clinic visit has registered on the Order.
- Inspect bedside storage and medical containers for the named Bandage. A Medkit does not substitute for that pickup.
- Continue collecting Chemicals until the counter shows 30/30. The Bandage and Chemicals can come from elsewhere; they are not required to spawn inside this Clinic.
- Review all three active counters before calling the Order finished.
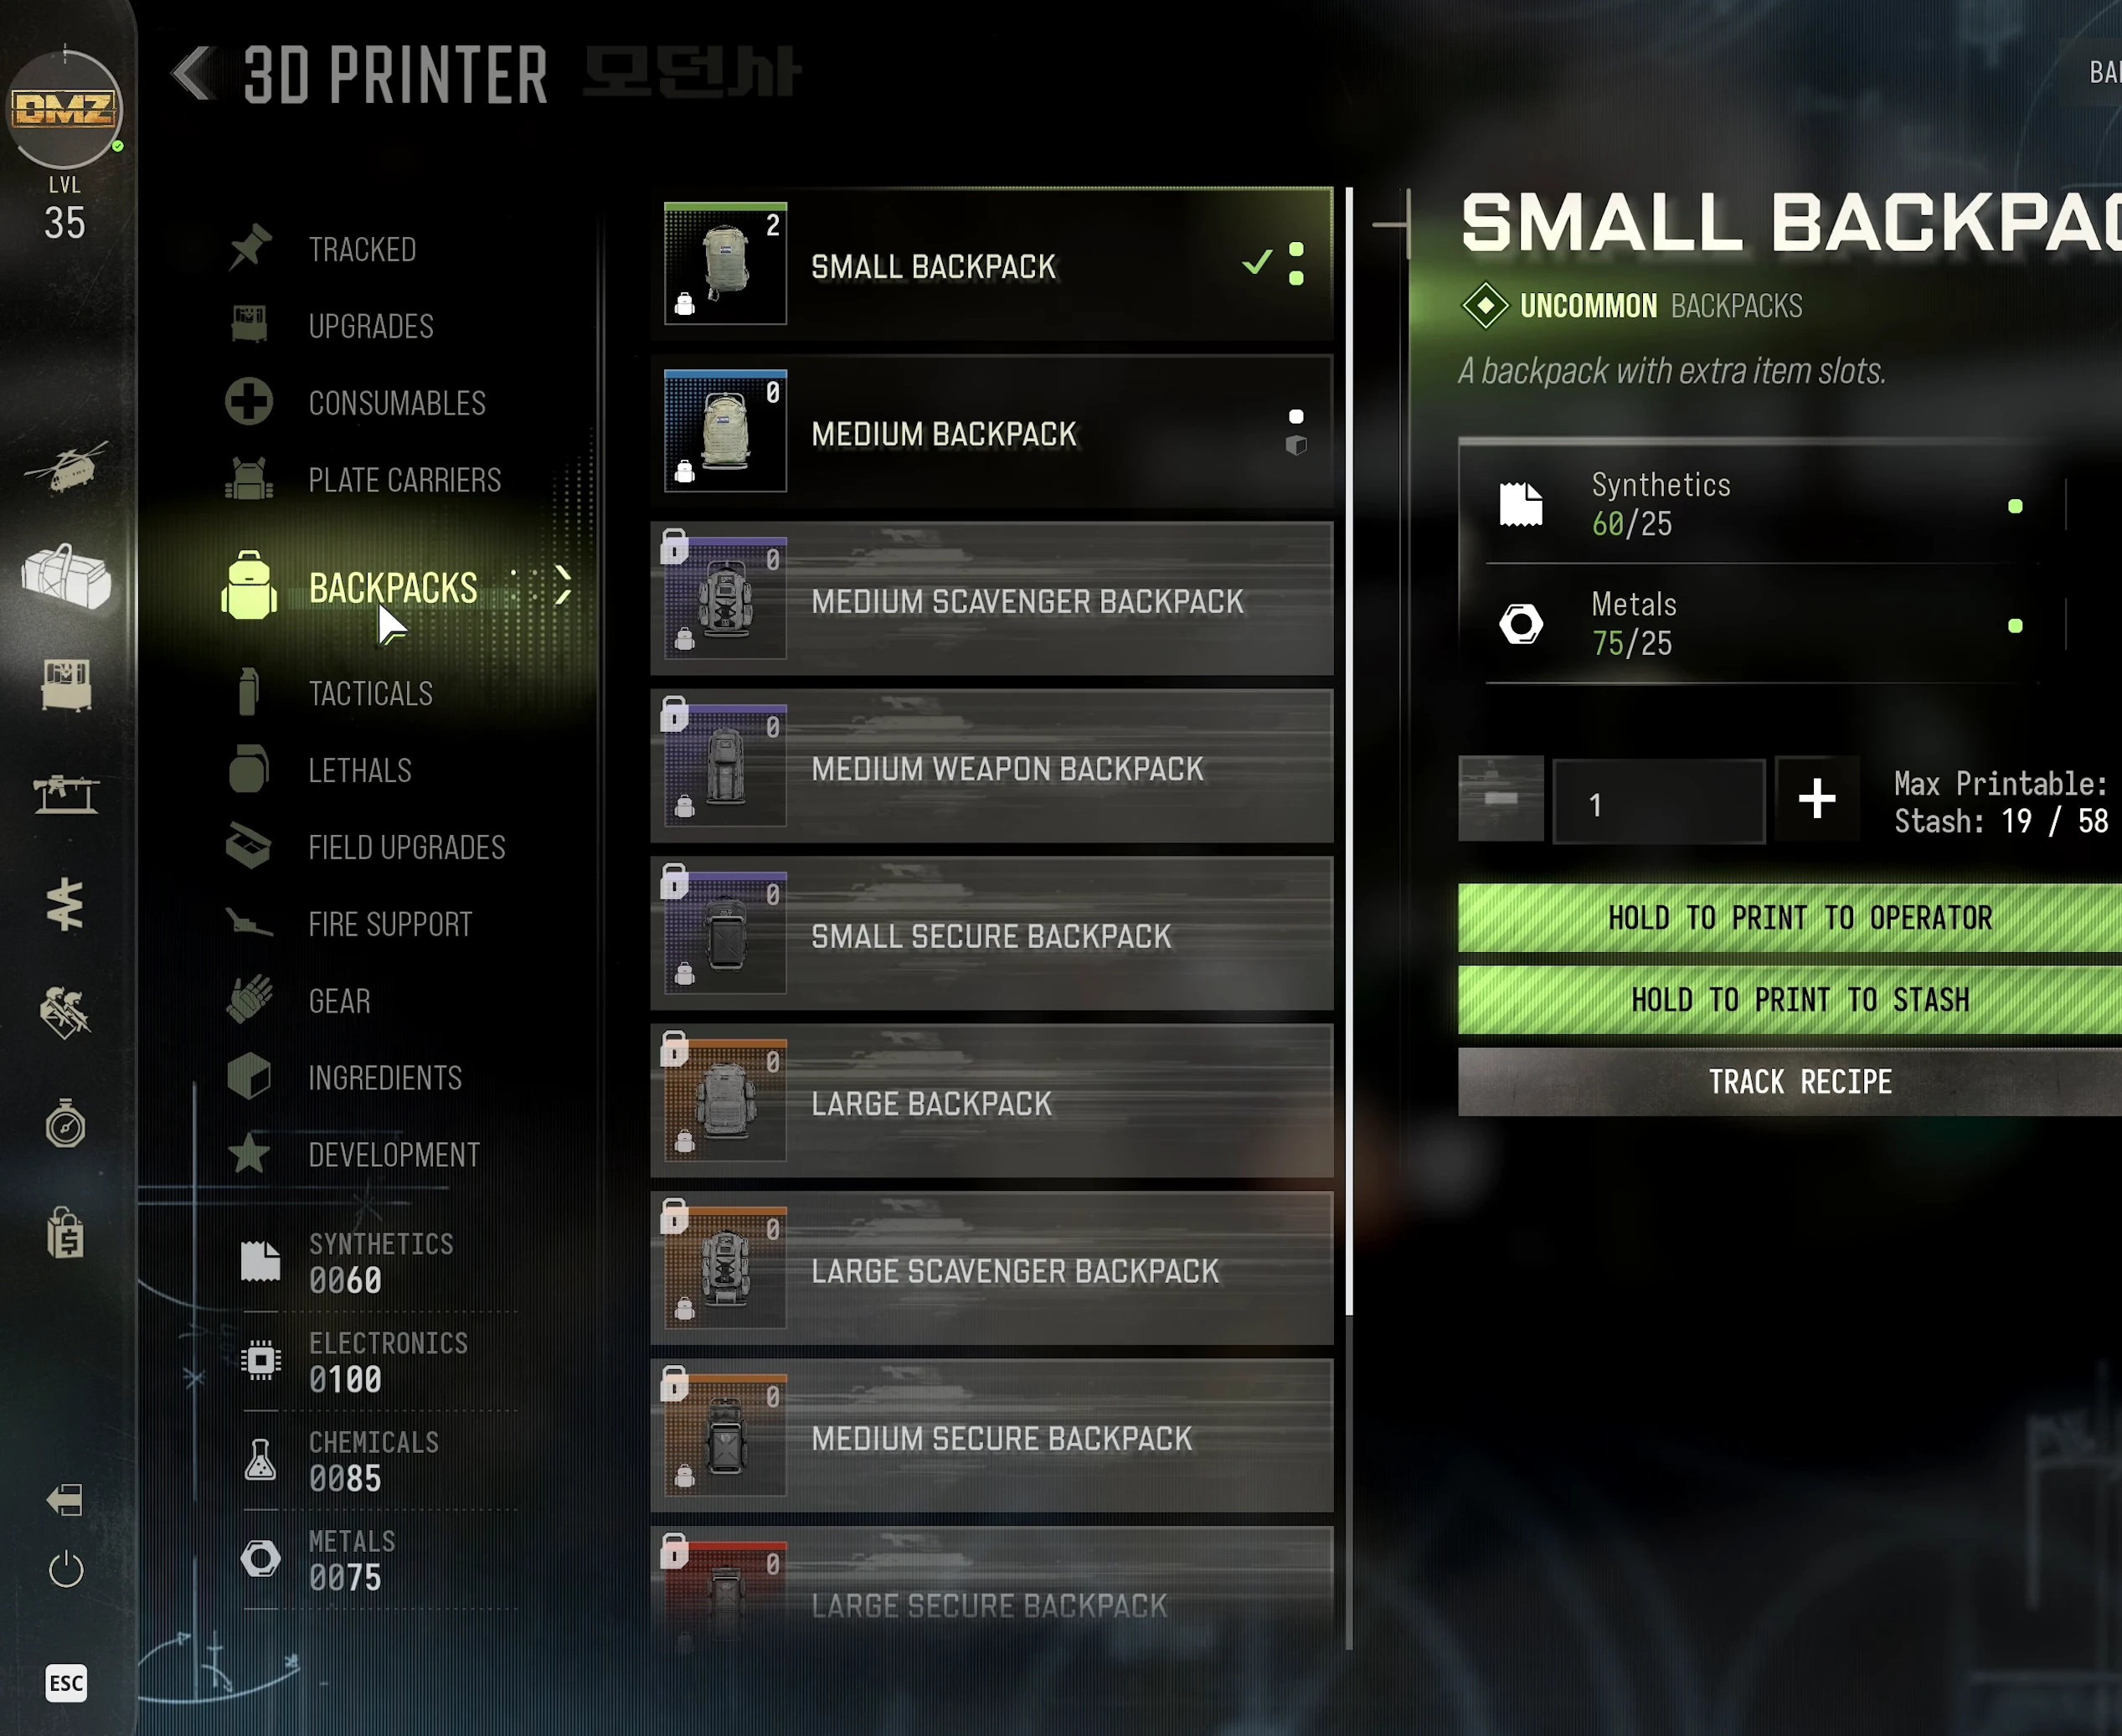
The secondary goal is medical supplies for the next kit. If your current Medkit recipe is available, the documented bill is 30 Chemicals, five Biomaterials and one Binding Catalyst. Only count ingredient pickups you actually find. Completing the Order’s Chemical counter does not prove you have all the Medkit ingredients or that you can spend those Chemicals without checking your final inventory.
Leave or change plans if the Clinic is occupied, medical supplies are exhausted or your recovery kit is running low. Use a different live Clinic for the visit rather than fighting through the prison to force this example. The illustrated Triage walkthrough covers the individual counters.
Worked supply example: two Medkits need 10 Biomaterials, 2 Binding Catalysts and 60 Chemicals. With 8 Biomaterials, 1 Catalyst and 40 Chemicals kept at the FOB, the remaining bill is 2 Biomaterials +1 Catalyst +20 Chemicals. If Triage is active, its separate loot 30 Chemicals counter still matters: Chemicals already stored at the FOB do not count as a new pickup in this deployment.
Plan B: Array electronics and three safe stops
Choose this for an electronics shortage with a safe search as the secondary goal. The Cheonwang Peak Array route uses three reported building stops:
- Rear-entry building: check its upstairs safe.
- Taller mast/server building: use the interior stairs, look for the reported safe and search individual server blades and computers. Aim along the racks for separate interaction prompts.
- Central L-shaped building: check the upstairs lockers and safe beside shelving and a window.
Search tech loot for Comms Modules, CPUs and Power Regulators, but do not expect all of them in one run. Read each Manual’s exact name and check whether you already own its unlock before taking it. Prioritize the ingredients and unlocks your current shopping list actually needs.
The core three-building route does not require Iskra’s Control Room key. Skip its locked door unless you deliberately brought that separate key and can afford the detour. Do not assume its name guarantees the boss is present.
If Robbery is active, compare its carried-value and extraction requirements with your tracker. Opening a safe alone does not complete every step; use the safe guide to check the sequence. Treat Alpha and Bravo as optional detours, and skip them if the safes are already looted or the return trip is becoming unsafe.
Stop after the ingredient that completes your next craft, an important unlock, or a meaningful loss of supplies. Neither three safe locations nor an unopened-looking rack guarantees useful loot this match.
Plan C: one upgrade shortage and a nearby fallback
For an Ingredient Printing bill, choose the missing item before choosing the area. Use the medical plan for Biomaterials/Catalyst or the Array plan for tech loot. Fiber reports are a different search; do not join them into an invented guaranteed circuit.
Start with a written target such as two more Biomaterials, not the entire lifetime upgrade total. After each useful pickup, review the remaining shortage and your extraction supplies. A nearby container of the right type can be a fallback; a distant boss fight is a new objective with a different equipment bill.
Protect the result and prepare the next deployment
An eligible important ingredient or unlock belongs in an available Secure Slot where possible. Verify the actual slot after moving items. Keep ammunition, healing and plates even when making room for a more valuable pickup.
At the FOB, separate the result into main goal completed, secondary goal gained and still missing. Store upgrade inputs before selling surplus. Banked cash, carried loot value and an unlock are different outcomes; compare the one you actually needed.
If the main goal remains unfinished, change one cause on the next run: a closer approach, a suitable container, the missing key or a cheaper kit. The recovery guide helps when another expensive deployment would exhaust your reserves.
Quick questions
Can I complete every objective in one deployment?
Do not assume it. Orders may be sequential or unavailable, loot varies and exits depend on the live deployment. Choose one main goal, check its active counter and make the rest optional.
Do these routes require starting a Story Mission?
These are free-roam and active-Order planning examples. A separate Story Mission has its own deployment and objectives; do not assume it provides the same route or loot state.
Spotted something wrong? Send a correction.