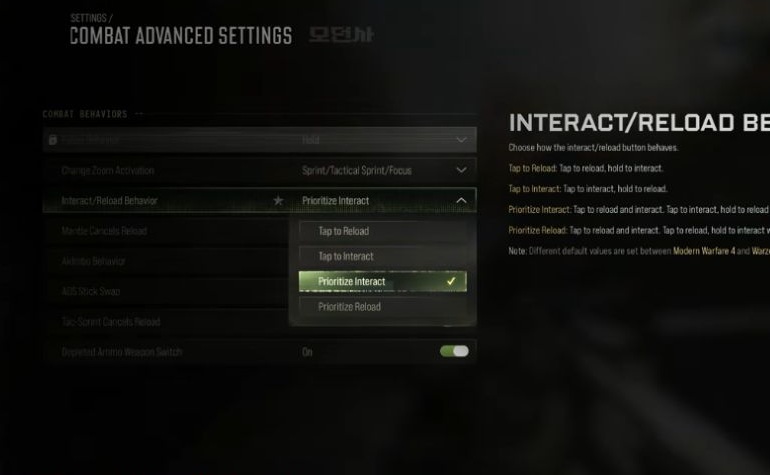
MW4 DMZ controller settings: looting and interaction checks
Make the intended action happen near loot, doors and cover before risking a valuable kit.
Check the interaction and reload behavior displayed in your settings, then test it around loot, doors and a partially empty weapon. Adjust movement conflicts separately. The Prioritize Interact setup below is one player’s example, not a universal control recommendation.
- Test interaction and reload together
- Check the actual prompt for your platform
- Change movement choices separately from aiming
- Personal sensitivity values are not universal
Stand near an interactable object with a partly empty magazine and test what your button actually does. A setup that feels good in an empty room can behave differently while looting under pressure. Save your current settings before changing anything.
The beginner guide covers the first deployment. This page focuses on interaction reliability rather than equipment choices or a competitive sensitivity ranking.
Bringing settings from BO7? Import them before tuning MW4, then repeat the checks below.
Start with interaction and reload
Find the setting controlling interaction and reload behavior in your current menu. One personal MW4 DMZ setup uses Prioritize Interact. Treat that as an example to compare, not an instruction to replace a working setup.
Read the description and current prompts for your chosen behavior. Record what a tap and a hold are supposed to do. Do not infer one platform’s physical button from another player’s recording or assume a remapped controller uses the default layout.
Use a short repeatable sequence:
- Reload away from any object.
- Approach a door and use its displayed action.
- Open a searchable container and select an ordinary item.
- With ammunition missing from the magazine, return to an interactable object and test the intended action.
- Close the inventory and confirm you can move, aim and reload normally.
If an action surprises you, change that setting alone and repeat. Keep valuable loot out of the experiment; the purpose is to learn the behavior before it matters.
Separate movement conflicts from looting
The same personal setup includes choices for Grounded Mantle, Weapon Mount Activation and Auto Door Peek. It enables the first and disables the latter two. Treat these as personal choices about automatic actions, not universal recommendations.
Test your own approach to a window, low cover and a doorway. Observe whether you mantle or mount when you intended to interact, or open something before you meant to. Change one relevant option, then repeat the same approach.
A movement preset does not fix every failed interaction. Check distance, the current object prompt and whether you are still in a loot panel before changing several controls. Preserve the setting that makes your intended action easiest to repeat.
Tune aiming in a different session
Horizontal and vertical sensitivity, response curve and deadzones belong to a separate comparison. Avoid changing them during the interaction test: missing a target and missing an item are different problems.
Use a stationary target, then a moving aim sweep, to judge whether you stop where you intended. Test the controller you actually use. If the view moves without input, investigate the stick and deadzone behavior rather than copying another person’s minimum value.
Compare the named options with your own controls. Sensitivity and deadzone still need to suit your hands and hardware.
Check what is equipped after the test
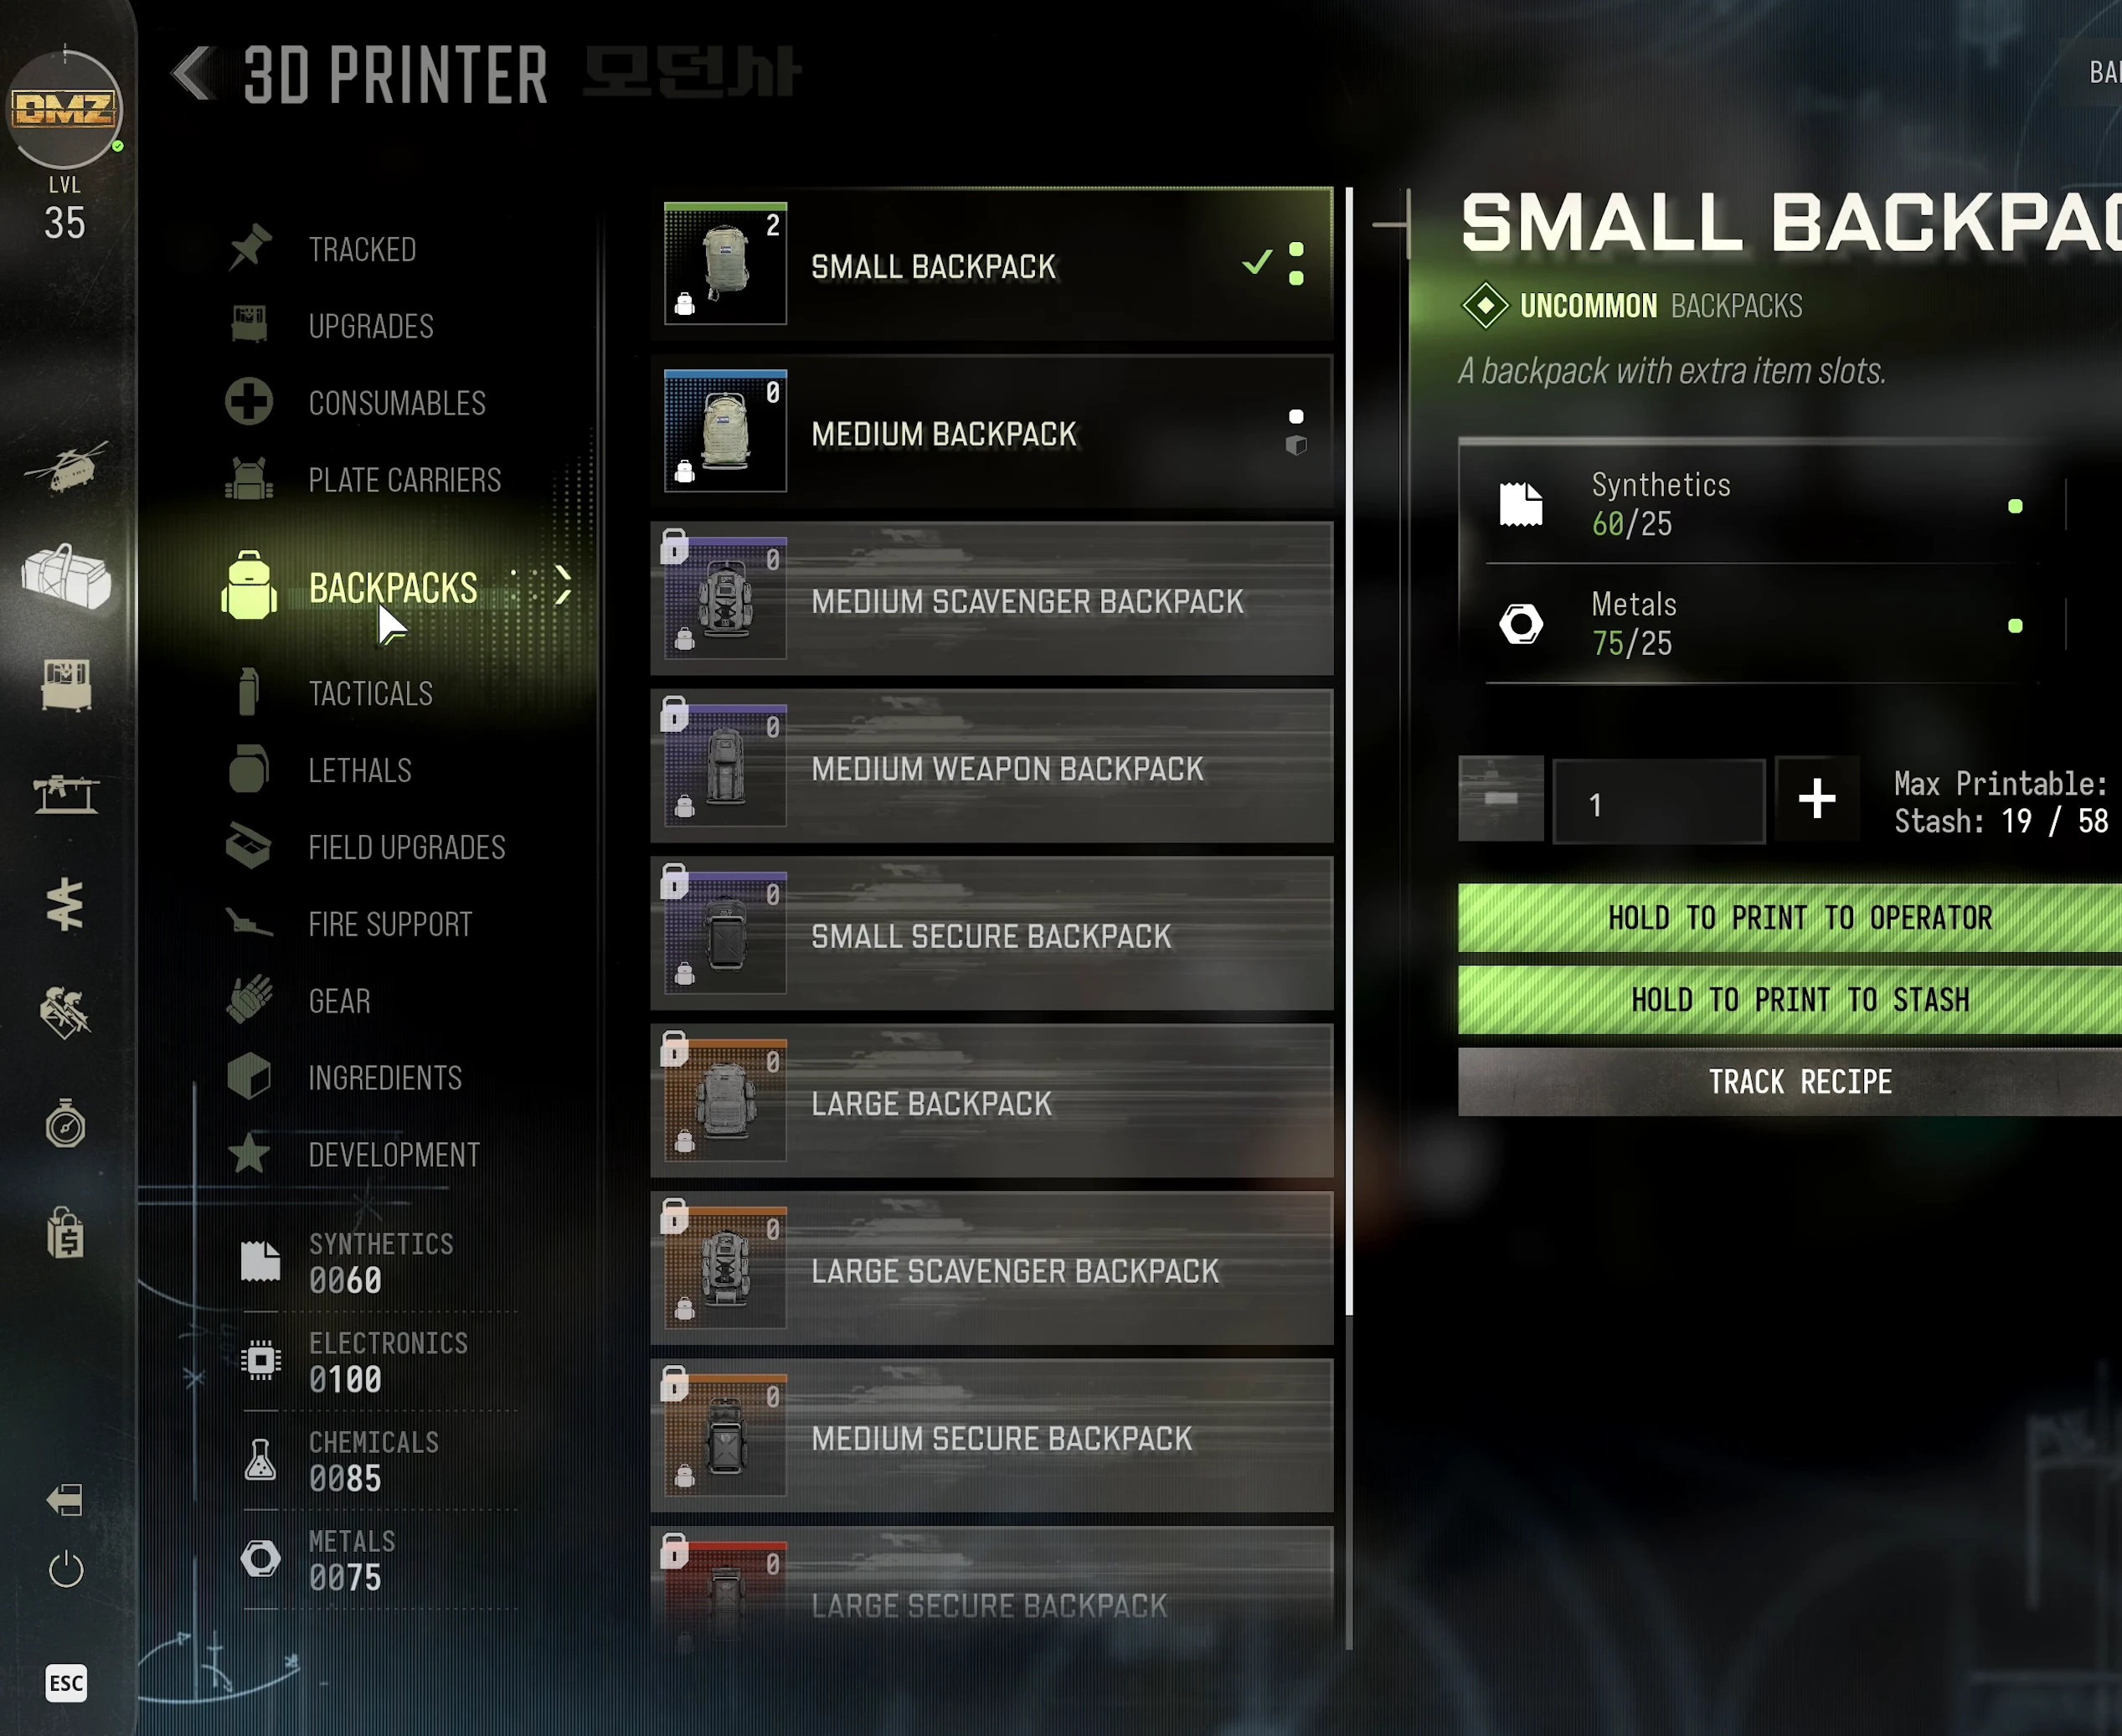
Open the backpack and confirm the intended gear is equipped. Picking up an item, carrying it and using its equipment slot are separate checks. The armor and backpacks guide explains capacities and protected slots.
For an eligible valuable, follow the displayed Secure action and confirm its new location. Use the Secure Slots guide for protection limits; changing a controller setting does not protect ordinary slots.
Keep a small recovery note
Save the final interaction behavior and the movement option you changed. If the next update resets a preference, this note lets you restore a known configuration.
Try the finished setup with replaceable equipment before a keyed-room run. If it fails, describe the object, intended action and actual result. That is more useful than changing every sensitivity and movement option after one missed pickup.
Quick questions
Is Prioritize Interact the best option for everyone?
It is one player’s preference. Compare it with the alternatives shown in your own game and keep the behavior you can use reliably near objects.
Should I copy another player's sensitivity?
Use it only as a reference. Your controller, stick condition, display and ability to stop on a target can change the result.
Does this guide require back paddles?
No. The example uses a paddle layout, but the test routine works with the controls available on your own controller.
Why should I test reload beside loot?
An isolated reload does not check which action wins when a nearby object also offers an interaction. Test both situations.
How do I test an interaction and reload conflict?
Compare a reload in open space with the same intended action beside a door or container. Follow the tap/hold behavior described by your current setting.
Spotted something wrong? Send a correction.