

The Doctor boss guide: hospital fight, office key and extraction
Follow the active target rather than a fixed room · The boss and General Kang escort are separate goals · Office key and recipe are separate loot checks
Follow The Doctor’s live hunt marker before committing to a hospital floor. The ward encounter and the General Kang escort can appear together, but defeating the Lieutenant does not finish the escort. This guide separates finding the target, surviving the fight, collecting useful drops and deciding whether another locked room is worth the risk.
- Follow the active target rather than a fixed room
- The boss and General Kang escort are separate goals
- Office key and recipe are separate loot checks
Follow The Doctor’s live hunt marker before committing to a hospital floor. The ward encounter and the General Kang escort can appear together, but defeating the Lieutenant does not finish the escort. This guide separates finding the target, surviving the fight, collecting useful drops and deciding whether another locked room is worth the risk.
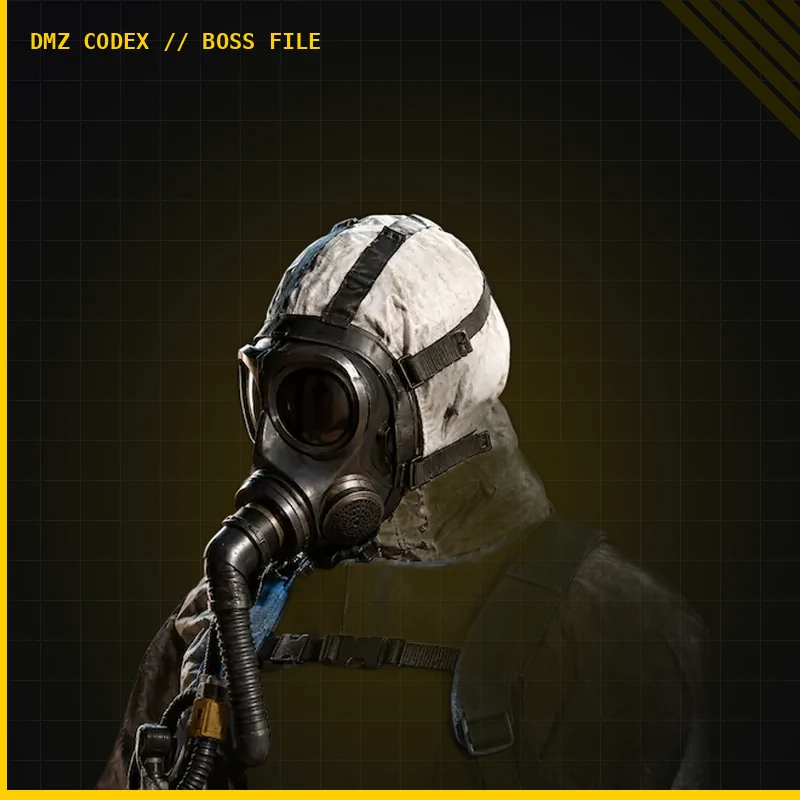
Prepare the hunt at the FOB
| Hunt decision | Check before committing |
|---|---|
| A chosen Lieutenant | Read the Boss Board card, unlock and purchase its intel if available; do not invent a chapter requirement |
| A tower hunt | It identifies the nearest active Lieutenant, which may be a different target |
| The result | Confirm the kill, inspect the actual tag and complete the extraction you need; other squads can hunt the same target |
Choose a usable primary weapon, ammunition, armor plates and healing you can afford to replace. Take a Medkit for Wound recovery rather than relying only on a Bandage’s temporary health restoration. The health guide explains that difference. Neither a Low area rating nor a paid target makes the fight safe.
Identify your encounter before searching rooms
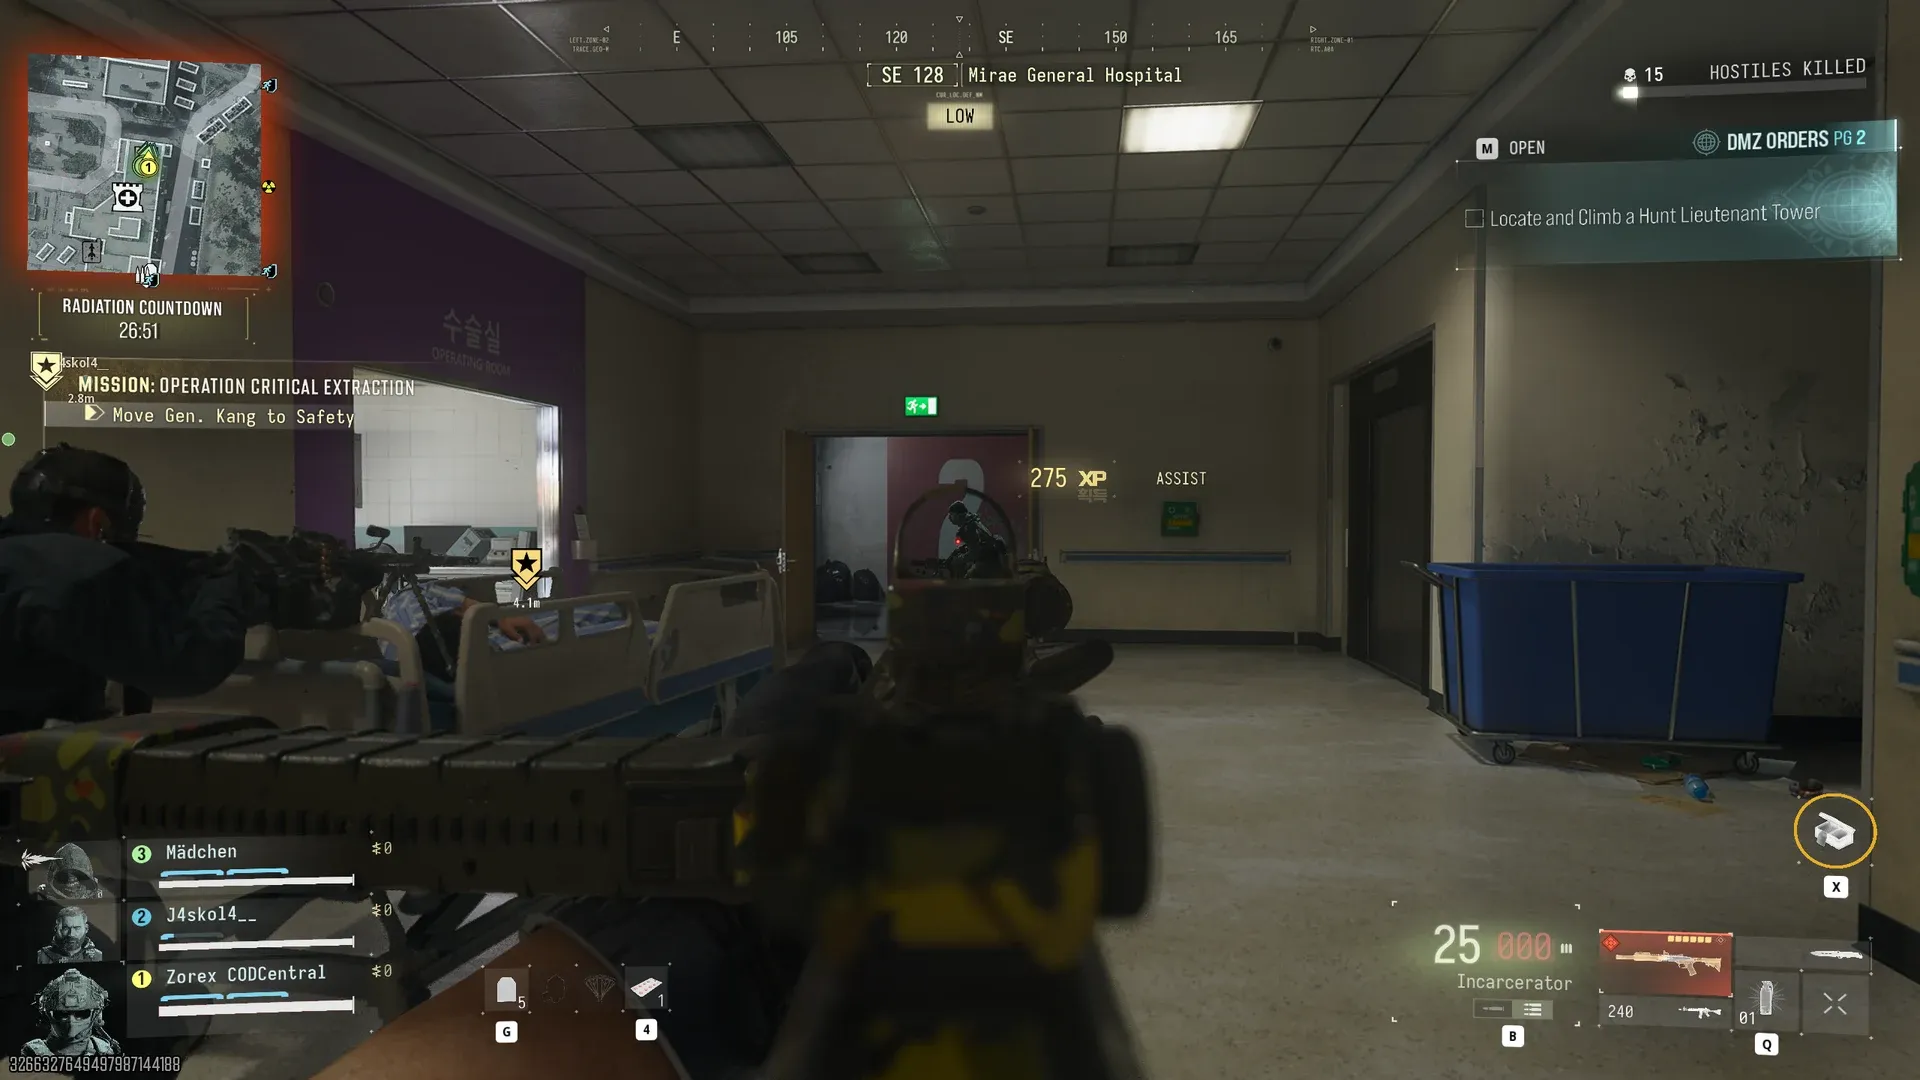
The inspected hospital footage shows Mirae General Hospital — Low, a Critical Extraction objective to find General Kang, and a separate Doctor Side Op. It moves through wards and a corridor with low counters. That establishes one mission-context encounter, not a permanent spawn in that corridor.
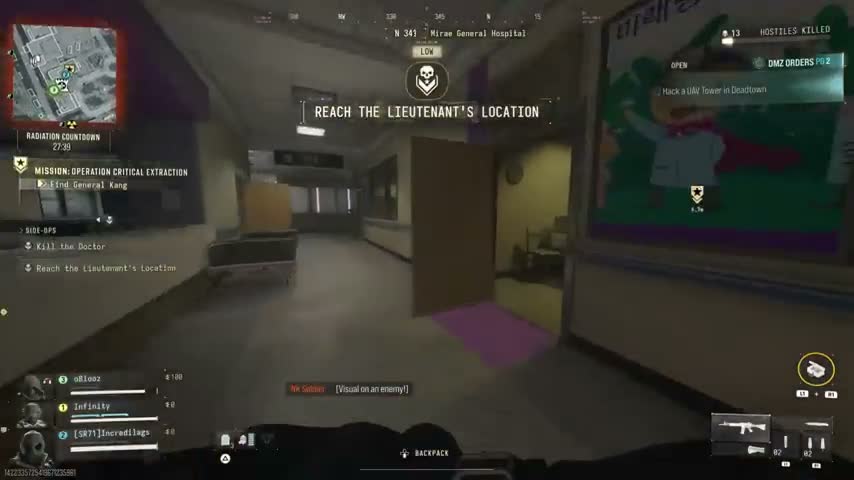
Other reported encounters use the parking garage or hospital grounds. Use the actual target marker, banners and route you can reverse. Do not climb to the upper office merely because that is where the key eventually goes. If you launched Critical Extraction, keep its escort objectives visible as well.
Fight from a position you can leave
- Clear nearby guards before advancing toward the target. Keep a doorway or counter between you and the next firing lane.
- Enter with enough ammunition in the magazine to engage, then reload from cover rather than in the corridor. The observed player repeatedly changes position around hospital counters.
- Give a teammate a different firing angle, without spreading so far that a downed player becomes unreachable.
- If The Doctor closes the distance, retreat to the previous cleared position. Avoid backing into an unsearched ward or an exposed street.
- Plate and treat Wounds before another push. A successful kill is not worth losing the whole squad while everyone rushes the same pickup.
This is preparation and positioning advice, not a measured damage breakpoint. Solo, keep the retreat route simpler and leave if ordinary guards have already consumed the supplies needed for the Lieutenant. Do not depend on an unverified stun loop or a fixed bullet count.
Read the drops before taking the detour
The inspected ward pickup shows Doctor’s Salve, a Legendary Patriot XMR battle rifle. It is a finished weapon, not a Weapon Manual or proof of its next-run drop chance. Check the ground and actual inventory rather than assuming every named reward is in the backpack.
Look for The Doctor’s Dog Tag and the Command Office key if present. A Lieutenant tag can broadcast the carrier’s position; choosing to carry it should start an extraction decision, not an indefinite hospital search. Keep reserved upgrade materials separate from items you intend to sell.


Office route or extraction: choose one deliberately
The reported office route goes to the seventh-floor office area, using the sign for OFFICE 701–712 / CONFERENCE ROOM 704–705 and the named Command Office lock. Match the lock prompt before spending the key. The loot-room search is optional to a boss hunt and separate from moving General Kang.
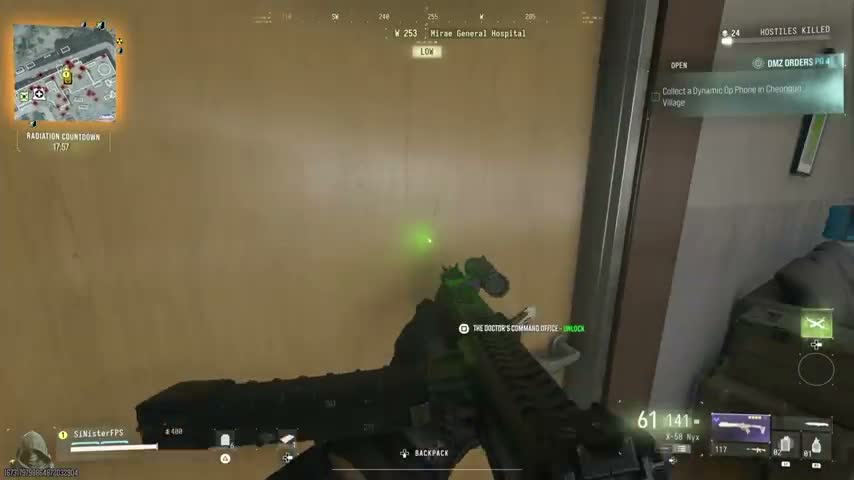
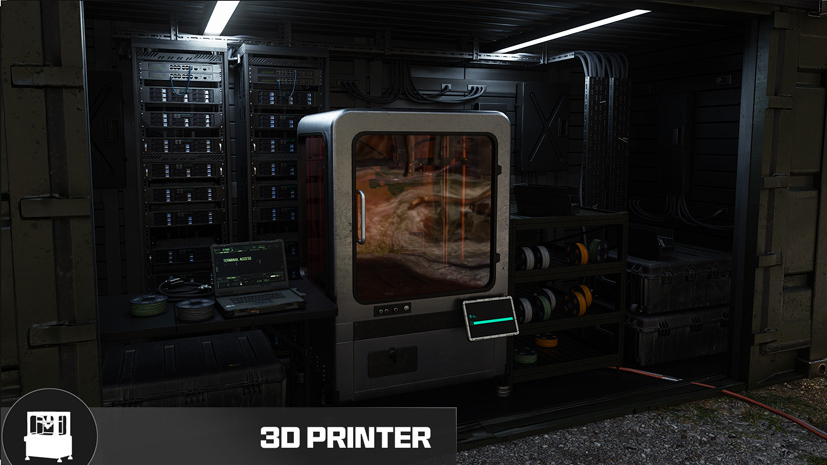
A Tempered Armor Vest recipe has been recorded in the room’s LT Crate; its presence is not guaranteed here. Read the item as a Recipe, extract it and check the reusable printer entry afterward. The recipe-unlock roadmap distinguishes that unlock from ingredients and finished armor.
If you lack the key, healing or a viable exit, preserve the boss result and extract. In Critical Extraction, follow the actual mission sequence rather than assuming a normal helicopter call completes the escort.
Quick questions
Is The Doctor always in the hospital ward?
No fixed room is established. The inspected ward fight occurs during Critical Extraction; parking-garage and grounds encounters are also reported. Follow your live hunt marker.
Does killing The Doctor guarantee the Tempered vest recipe?
No. A reported path uses his Command Office key to enter a separate room, search its crate and extract the actual recipe. A kill or a finished vest does not itself unlock printing.
Mentioned in this guide
Spotted something wrong? Send a correction.
Keep reading
 Guide · Combat & survivalDMZ exfil guide: extraction methods and emergency plans
 Guide · Gear & craftingMW4 DMZ loot guide: what to keep, sell and use for crafting
 Guide · MissionsMW4 DMZ Critical Extraction: General Kang and rooftop rescue
 Guide · Gear & craftingDMZ recipe-unlock roadmap: from a locked item to a usable craft