
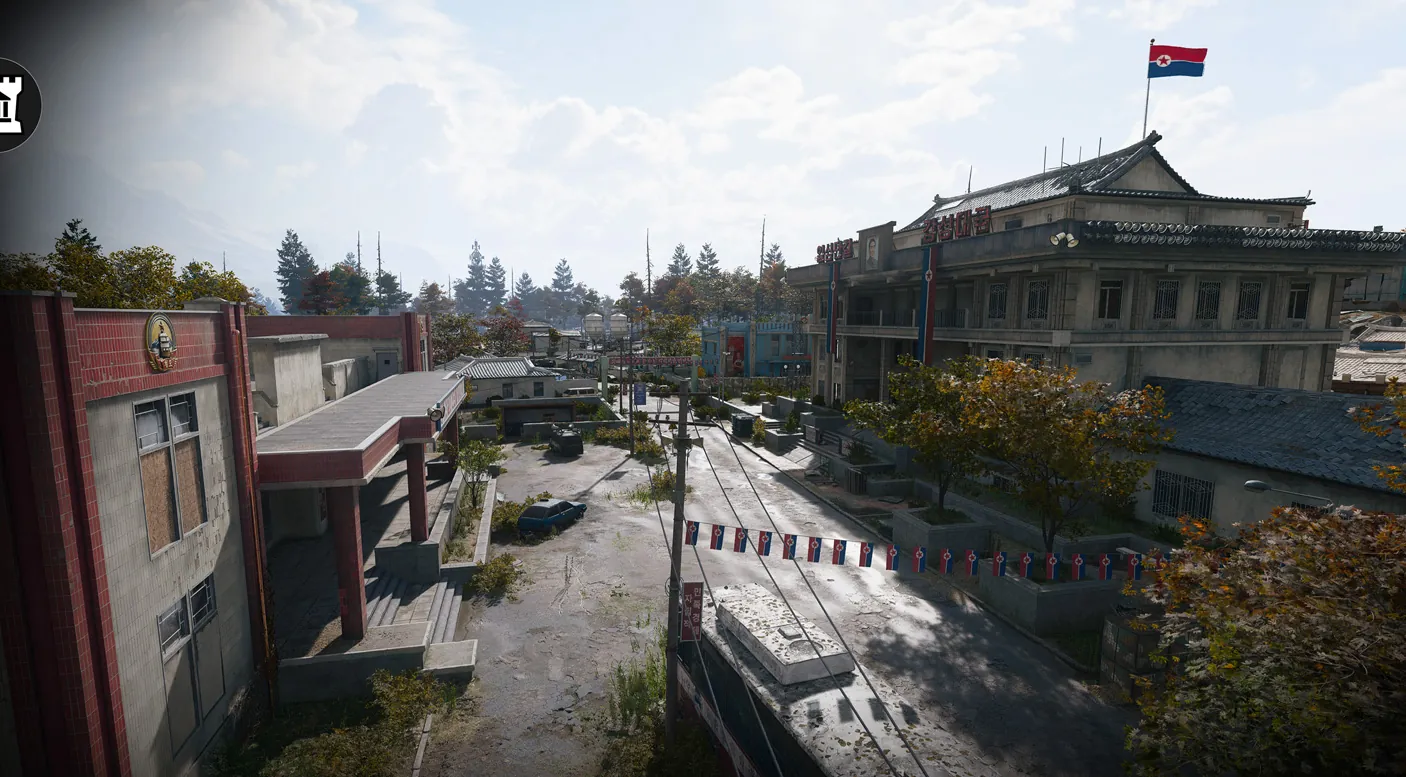
Bale boss guide: Re-Education Center, bunker and extraction
Match the active Bale marker · Re-Education Center and bunker encounters differ · A kill, tag and weapon pickup are separate checks
Confirm Bale before committing to the stairs or bunker. His Re-Education Center fight and Tank Depot encounter require different preparation. A remembered boss location is not a substitute for the active hunt.
- Match the active Bale marker
- Re-Education Center and bunker encounters differ
- A kill, tag and weapon pickup are separate checks
Confirm Bale before committing to the stairs or bunker. His Re-Education Center fight and Tank Depot encounter require different preparation. A remembered boss location is not a substitute for the active hunt.
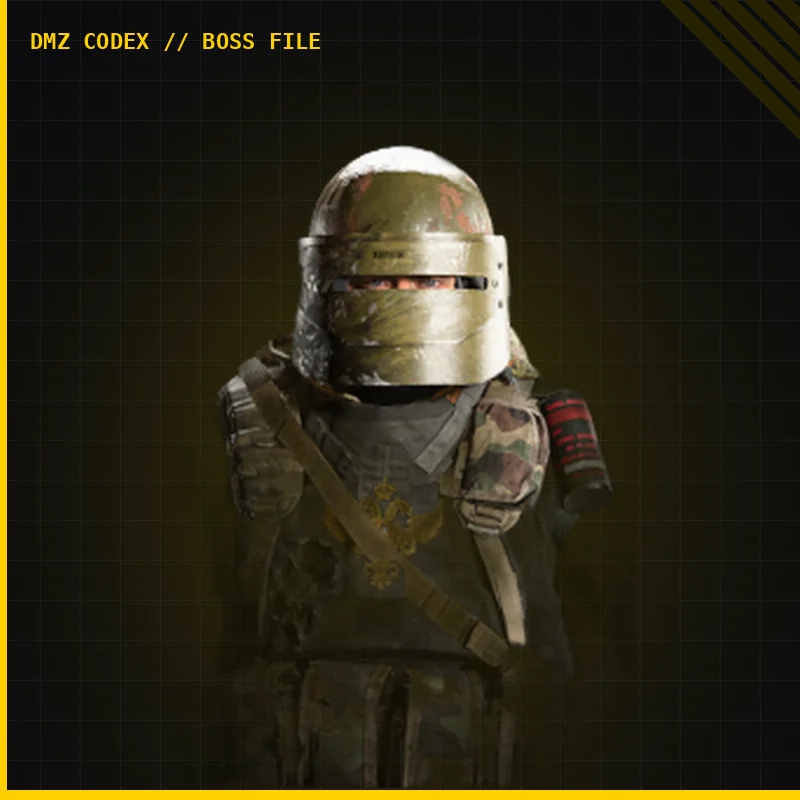
Choose the target at the FOB
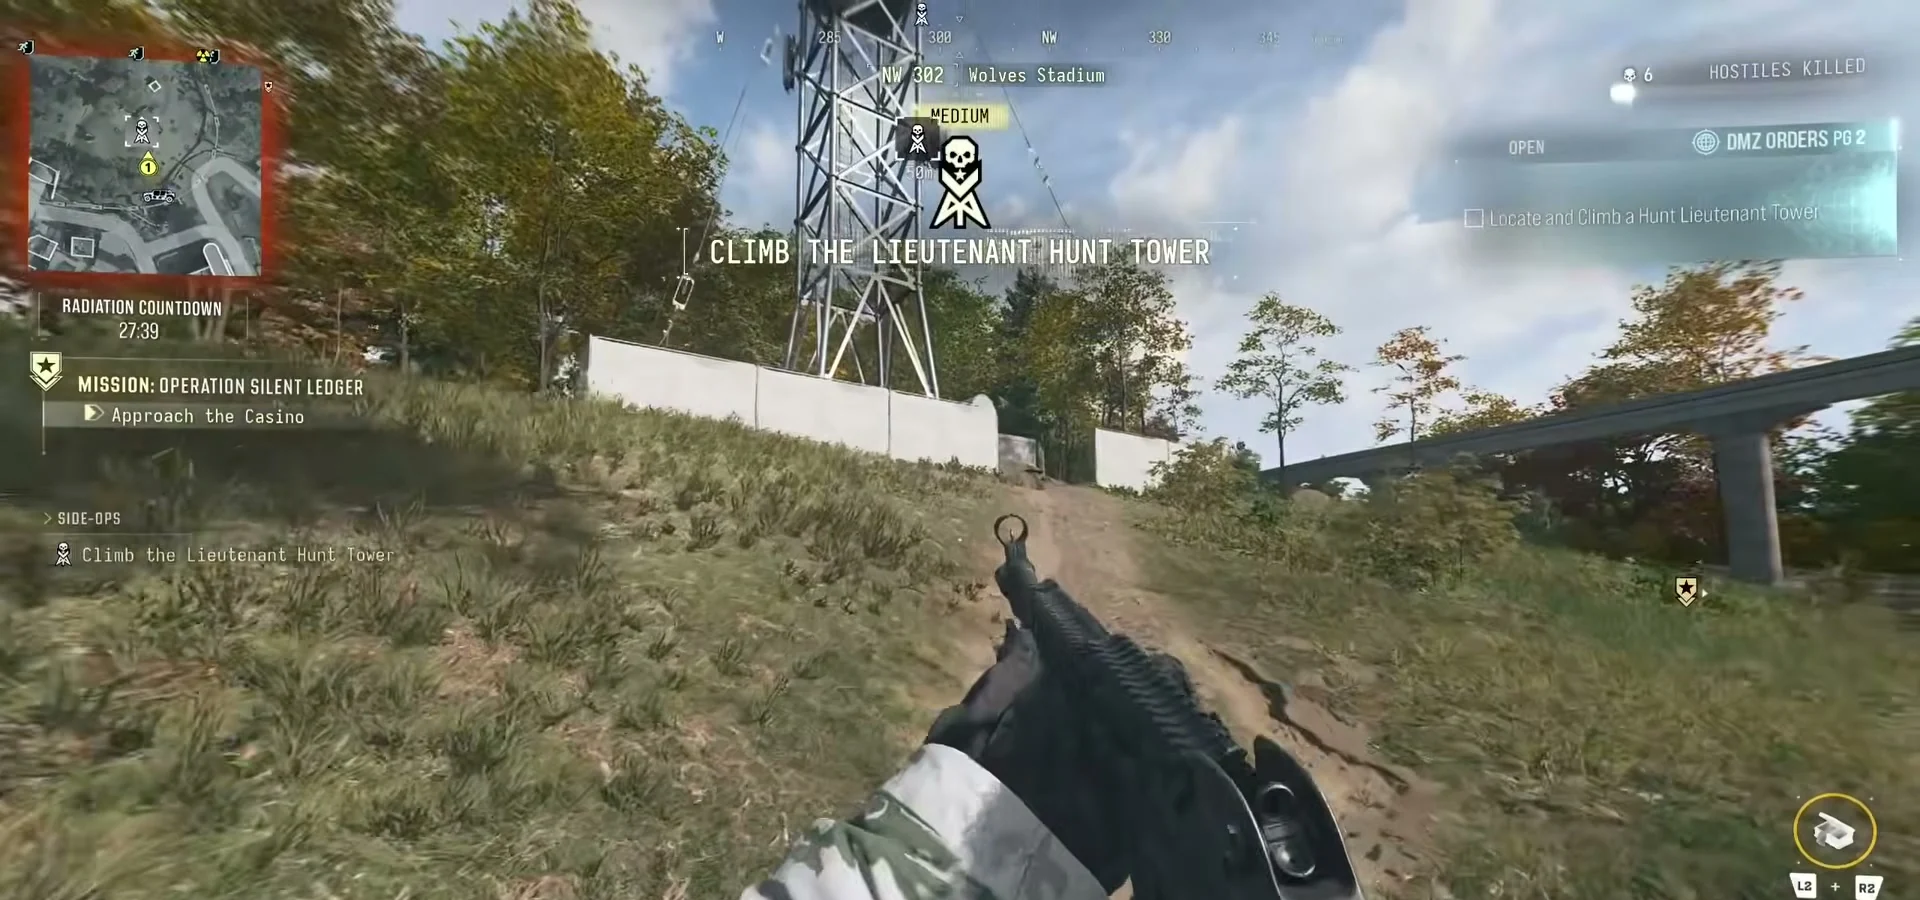
The official Boss Board reference gates Bale intel behind the Underground, Counterfeit and Human Intel chapters. Read your current card before spending Cash. A Hunt Tower instead identifies the nearest active Lieutenant and may send you elsewhere. Prepare ammunition, plates and wound treatment for the return trip, not only the first room.
Recognise the encounter you actually reached
The inspected Re-Education Center run shows Medium on the HUD, a smoky stair approach and a fight in an upper room with desks and windows. The player is downed before the later Paid Intel: Kill Bale completion. This is evidence of a dangerous approach, not a safe corridor farm.
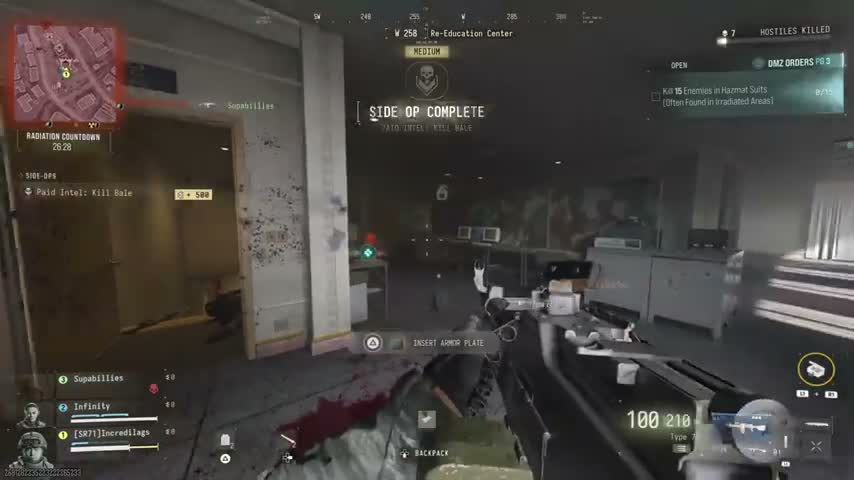
Official footage also shows Bale at the Tank Depot; the broader Air Base bunker is rated Extreme. If the live marker sends you underground, prepare for that route rather than using the Center’s rating. Neither encounter establishes a permanent exact spawn.
Break the firing lane before advancing
- Clear the approach and identify a position you can retreat to before climbing.
- At the upper room, use the door frame or another solid obstruction to limit the exposed angle. Avoid crossing the whole room while already wounded.
- Let one teammate cover while another reloads or treats a Wound; do not stack everyone in the same doorway.
- If the corridor is held, change angle only through a cleared route. A second unsearched room is not automatically a safe flank.
These are preparation and positioning recommendations, not measured damage, a fixed kill time or proof of a solo stun method. Step back if the guards already consume your extraction supplies.
Read the body, tag and weapon separately
Official Tank Depot footage shows Dreadnought, a Type 73-based Legendary LMG, and Bale’s tag. Other runs report a base Type 73. Inspect the actual pickups; a particular variant, key or useful ingredient is not guaranteed here. A finished LMG is not its Weapon Manual.
A Lieutenant tag can reveal its carrier to rivals. Decide who carries it and where the squad is leaving before everyone opens the same inventory. Do not assume a boss kill opens the Supreme Leader bunker or finishes another mission.
Leave with the result you came for
Check your hunt completion and any extraction requirement. If a Story or Dynamic Operation remains active, follow its own tracker. Use the extraction contingency guide when the first exit is contested, and preserve the useful find rather than adding every nearby locked room.
Quick questions
Is Bale always at the Re-Education Center?
No fixed location is established. That encounter is recorded, while official footage also shows Bale at the Tank Depot. Follow the active marker and location banner.
Does Bale always drop Dreadnought?
Official footage shows that Type 73-based weapon, but one observed pickup does not establish a guaranteed drop or a Weapon Manual unlock.
Mentioned in this guide
Spotted something wrong? Send a correction.
Keep reading
 Guide · Hajin & vehiclesAir Base bunker guide: mission card, Supreme Leader room and DRC
 Guide · Combat & survivalDMZ exfil guide: extraction methods and emergency plans
 Guide · Gear & craftingMW4 DMZ Weapon Manuals: where to look and how unlocks work
 Guide · MissionsMW4 DMZ Hunter: find and climb a Lieutenant Hunt tower