
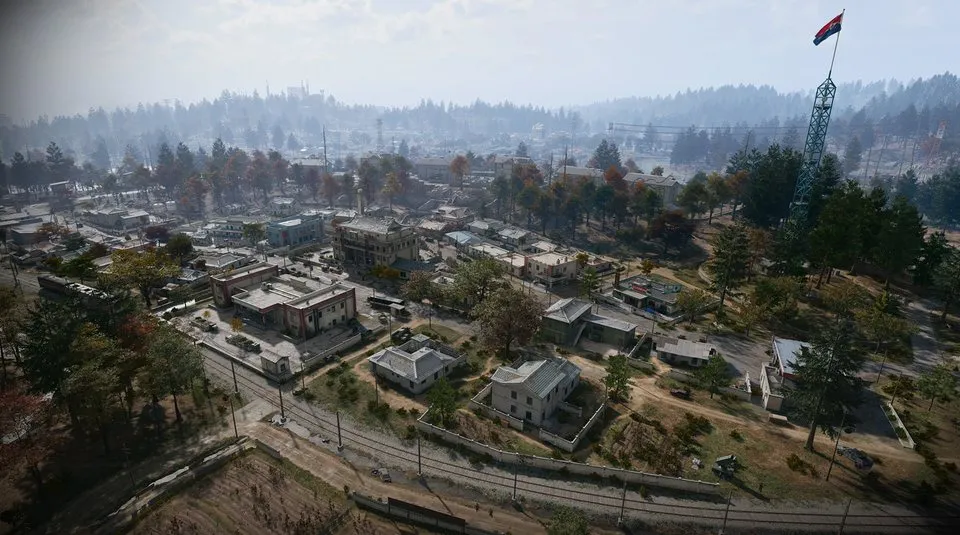
Underground Propaganda Store Room: route and lever choice
Re-Education Center: stairs to the under-road passage · Matching key opens the blue storeroom door · Choose one cell; the levers jam after selection
Bring the Underground Propaganda Store Room key to the passage beneath Deadtown’s Re-Education Center, then inspect both barred rooms before touching a lever. The key gets you into the storeroom; the levers give access to one extra cell. Choosing immediately can leave the better visible loot behind the other bars.
- Re-Education Center: stairs to the under-road passage
- Matching key opens the blue storeroom door
- Choose one cell; the levers jam after selection
Find your key or locked room
Browse every key in the Key FinderBring the Underground Propaganda Store Room key to the passage beneath Deadtown’s Re-Education Center, then inspect both barred rooms before touching a lever. The key gets you into the storeroom; the levers give access to one extra cell. Choosing immediately can leave the better visible loot behind the other bars.
Prepare the matching key
Carry the Underground Propaganda Store Room key out of the FOB stash into your deployment. The ground-floor Re-Education Center Annex is a separate lock; its key does not establish access to this underground room.


The Center is a reported place to search for the key, and random finds are reported, but no guaranteed container or drop rate is established. If you already own it, plan the room as a Deadtown stop rather than searching the whole district for a supposed fixed spawn. Leave backpack space and check the storm before descending.
Follow the stairs beneath the road
Use the Re-Education Center as your surface landmark in Deadtown. The demonstrated approach follows this sequence:
- Enter the Center and follow its interior passage.
- Take the staircase on the right down into the underground section.
- Turn left, left, then right to continue down toward the passage beneath the road.
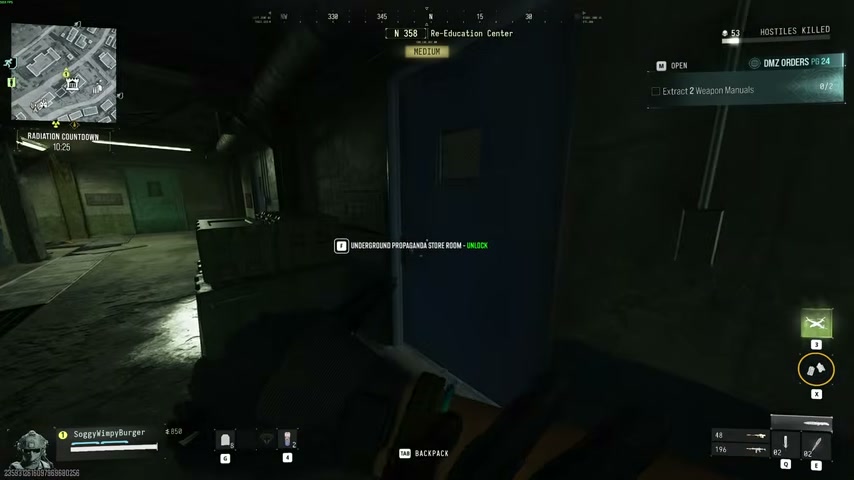
- Follow the lower corridor until you reach the blue single door on your right.
- Read UNDERGROUND PROPAGANDA STORE ROOM — UNLOCK before using the key.
These turns begin at the recorded Center entrance, not at every possible entrance to the underground network. If your approach differs, find the under-road corridor and use the final door name to confirm the room.
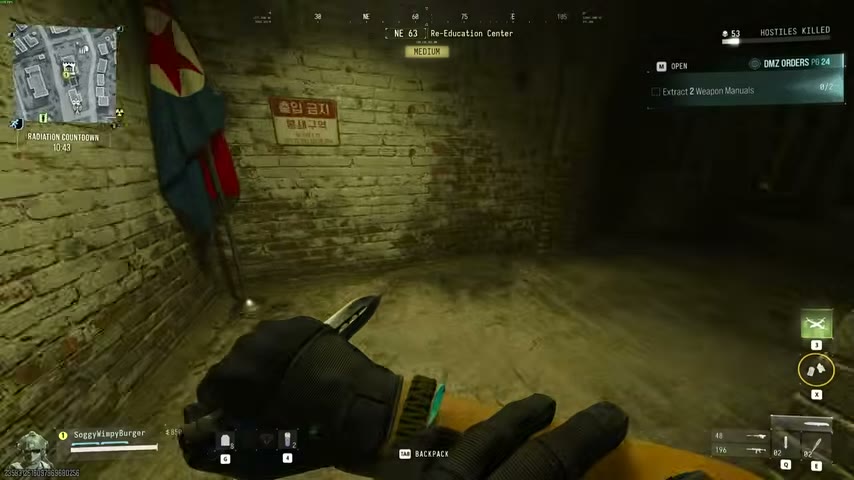
Search the main room before choosing a cell
The opening shows a cache on the left, a filing cabinet and possible loose valuables around the tables. Search the accessible room first, keeping the return door in mind. Its contents vary; a small first room is not the end of this key’s route.
Look through both barred openings. Compare the containers you can see and decide which extra room is useful for your current goal. A visible safe is a reason to consider that side, not proof it contains a Manual or recipe.
Pull one lever, then use the corridor door
Each lever corresponds to one of the barred rooms. Make one deliberate choice. After a lever is pulled, the demonstrated interaction reads LEVER JAMMED and the other choice is unavailable.
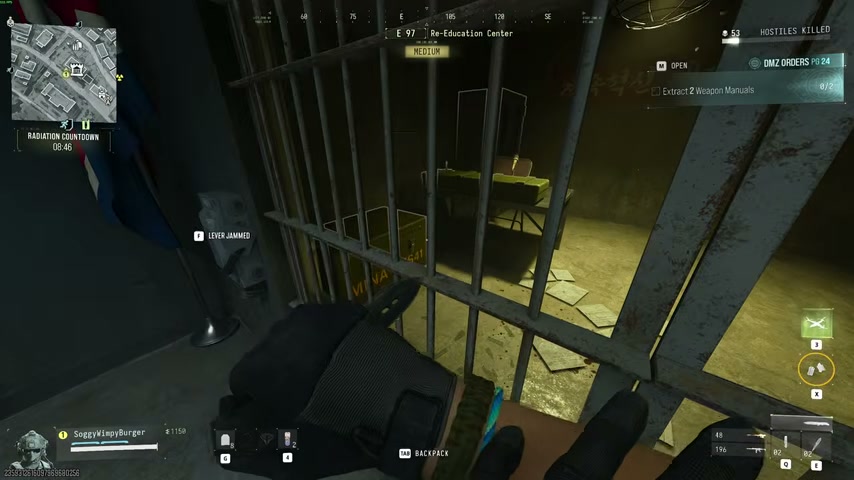
Return through the storeroom’s blue door to the underground corridor and enter the cell that has opened. The bars are a viewing point; the recorded player reaches the chosen room from the passage. If you are still looking at a closed barred opening, check the corridor rather than repeatedly interacting with the jammed lever.
Check the chosen room and leave with useful loot
The selected room shows a Military Bag, a safe on a bed and a Basic Weapons Locker. These are observed contents of one opening, not a fixed reward table. Inspect actual item cards before replacing something valuable in your backpack.
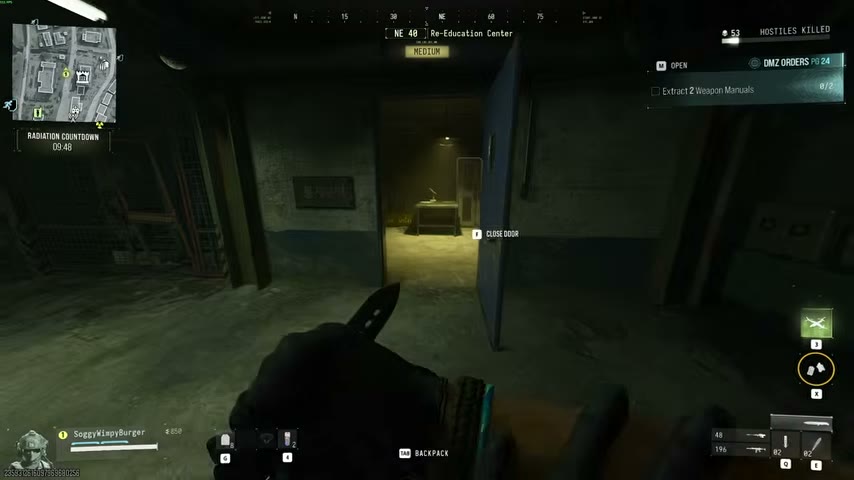
For unlocks, retain the actual Weapon Manual or Printer Recipe and plan a successful exfil. A finished gun is a different pickup. There is no verified switch reset or second-cell exploit to justify waiting underground as the storm closes.
If the route or lock looks wrong
| What you see | Next check |
|---|---|
| Ground-floor Annex door | Wrong lock for this key; use the Center stairs |
| Underground blue door | Read the complete storeroom unlock name |
| LEVER JAMMED | The choice is spent; find the opened cell from the corridor |
| Poor visible cell loot | Compare both sides before choosing on a future run; rewards vary |
Keep the keys and loot rooms guide for other Deadtown locks and the Recipe and Manual routes for alternative searches.
Underground Equipment Storage uses a separate door
For the reported approach through the building at the Re-Education Center’s northern side:
- Enter the main door, turn left and continue to the last room.
- Take its stairs down and follow the underground passage.
- At the junction with a door on the right, take the left passage.
- Continue to the hall’s end and check the left-hand door for Underground Equipment Storage.
This is a reported route, not a surveyed doorway. Match that named lock; the Propaganda key does not establish Equipment Storage access. The existing area marker is only a search reference. No guaranteed key pickup or complete loot table is established.
Quick questions
Where is the Underground Propaganda Store Room?
Beneath the road by the Re-Education Center in Deadtown. Enter the Center corridor and take the right-hand stairs down; follow left then left then right into the lower passage. The matching blue door is on the right.
Can I open both extra rooms?
The demonstrated mechanism allows one choice. Inspect both rooms through the bars first; after pulling one lever the other displays LEVER JAMMED. No reset or both-room method is established.
Is the safe always on the same side?
No fixed side or guaranteed safe is established. Look through the bars in your deployment and choose by the loot you can actually see.
Mentioned in this guide
Spotted something wrong? Send a correction.
Keep reading
 Guide · Gear & craftingMW4 DMZ Weapon Manuals: where to look and how unlocks work
 Guide · Gear & craftingMW4 DMZ Recipe and Weapon Manual loot routes: choose your run
 Guide · Combat & survivalDMZ exfil guide: extraction methods and emergency plans
 Guide · Loot & craftingMW4 DMZ keys and loot rooms: how to find and use them