
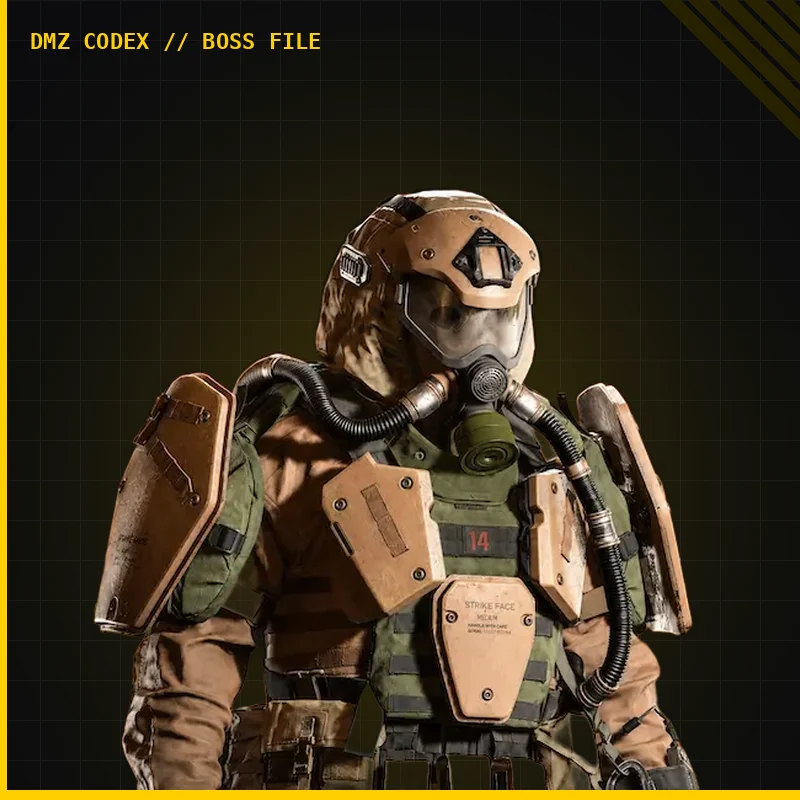
Colossus and Goliath: equipment hits and survival
Goliath: Thermite OR Drill Charge, plus Shock Stick · Commander intel cannot be bought · A kill is not listed as a Goliath objective
Goliath asks you to hit Colossus with a Thermite or a Drill Charge, and also with a Shock Stick. You need both objective lines, not both lethal types. Prepare the equipment before deploying and use hard cover to make the throws without standing in the minigun's fire.
- Goliath: Thermite OR Drill Charge, plus Shock Stick
- Commander intel cannot be bought
- A kill is not listed as a Goliath objective
Goliath asks you to hit Colossus with a Thermite or a Drill Charge, and also with a Shock Stick. You need both objective lines, not both lethal types. Prepare the equipment before deploying and use hard cover to make the throws without standing in the minigun’s fire.
Pack for the actual objective
| Objective | Bring |
|---|---|
| Hit Colossus with a Thermite or a Drill Charge | At least one of those lethal options; extras give room for a missed throw. |
| Hit Colossus with a Shock Stick | A Shock Stick for the separate second line. |
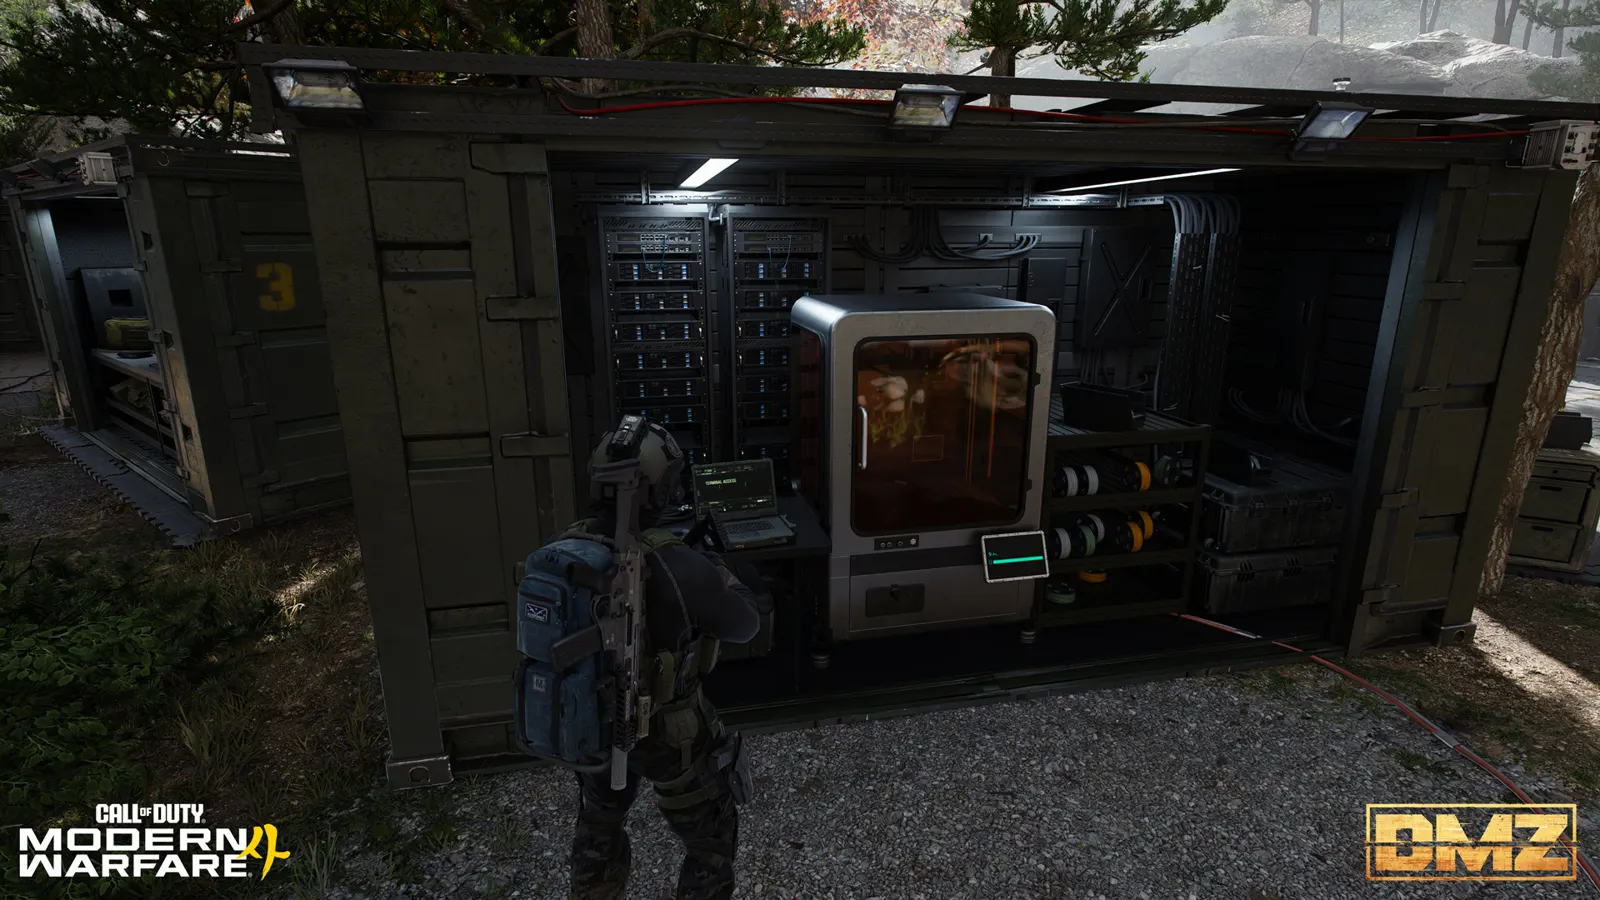
Use your unlocked 3D Printer recipes or available stored equipment. Check that the items are on the Operator entering the raid. A nearby explosion is not a dependable substitute for landing the equipment on the target.
Find a Commander, not a Lieutenant intel purchase
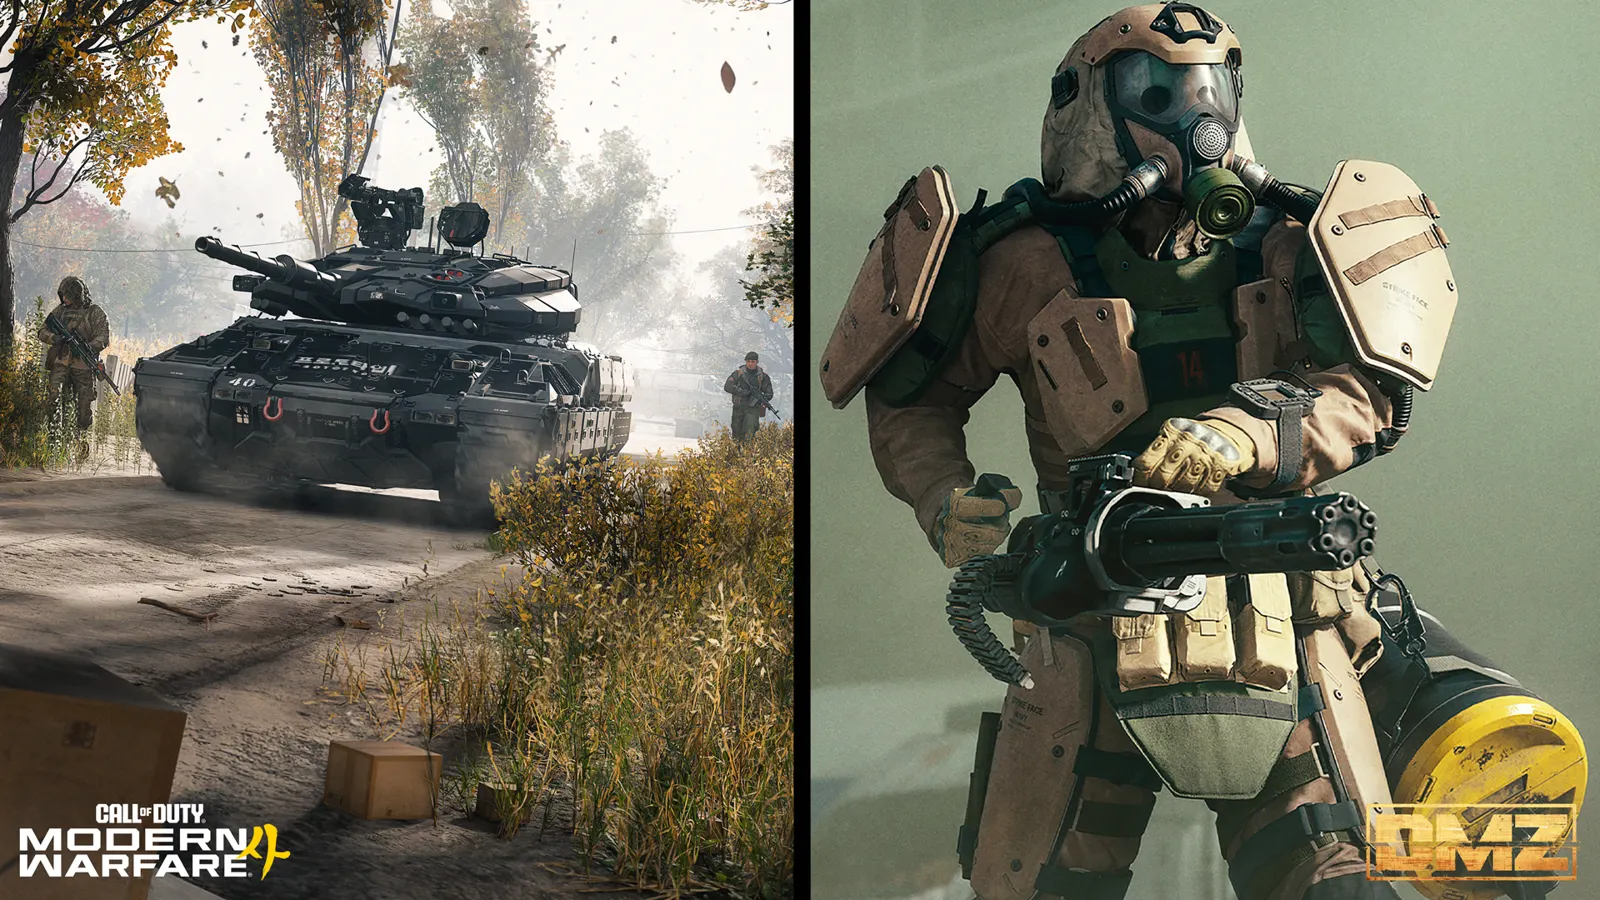
Colossus is the heavily armored, seven-foot soldier carrying a minigun. Watch the current Tac-Map for Commander markings and listen for encounter warnings. Commander intel cannot be purchased on the Boss Board; advice telling you to buy Colossus intel confuses that system with Lieutenant hunts.
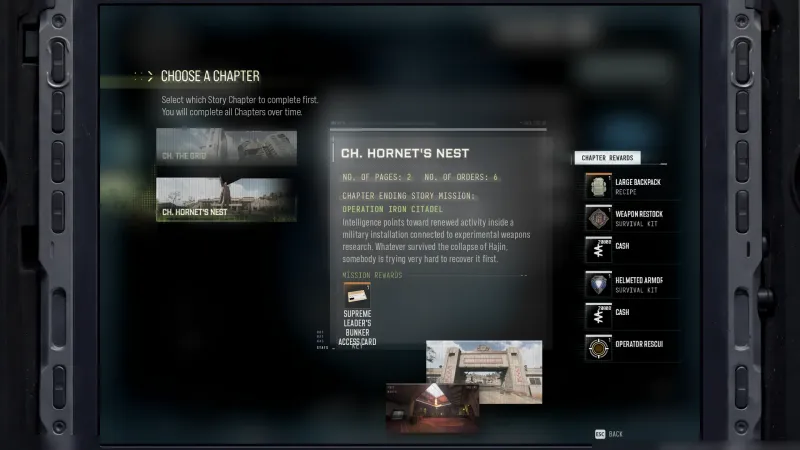
Roaming encounters have been reported around Hajin. A past encounter at the Citadel or Air Base is not a fixed spawn promise. Fallen Ember also has its own mission sequence; do not treat that encounter as the universal free-roam route.
Land the two hits
- Find solid cover and clear nearby ordinary enemies when possible. Choose a retreat before starting the throw attempt.
- Let the boss commit attention away from your throwing angle. With a squad, use separated positions rather than grouping everyone in one exposed doorway.
- Peek briefly and land the Thermite or Drill Charge directly on Colossus. Check the relevant objective line.
- Repeat with the Shock Stick and check the second line. Keep spare equipment for a miss rather than assuming splash proximity counted.
- Once both lines show progress, choose whether a kill is worth the ammunition and exposure. Goliath does not list killing the Commander as one of these two requirements.
If you stay for the kill
Use cover against the minigun, take firing opportunities between attacks and leave room to back away. Explosive resistance and exceptions are disputed; do not build the entire plan around an assumed explosive immunity or guaranteed explosive kill. Landing equipment for an Order and dealing effective damage are separate checks.
Commanders can provide valuable ingredients and Boss Board progress, but reported individual drops are not a fixed loot table. Extract any ingredients you want to retain. The Boss Board guide covers reward tracking separately.
Quick questions
Do I need Thermite and a Drill Charge?
No. Goliath lists Thermite OR Drill Charge, plus the separate Shock Stick hit.
Must I kill Colossus for Goliath?
A kill is not listed in its two equipment-hit objectives. Check both objective lines before deciding whether to keep fighting.
Mentioned in this guide
Spotted something wrong? Send a correction.
Keep reading
 Guide · Bosses & PvPMW4 DMZ bosses: Lieutenants, Commanders and the Boss Board
 Guide · Gear & craftingMW4 DMZ 3D Printer guide: resources, ingredients and recipes
 Guide · MissionsMW4 DMZ Fallen Ember walkthrough: reactor puzzle and escape
 Guide · Bosses & PvPField Depot: air-base warehouse and maintenance-room entrance